
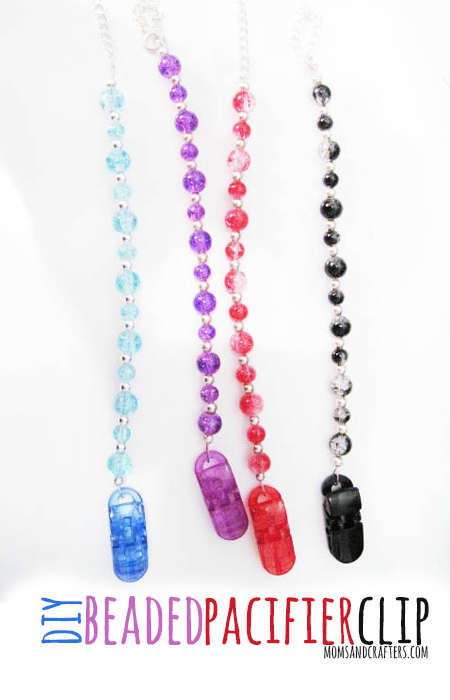
Beaded Pacifier Clip DIY tutorial
DIY Pacifier Clip Tutorial:
 Jewelry making skills required: Crimping (beginner)
One of the most popular items in my Etsy shop for a while has been my beaded pacifier clips. I’m now spilling the secrets – how to make these items so they look professional and perfectly finished!
This is a great baby gift, and you can make a few with the supplies you purchase. It’s also a great add-on if you want to buy a pacifier and you want to make it more of a gift.
They serve a double purpose: they are both beautiful, and prevent the pacifier from dropping and getting dirty or lost. When my baby was little (back in the day when he took pacifiers) I would strap this to the baby carrier while I was wearing him so I had it handy, and it did not get dirty when he spat it out.
P.S. If you don’t want to DIY you can skip the rest of the post – they are available for purchase here.
WHAT YOU NEED to make a beaded pacifier clip:
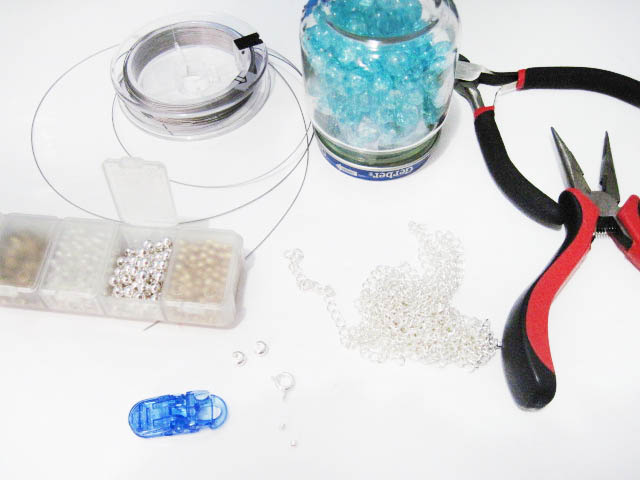
- Crimp Beads or tubes
– 2
- Crimp Covers
-2- (Optional – but these will give your piece a professional touch. They also add to the durability of the crimp)
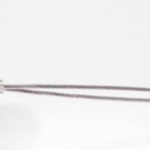
- Tiger-tail
– 8″ – metal beading wire. I’ve played around with different strings and cords and found this to be the strongest.
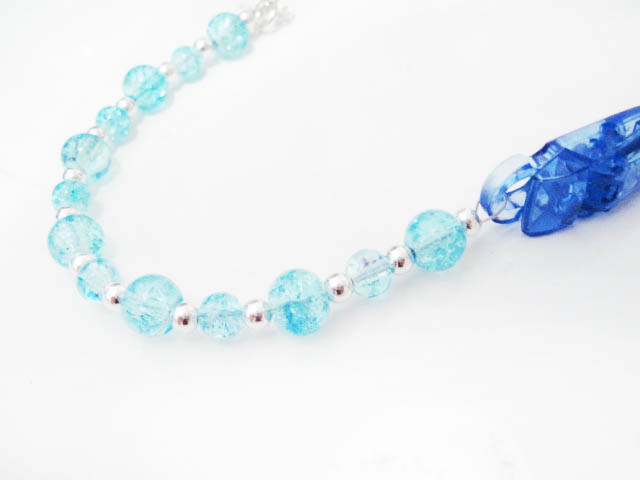
- Beads: Enough to cover 6″, quantity will depend on the size. I used these Czech crackle glass beads with these Silver Plated Beads to add a classy touch.
- The clip – 1
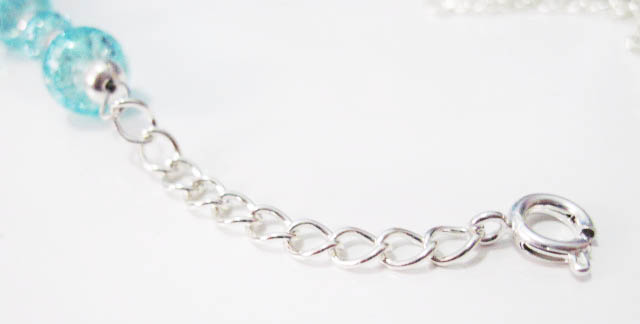
- Chain
– 1.5 inches. Choose one with a thin loop and a large hole so the clasp can easily be inserted in and it’s fully adjustable
- Clasp
– 1
- Tools – chain nose pliers
, round nose pliers
, side cutters
, optional crimp tool
- (I don’t use one)
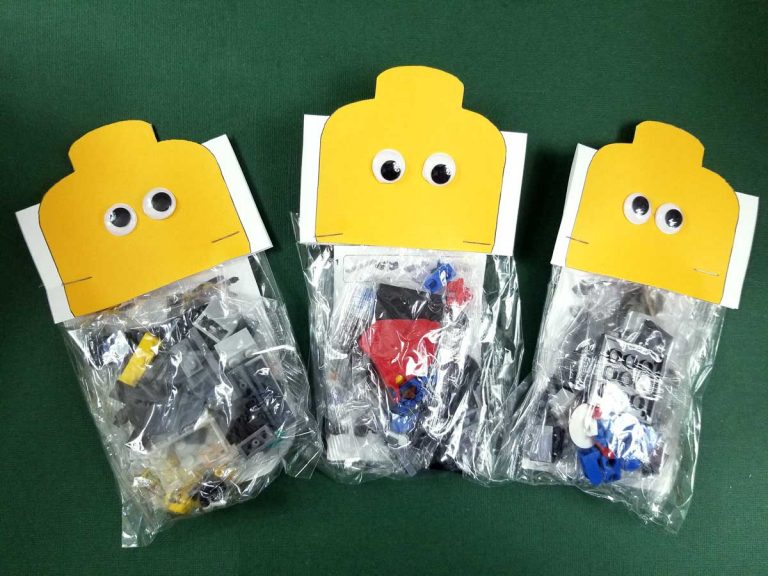
In case you plan to make this only once, I’ve put together a kit with the supplies you need so you do not have to purchase whole packages. You can purchase it here. This does not include the tools, as they are not bought in bulk, or the glass beads, as I expect you to use your own choices and design (I sell this style here). You can purchase beads here as well for combined shipping. If you plan to make this multiple times, you’re best off purchasing full packages, as listed above.
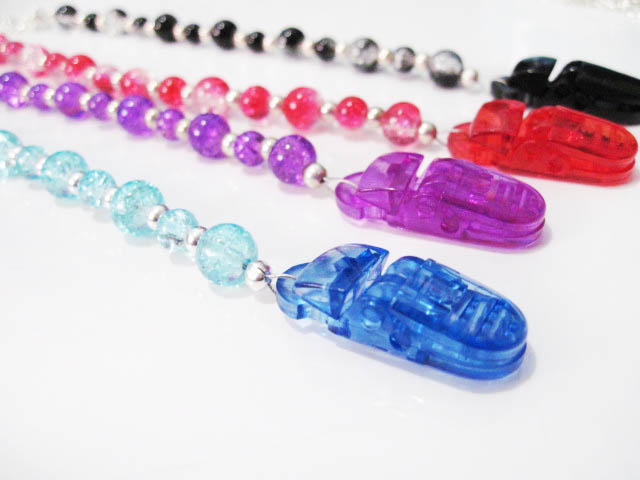
Part of the popularity of my clips, aside from their beautiful design, is the fact that I use plastic clips as opposed to metal ones. These are better for the baby clothing and more child friendly.
SAFETY of Beaded Pacifier Clips:
To avoid strangulation, keep the total length (besides clip) within six inches. In addition, make sure all parts are tight and there is no wear on the chain, the crimp is not loose, etc. before each use to prevent a choking hazard. I like to do a “pull test” once I’ve completed making any item – I give a few quick, firm tugs to ensure that it can withstand a little pressure.
INSTRUCTIONS for Making Beaded Pacifier Clips:
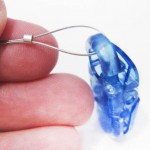
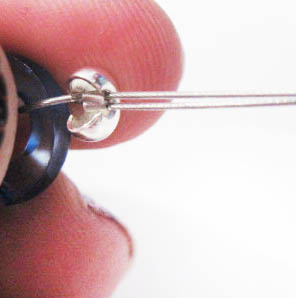
1. Loop one end of the tigertail through a crimp, through the pacifier clip, and back into the crimp as pictured. Squeeze the crimp into place by first squeezing flat and then folding in half.
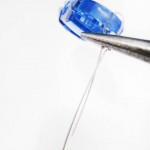
2. Place crimp cover over crimp and squeeze shut to hide the crimp.
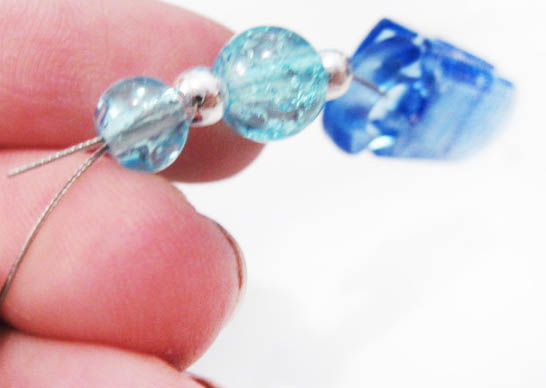
3. String beads onto the tiger-tail. Let the first few beads go over both strands. Then trim what’s left of your tail from step 1. Make sure you do not pass 5 inches, as the clasp will occupy another inch.
4. String on the second crimp, pass it through the length of chain, and back into the crimp. Pull so that the tigertail loop is as small as possible but not “choking” the chain. Crimp into place as in step 1.
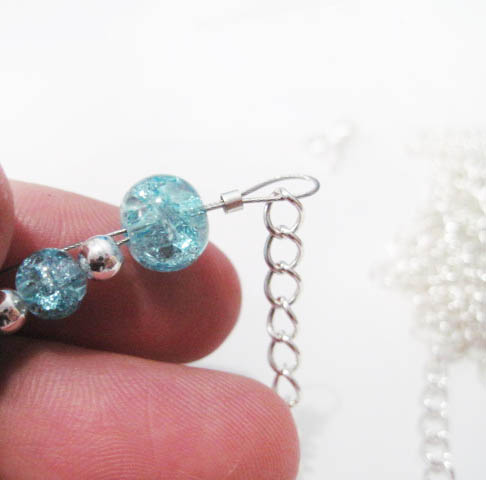
5. Attach the second crimp cover. Attach your clasp. Attach to pacifier and enjoy!
6. IMPORTANT:
Do the strength test. Pull on it hard a few times as a baby might and make sure it does not come apart. Check for signs of wear. Only then give it to your baby. (I haven’t had any of these break yet, which is a good sign…)
7. Now that you’ve done it, come back to my facebook wall and post a photo! I love feedback, and the more I get the more tutorials I’ll post. I’d like to know that these are being enjoyed.
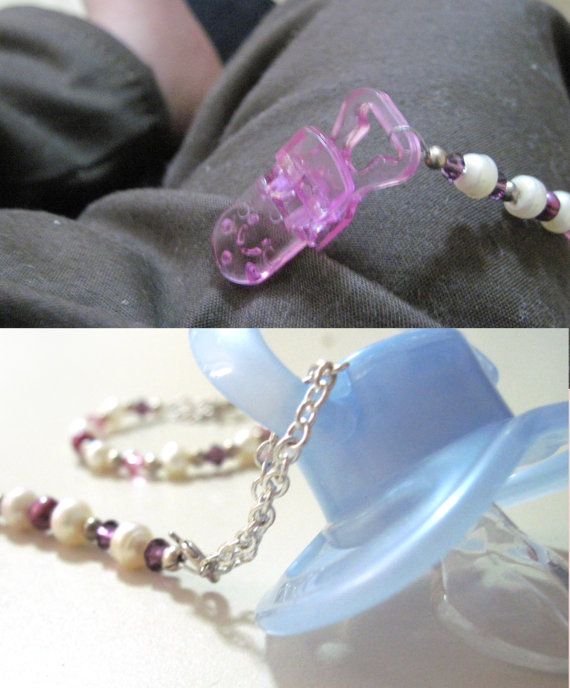
 VARIATIONS of the Beaded Pacifier Clip:
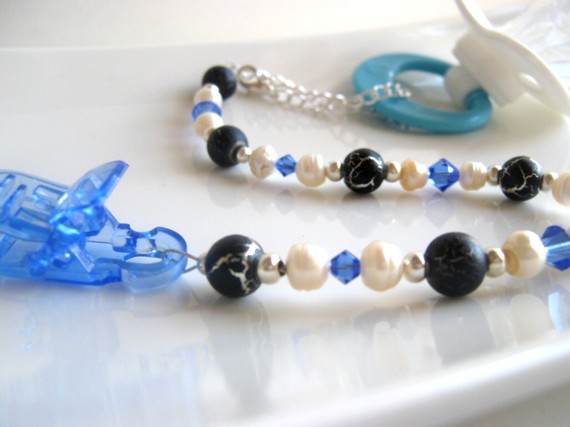
Whenever I share a tutorial, I expect my readers to incorporate their own stye and design it as their own. Here are a few variations I’ve done using freshwater pearls and crystals as well.
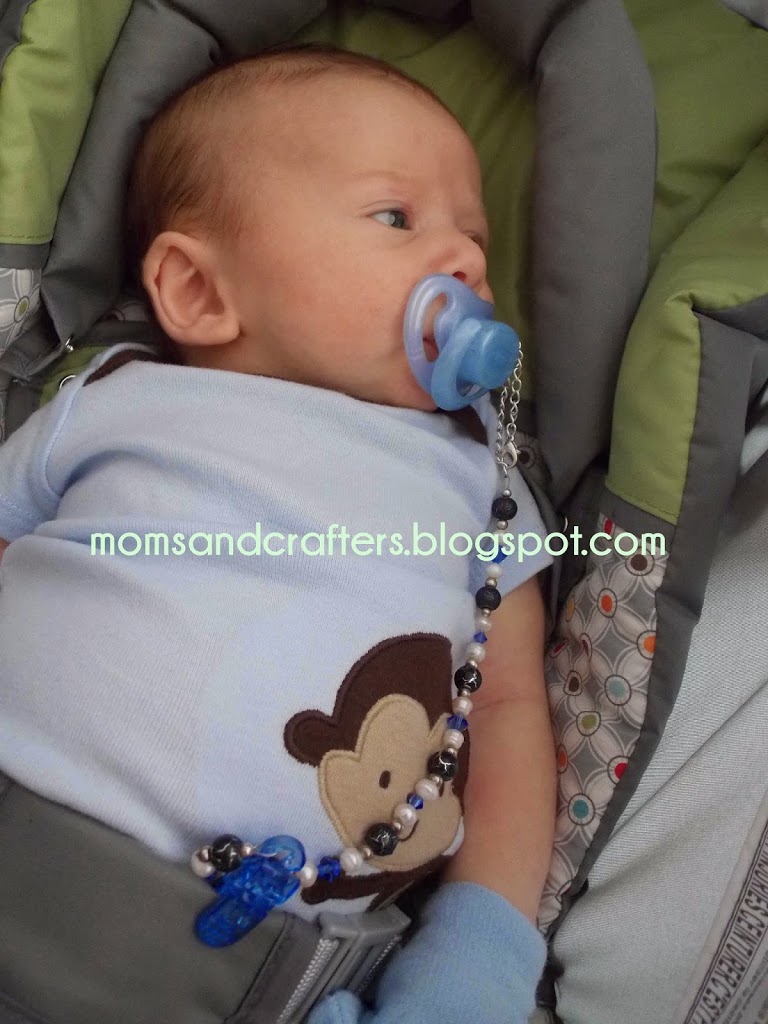
And here’s my Shmunchkin enjoying his…
If you have any questions about this tutorial, or if I haven’t explained something clearly, make sure to comment below. I WILL answer you!
DISCLAIMER:
This post contains affiliate links. It’s my way of supporting this blog so I can provide you with more free projects and articles. It does not cost you a penny more, rather it saves you the time from looking for the supplies (I spent my time finding the best option for this project). They are merely a suggestion which items are good for this project, and a guide for the novice. You may use these instructions for personal use only. You may not use it to create something identical or almost identical to what I’ve made and resell it.
These look so pretty and I love that you made a paci holder with it. This would make a great gift.
That is adorable! I never thought to make something like this for my little! I will definitely keep it in mind for gifts!
Oh my these are sooo cute! My babies are out of the pacifier stage, but this would be a great gift for me to make for my cousin’s upcoming baby shower! Thanks for the idea!
I have yet to trust my craft skills at beading. These are adorable! http://www.parentinghealthy.com/
Thank you so much for including links to where supplies can be found! This is fantastic. I want to make some for new grand babies.