
DIY Glitter Blocked Cuff
Color blocking is a huge trend now, so I decided to give it a try with glitter! I hope you enjoy this DIY glitter blocked cuff – the best part of it is it uses eco-friendly glitter! If you’ve been concerned about biodegradable glitter, you’ll find that the glitter used in this project is the perfect choice. Disclosure: this post contains affiliate links.

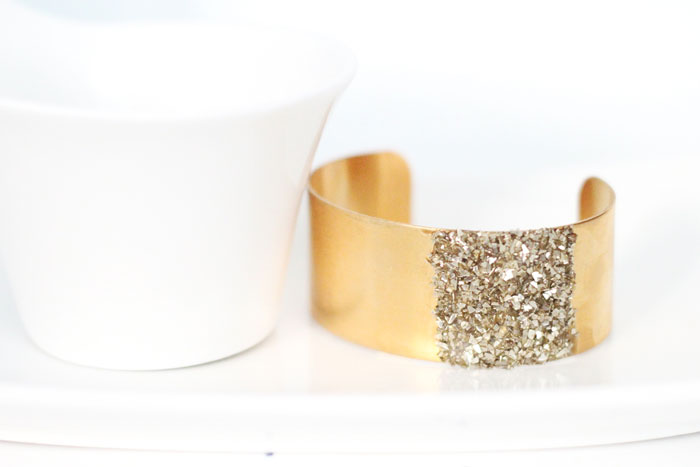
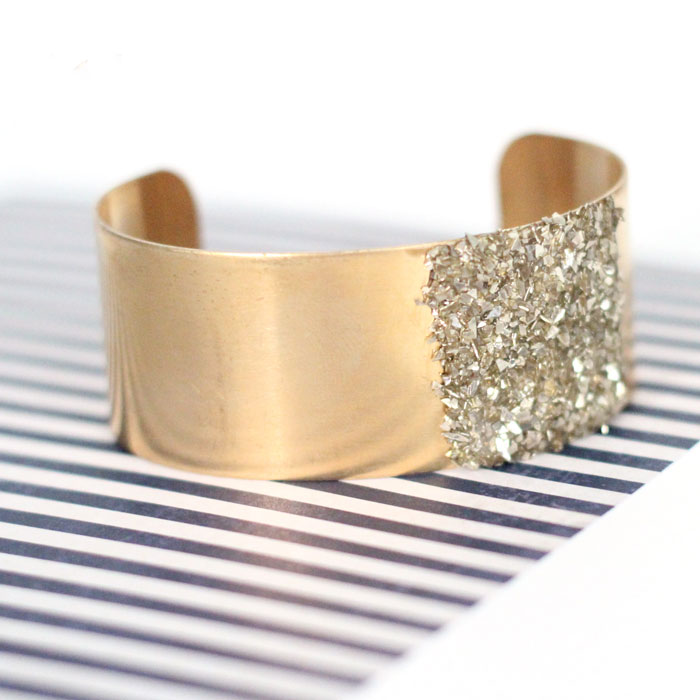
I like jewelry that is glitzy and glamorous, without overdoing it. This cuff does the job! You can play around with the colors. I did gold-on-gold, but you can aim for a two-tone effect with silver on gold. Or, try two colors combined (just finish one color and let it dry completely before starting the second.)
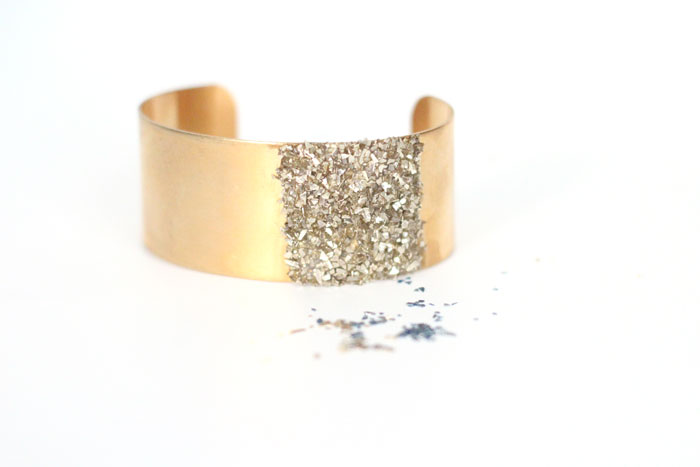
I also placed the block of glitter slightly off-centered as I love that asymmetrical look! You can choose to do a third starting from the end for a “dipped look”.
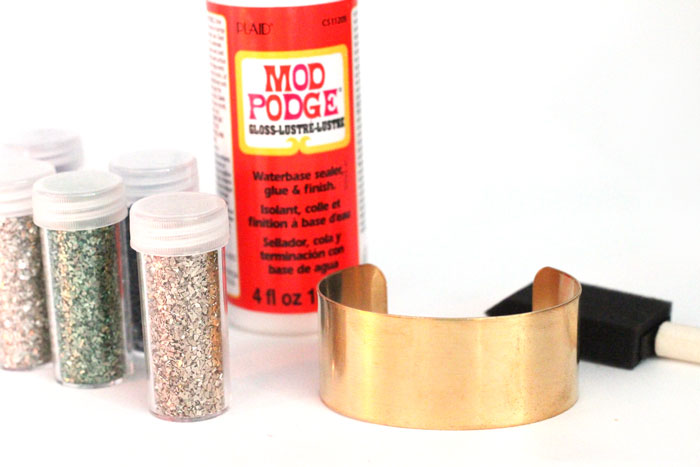
The cool thing about the glass glitter is that it totally works for jewelry! Since it’s glass, it’s really an extension of materials you’d anyway use for jewelry. It’s slightly pricier than regular glitter, but a little bit goes a long way. You’ll get a lot of pieces of jewelry out of a little bit.
How to make the glitter blocked cuff:
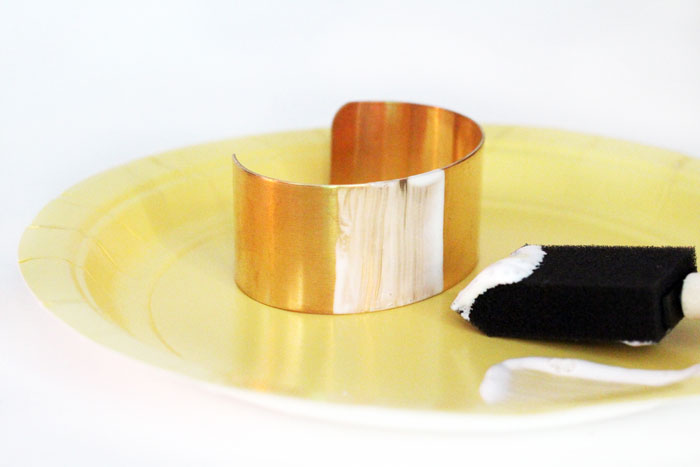
1. Use a foam brush to apply a generous-but-not-drippy block of Mod Podge on your cuff, only in the spot where you want the glitter to be. Sweep the square brush in a downward motion to get a clean line.
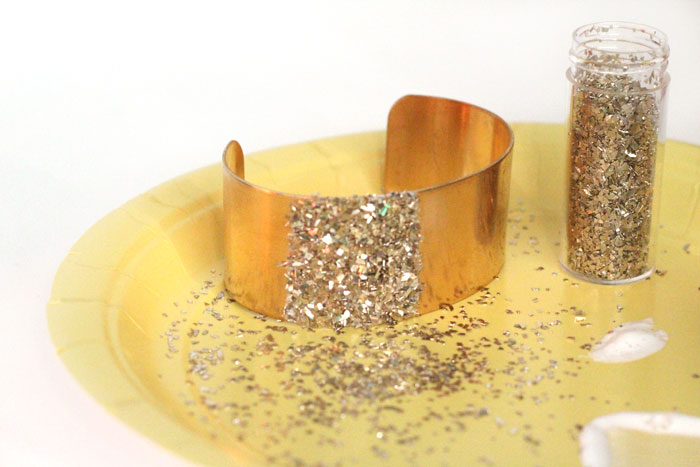
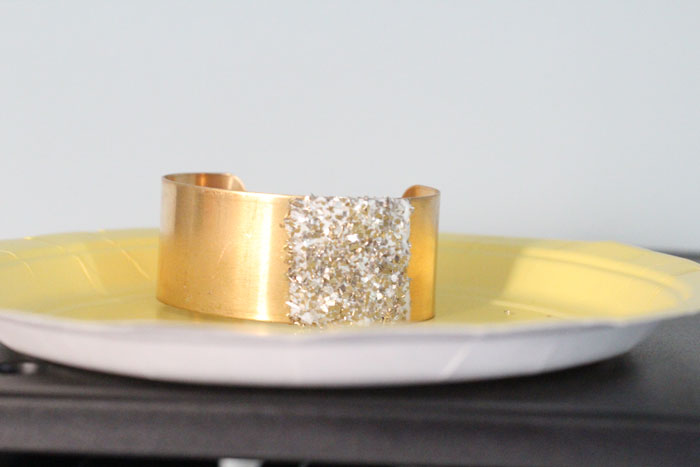
2. Gently pour and tap in the glitter (don’t press or spread) over the Mod Podge. If you do this over a paper plate as I have, you can pour in any excess. Allow it to dry completely.
3. Optional: for a bolder, thicker look, go for a second layer! Apply just a little bit of Mod Podge with your fingers to the dried glitter layer, and shake on a little more glitter. Allow to dry completely.
4. When it’s dry, apply a top coat of Mod Podge to seal it in. I applied this with the brush and spread it with my finger (it’s easier that way with the rough glitter layer).
Wear it and enjoy! This glitter blocked cuff makes a great, glamorous gift for anyone who likes sparkly jewelry that is high-trend. It’s amazing what you can do with a little bit of decoupage and glitter! The result is a solid block that sparkles light from every direction!
Who will you make this DIY glitter blocked cuff for? Comment below!


wow I love it! I love everything sparkly and chic (and gold)! Good job!
Aw, thanks!
Where did you buy your cuff?
Hi, the one I bought no longer exists but you can find similar at Michaels and other craft stores