
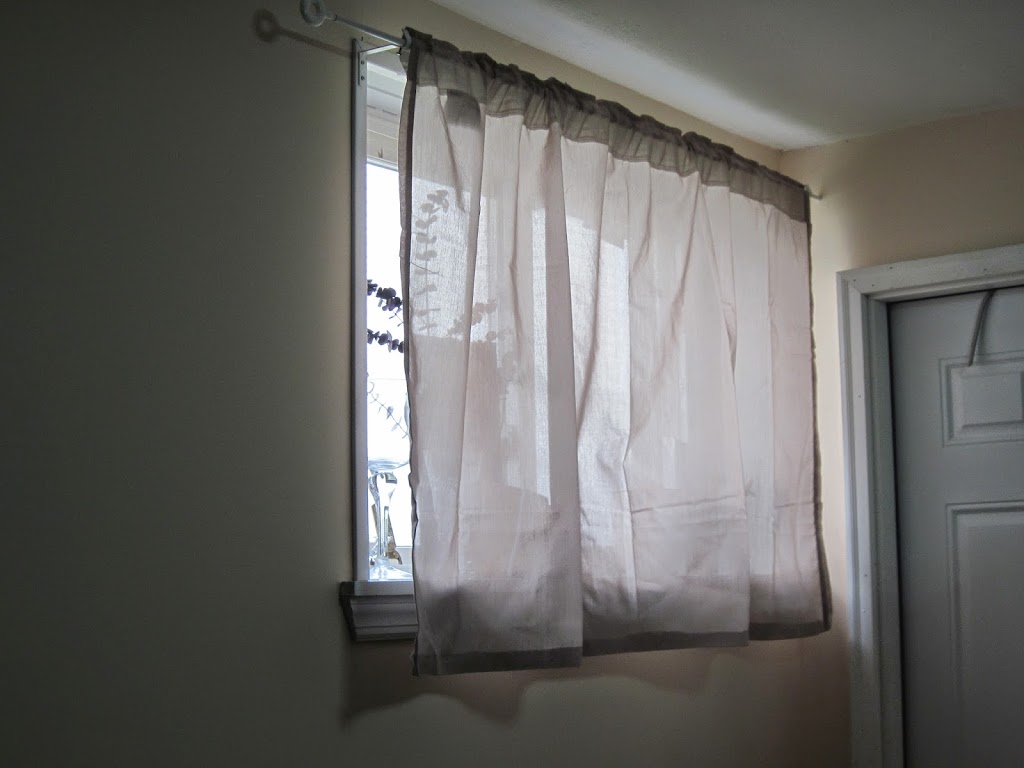
How to use one Curtain for 3 windows
My favorite thing about this project is that it requires little skill and it takes only a fraction of your afternoon! (I’d estimate 15-20 minutes per curtain, but I didn’t time it).
What you need:
*One package (a pair) of VIVAN curtains for $9.99
*Curtain rods to hang them on – I used IRJA for $1.49 each (you’ll need one per window)
*One package of SY iron on hemming tape for $1.99 (I got two but one was more than enough)
The basic cost comes to approx $12 + $1.50 per window up to 4 windows. That means that if you do four window it costs you just $4.50 per window!! This of course applies to shorter windows – as the panels are made to cover floor length doors.
Tools: (not including what you need to trim and install the rod)
*Iron
*Fabric Scissors
*Fabric chalk
Instructions:
For the first curtains (using the top of the panel where there already is a space for the rod)
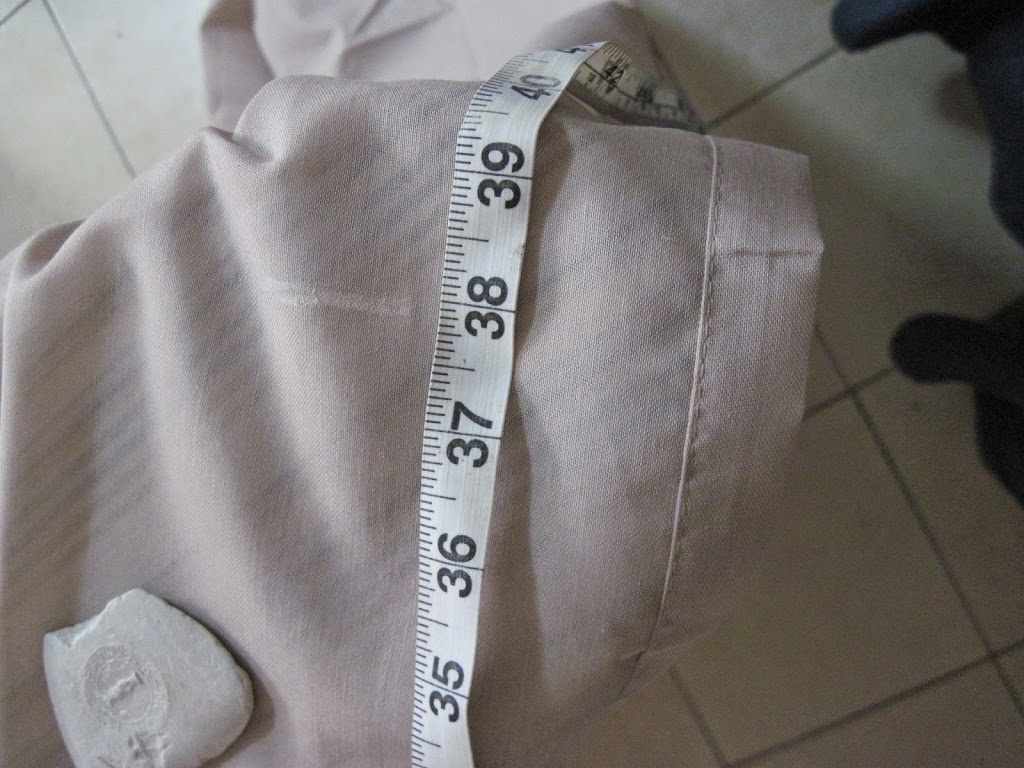
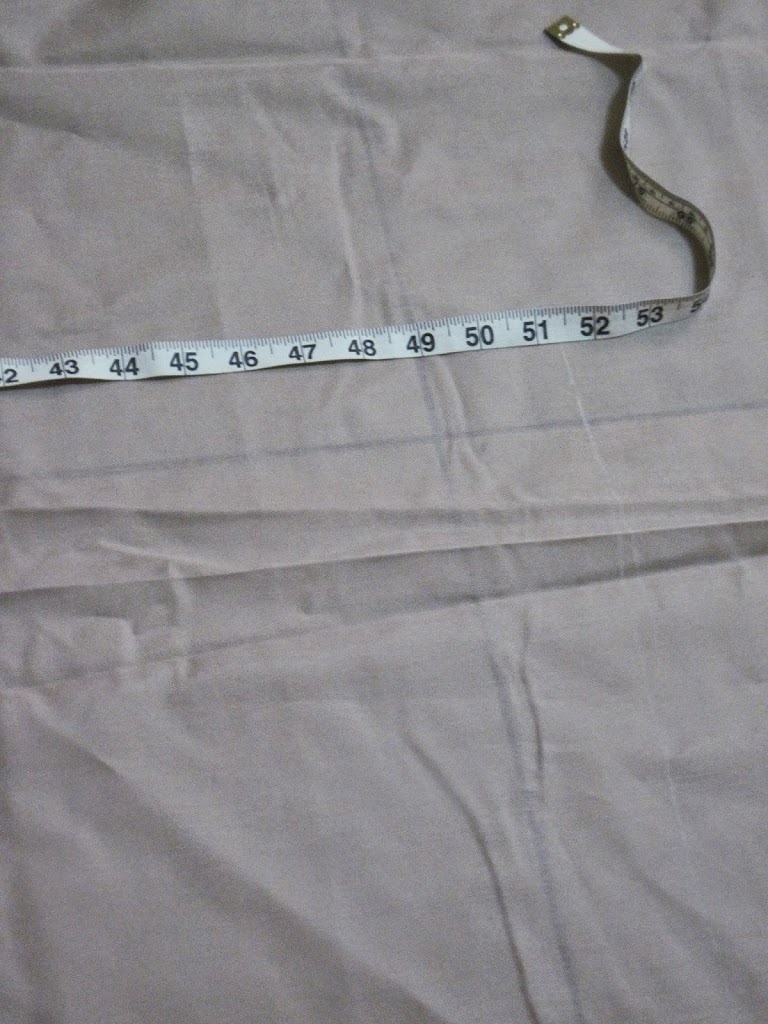
1. Measure your window. Add a few inches to hang below the window, and then one inch for the hem.
2. Mark your fabric, measuring down from the rod pocket, with chalk
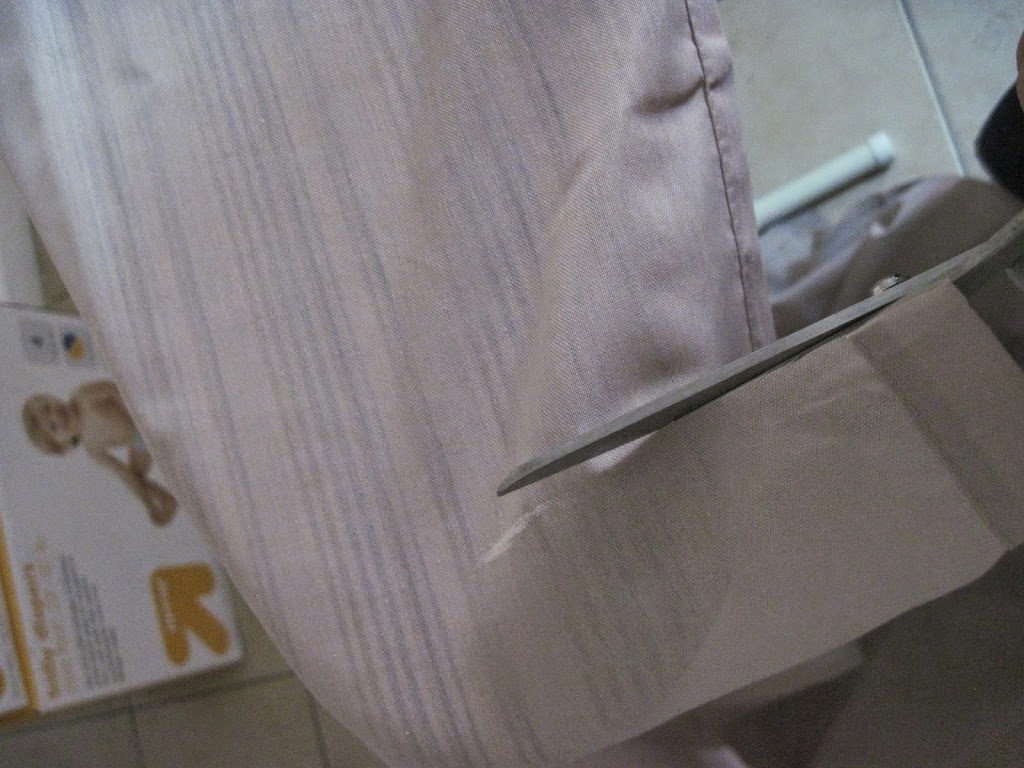
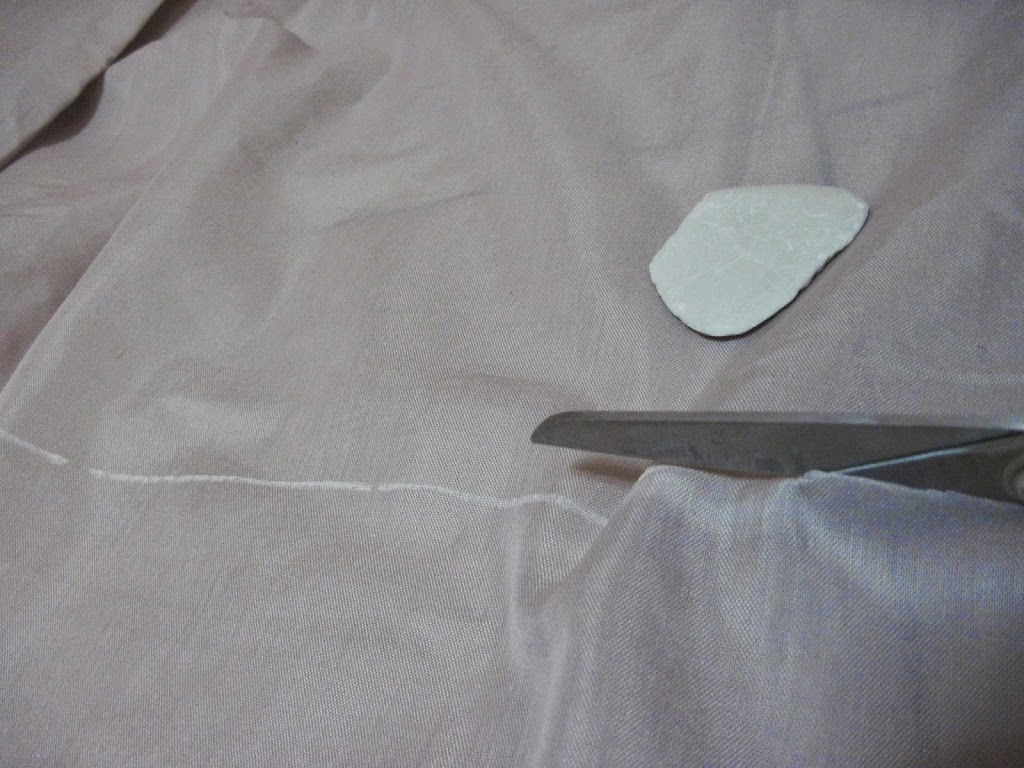
3. Cut off the rest. Be careful to be accurate with this stage, otherwise you’ll have a lopsided curtain.
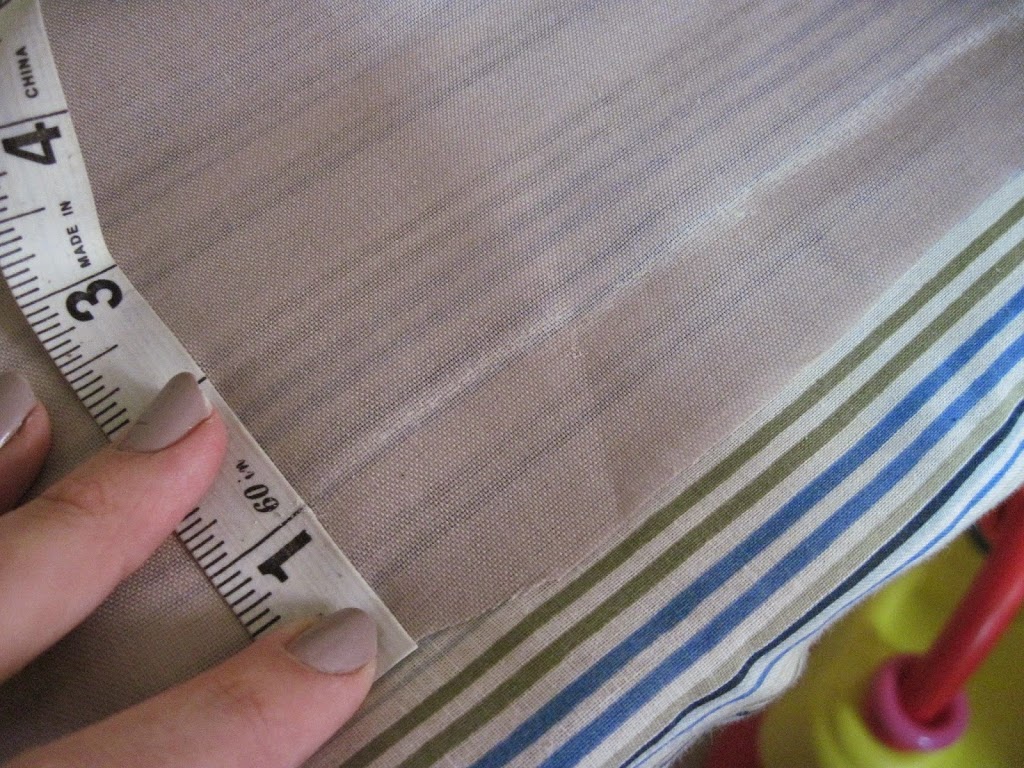
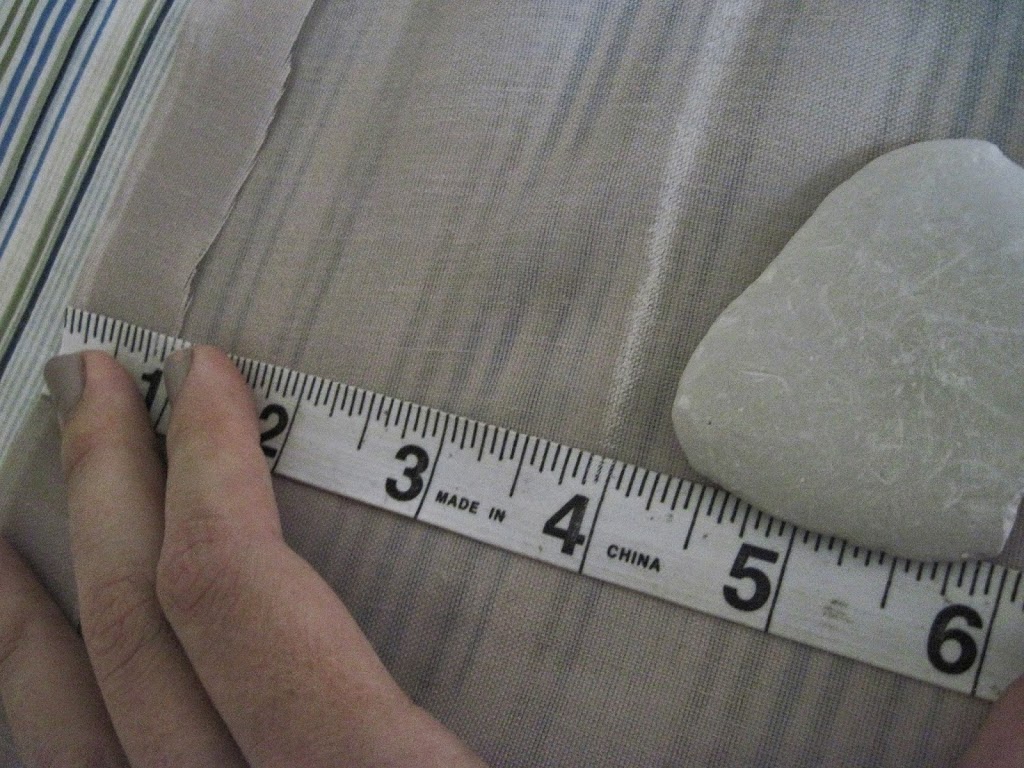
4. Hem it: Measure up from bottom one inch and mark with chalk
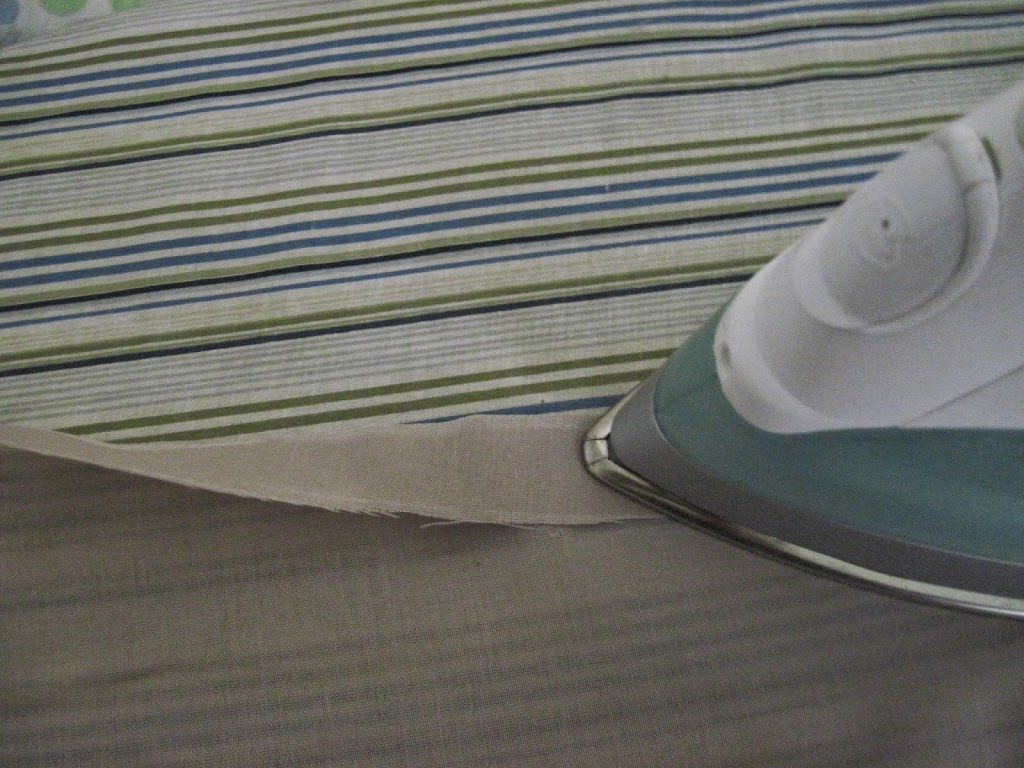
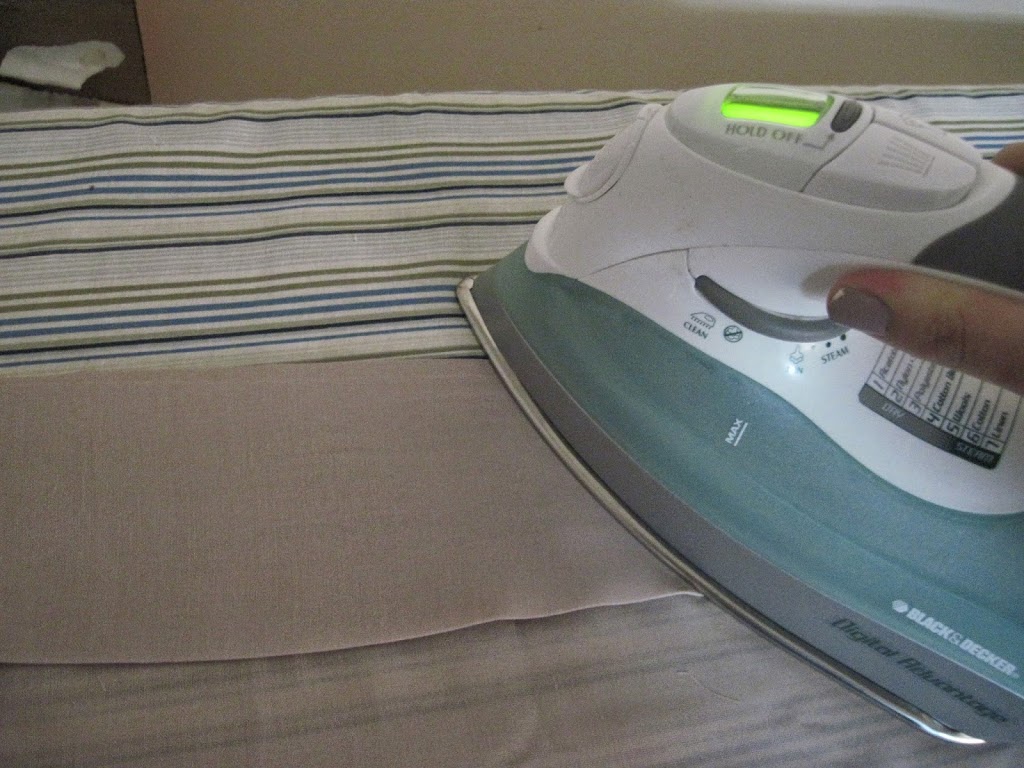
5. To make the fold, first iron without the hemming tape.
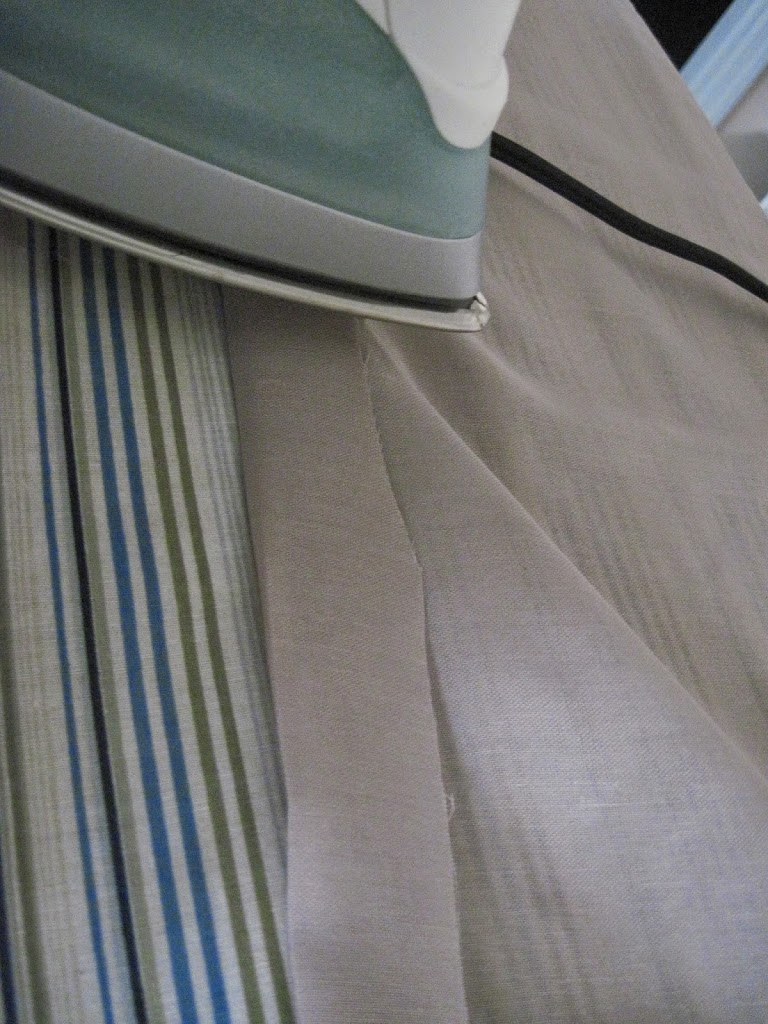
6. Once you have a fold, put the tape in your fold and iron as you go along. Make sure tape is not twisted or sticking out. Don’t pull too hard on the tape as you go along – the heat melts it and if you pull it’ll tear. If this happens, just put it back in place and continue where you left off.
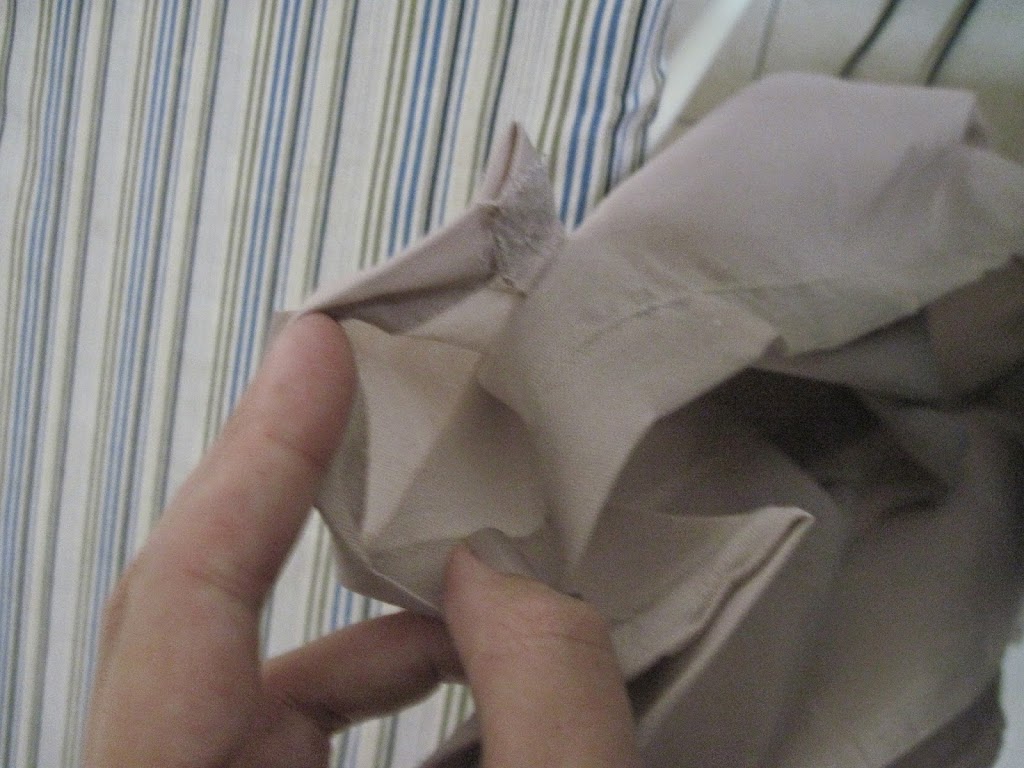
7. You may need to trim the corners on an angle so they should not stick out.
8. Do this for two windows using the tops of each panel.
For curtains three and four:
1. Measure your window. Add a few inches to hang below the window, four inches for the rod pocket, plus another inch for hemming the pocket.
2. Mark your fabric, measuring up from the hem, with chalk.
3. Cut off the rest. Be careful to be accurate with this stage, otherwise you’ll have a lopsided curtain.
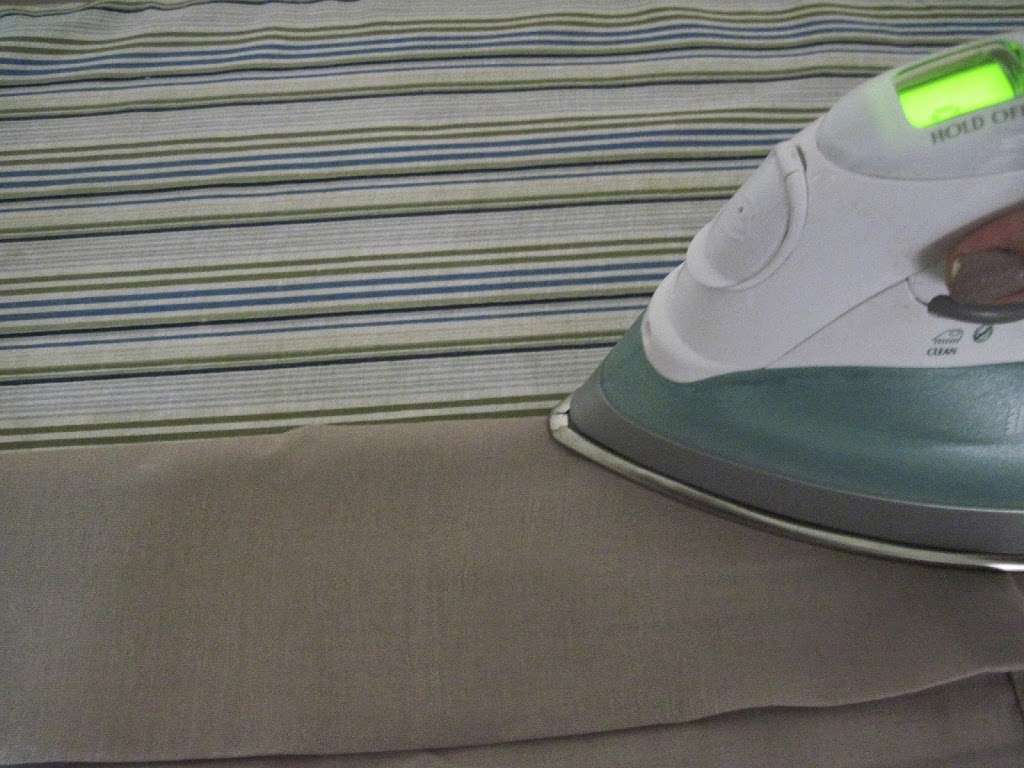
4. This curtain is already hemmed on the bottom but has no pocket for the rod. Measure one inch from the top, and iron down to make a fold.
5. Measure another four inches, mark with chalk. Iron down into a fold.
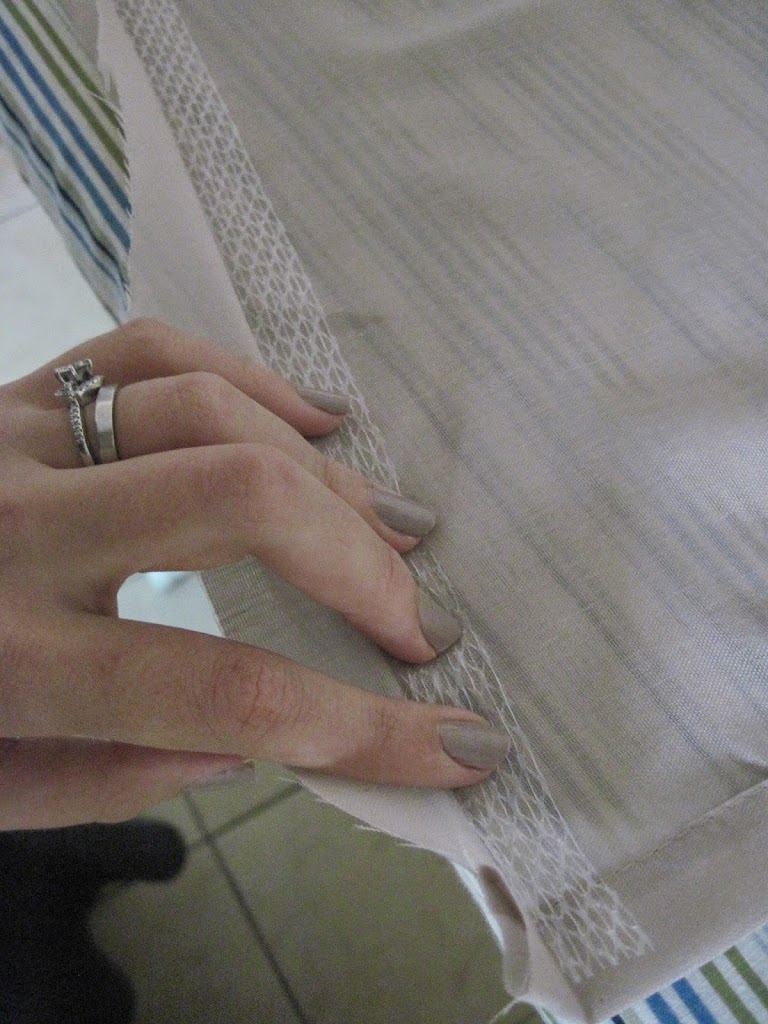
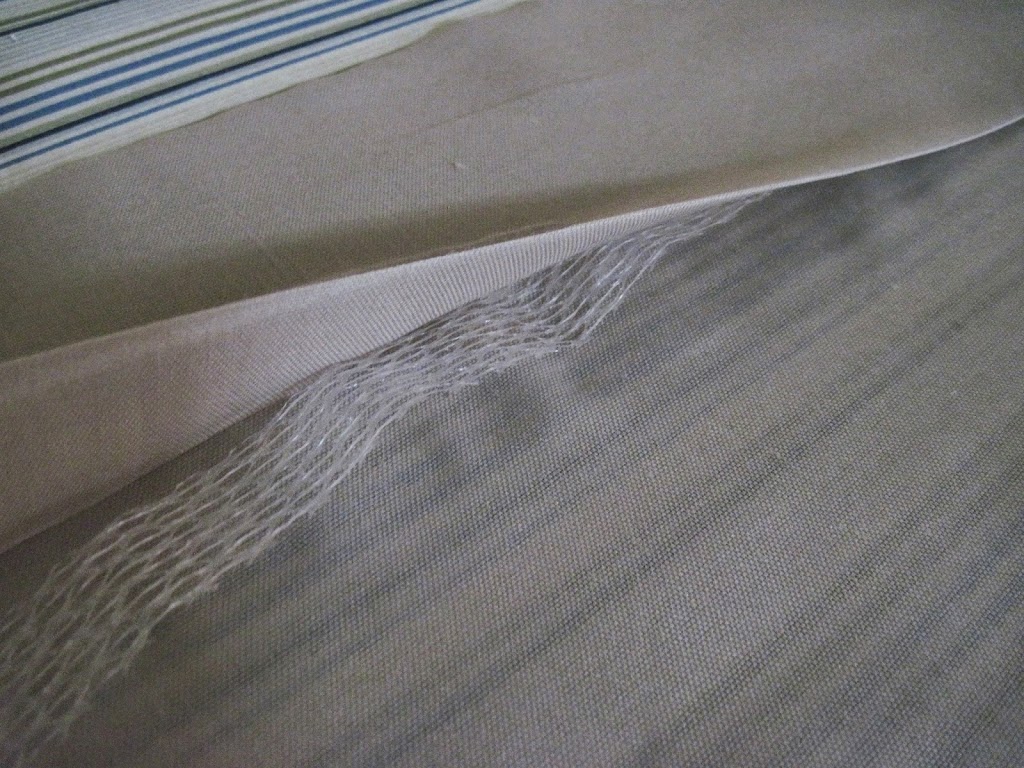
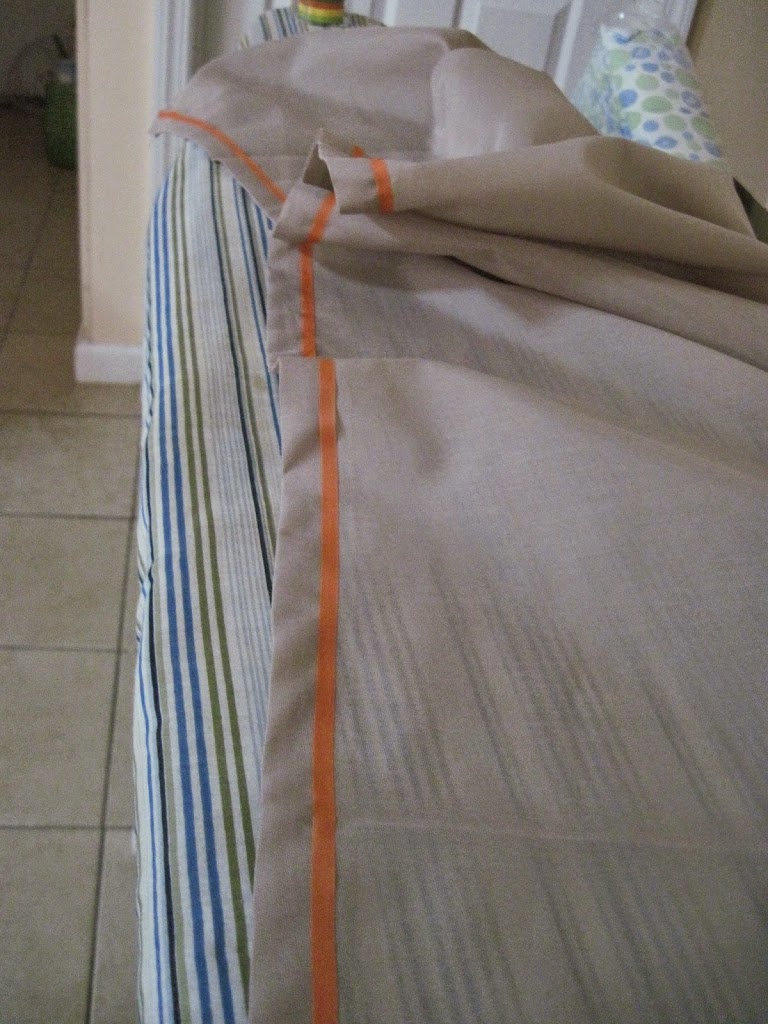
6. To create a small space between where the rod sits and the top of the curtain, iron some hemming tape into the fold that you just made – the four inch fold. (see image). Make sure it’s sitting neatly all the way in the crease in a straight line
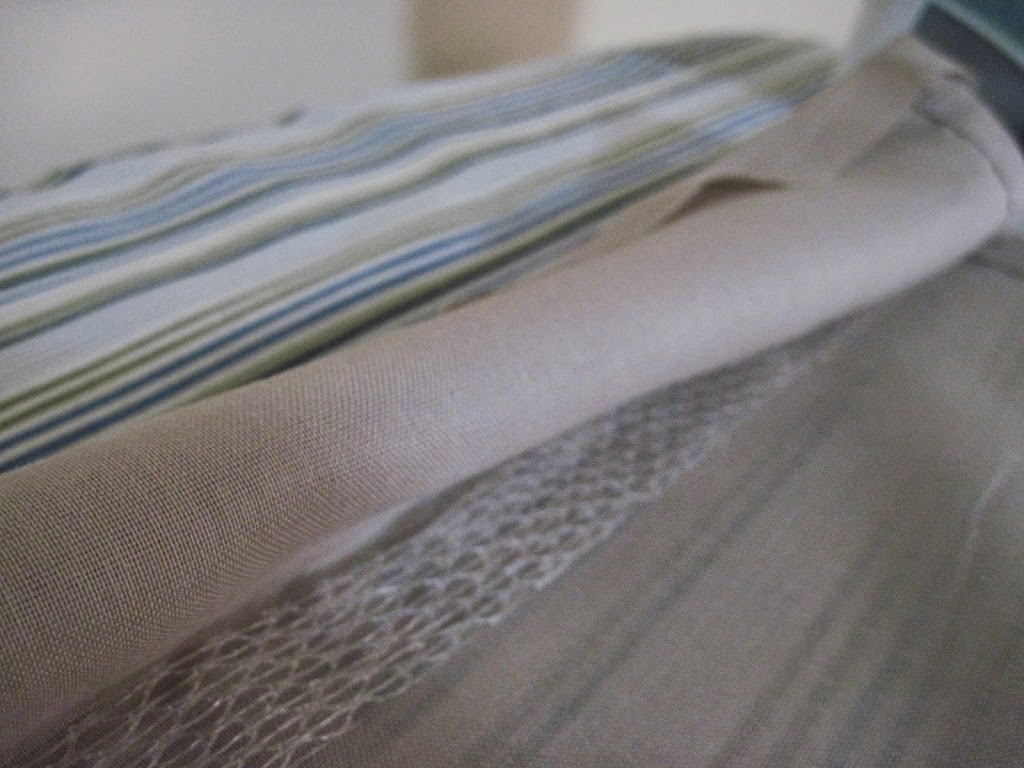
7. Now place hemming tape underneath the smaller fold (not in the crease – on the outside of the actual one inch section) and iron to the curtain to create a pocket.
8. Again, you may need to trim angles if they’re sticking out.
Variations:
If you want to, you can spice these up.
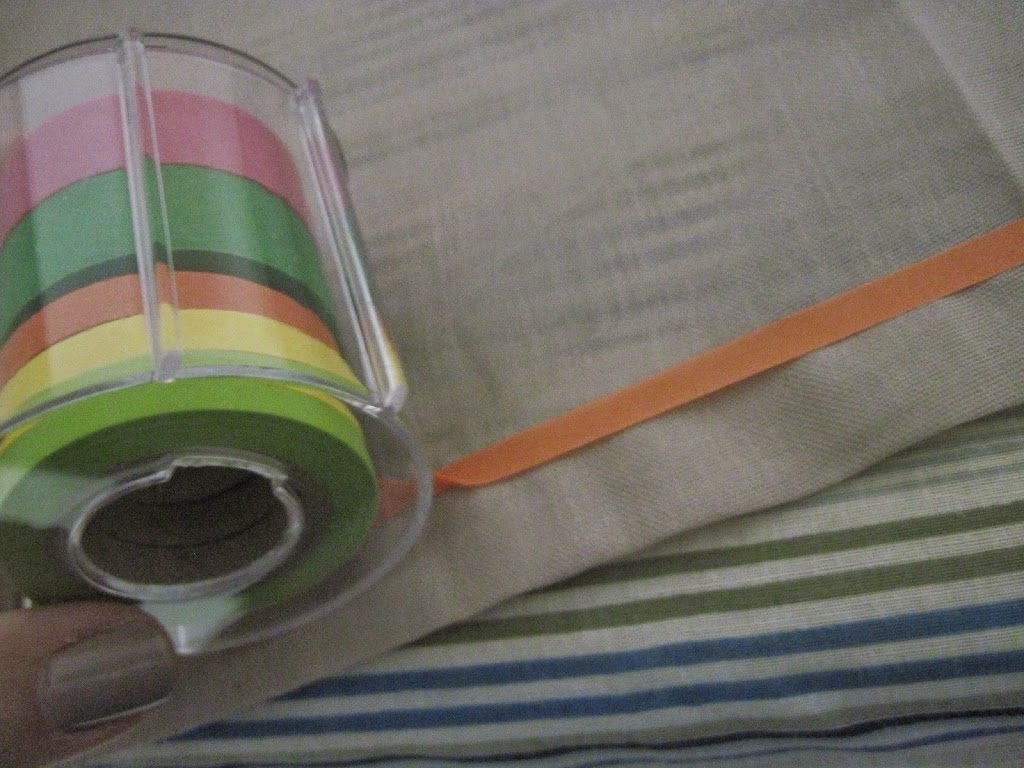
I added washi tape to the trim of one of them. It’s sticking surprisingly well
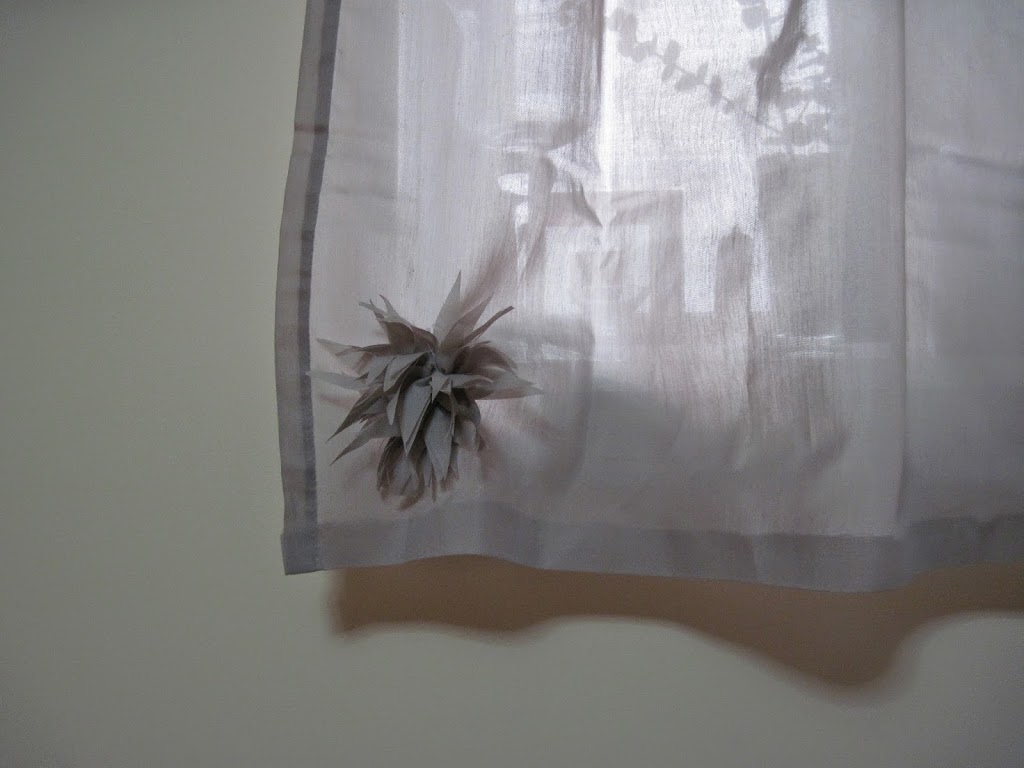
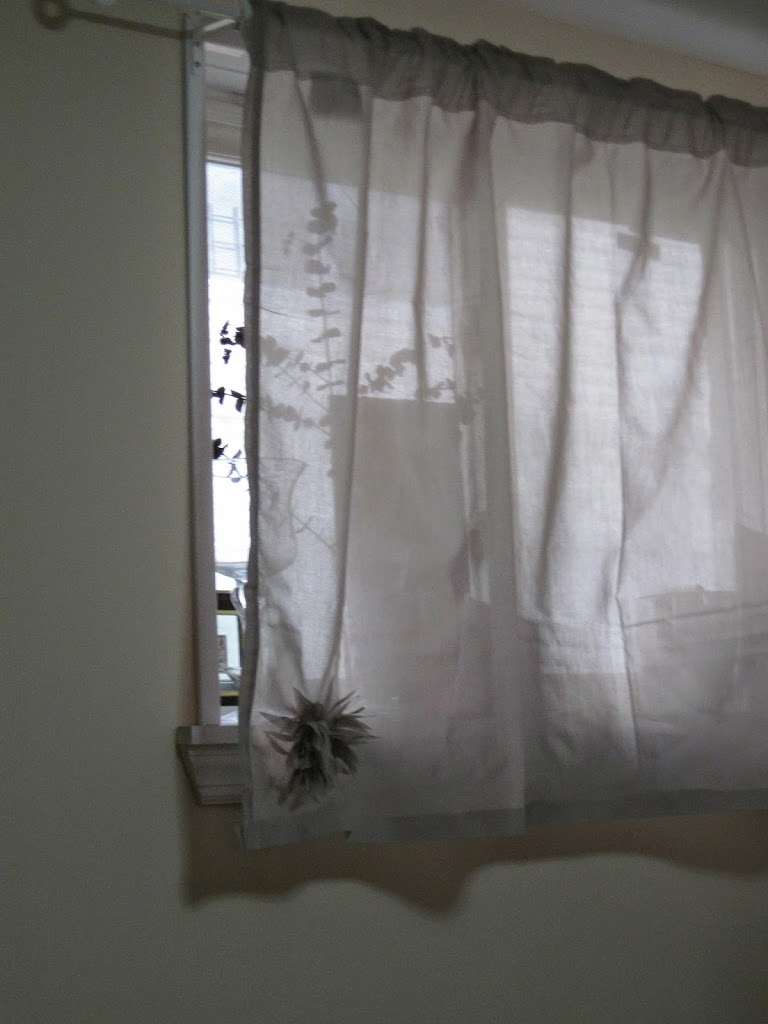
For another, I sewed a simple flower, using this tutorial from Martha Stewart.
Enjoy and feel free to comment below with your embellishment ideas!


Great job, they look great!
I made curtains this way and I love that it is no sew as i can’t sew.
That is such a great idea. Love that it is a now sew.
Michelle F>
Great idea! I should get some hem tape for projects like this.
it’s great! I’ve been using it until I get my sewing machine, and even with one, it’s much easier! Works best with lightweight fabrics
Practical, creative, and really nice!
thanks! just so you know, I originally sewed the flower having a niece or two in mind, but it landed on the curtain by mistake 😉