
Simple Toy and Book Storage Idea
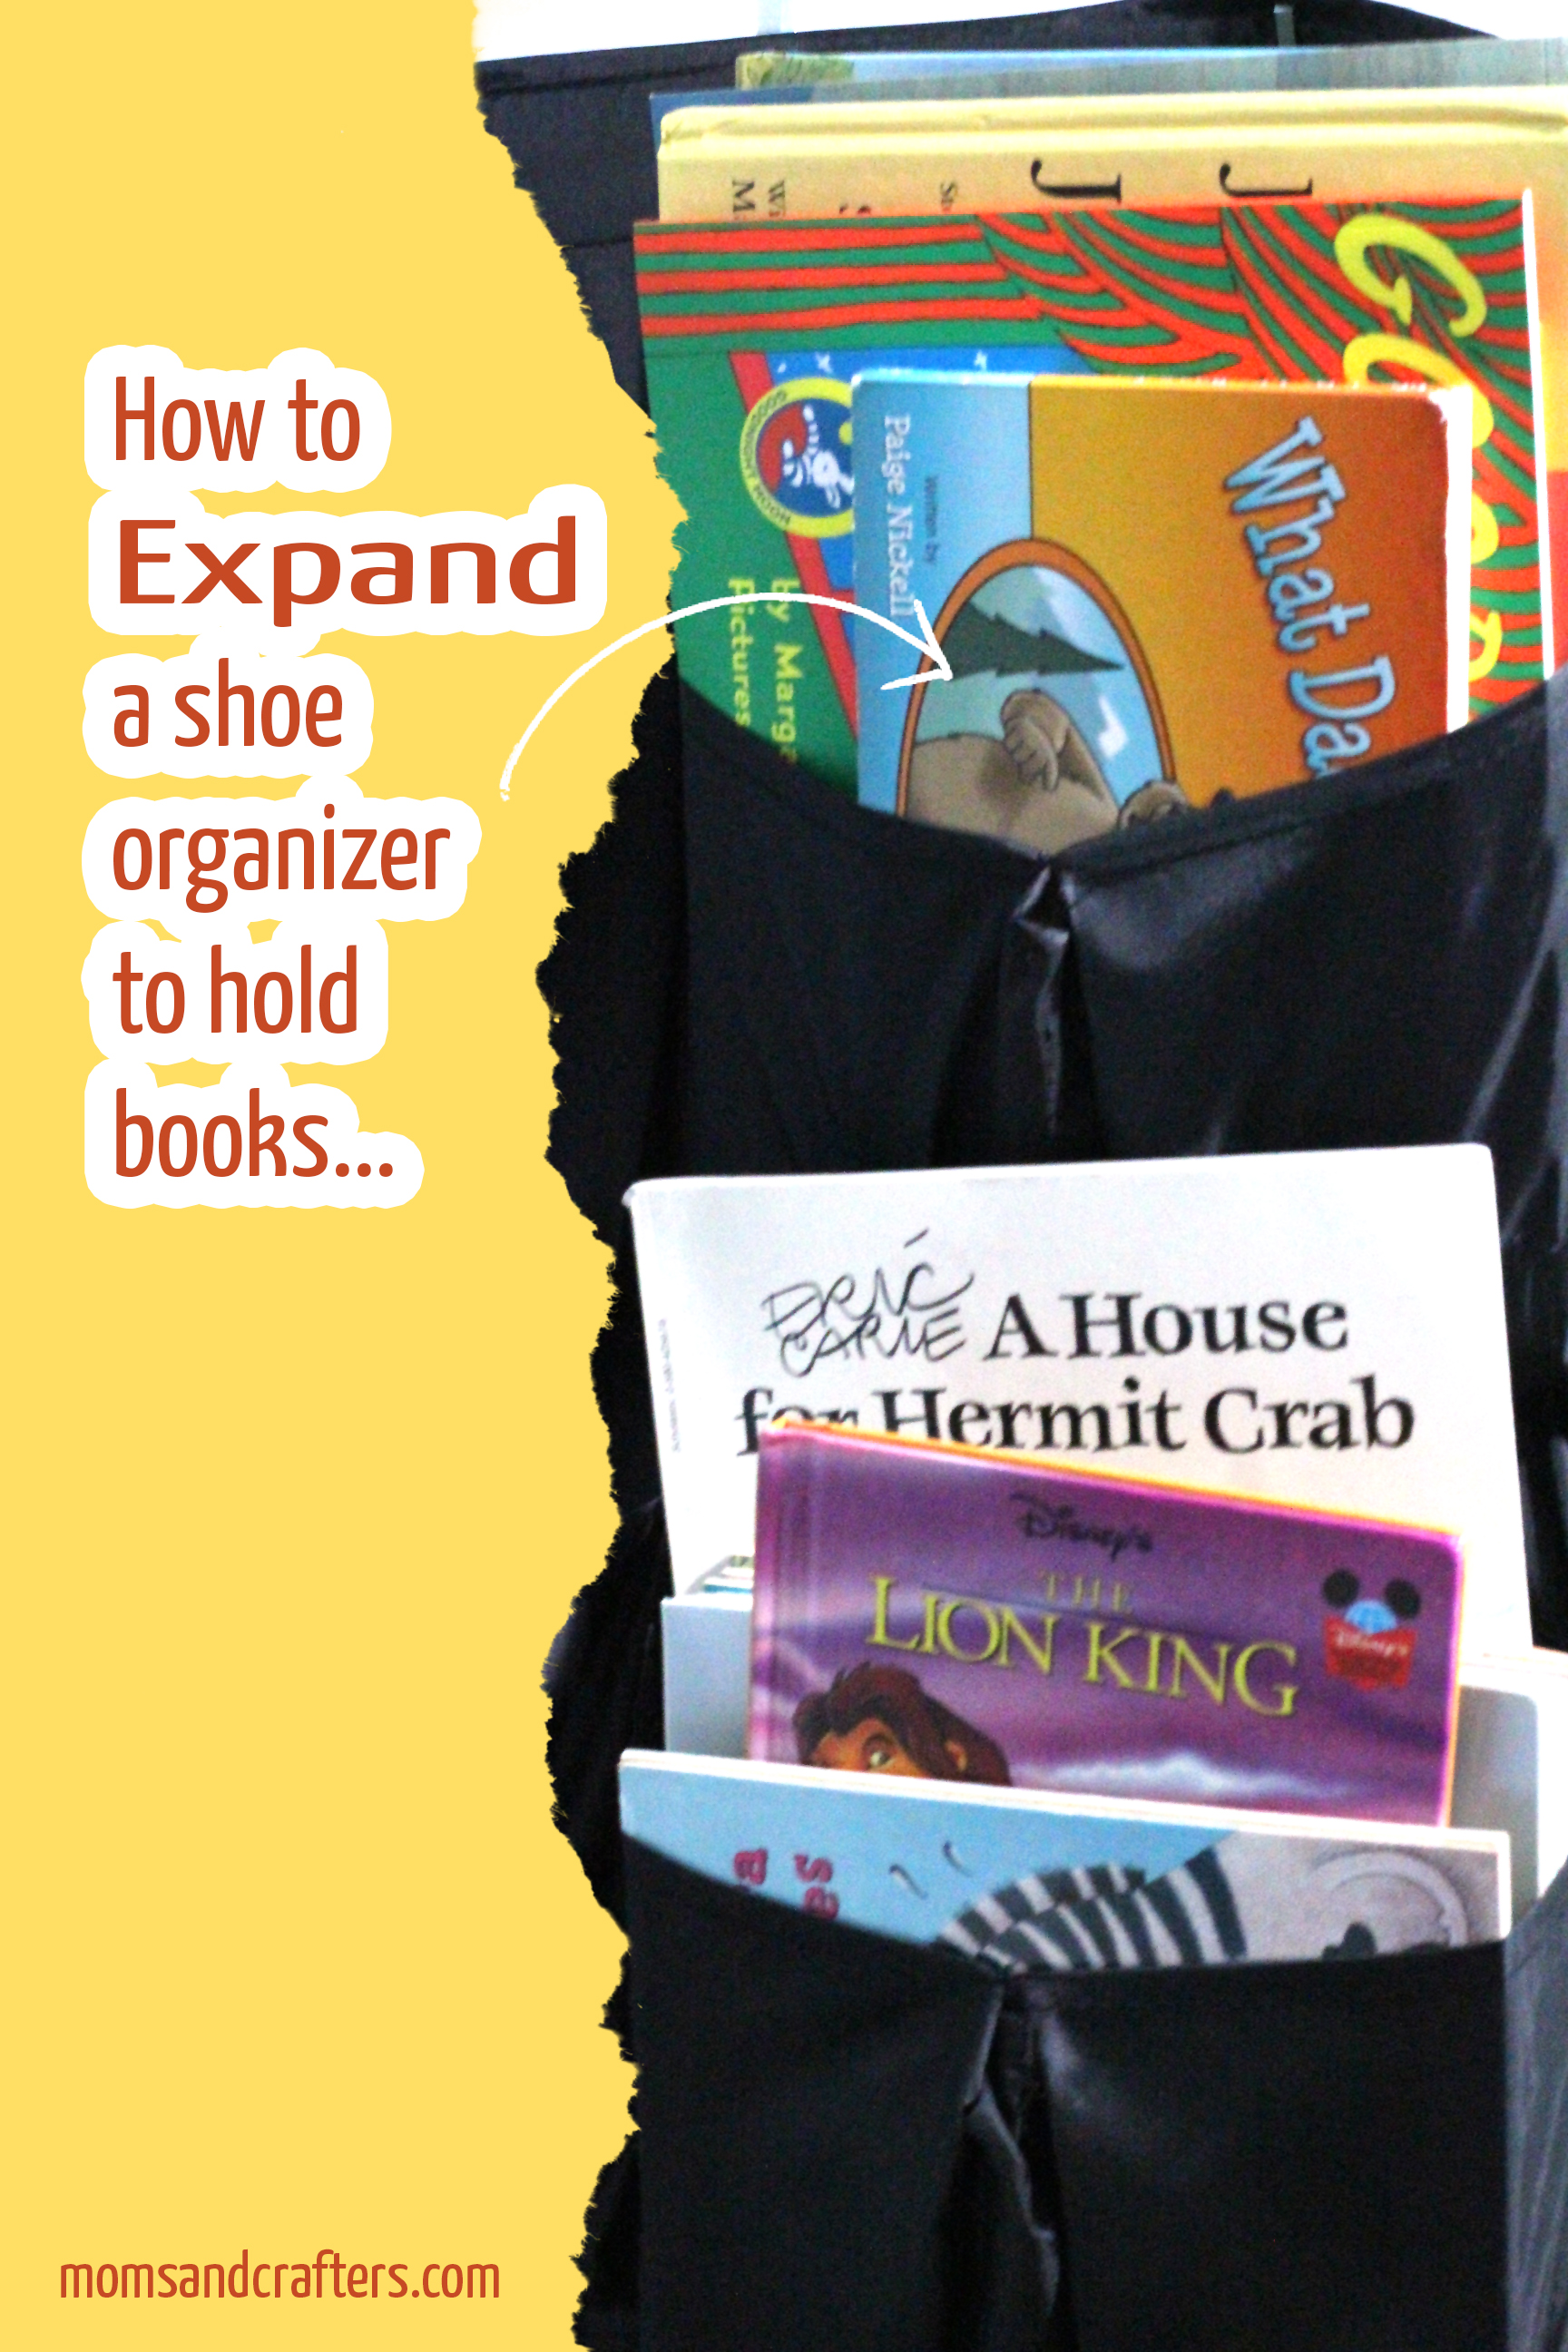 It takes just a few minutes to put together and saves lots of space!
The problem:
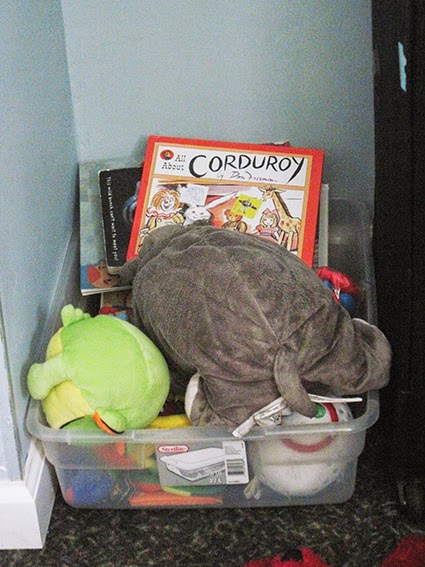
While an underbed storage box was a great toy storage solution when our little one had only a few rattles and a couple of books, it did not last long. We bought him some new electronic toys at the flea market, and some stacking cups and rings, so we needed to expand. The underbed box is also not very space efficient as you can see.
The simple toy and book storage solution:
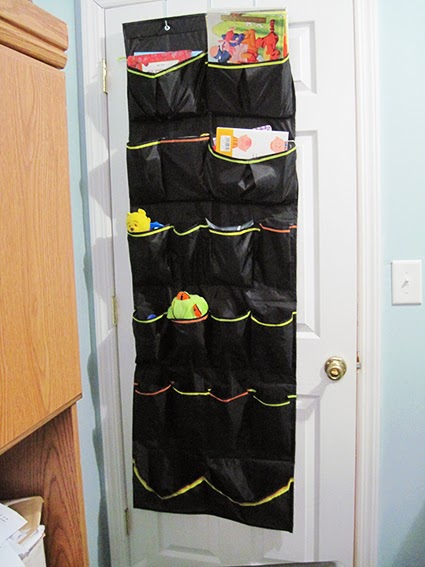
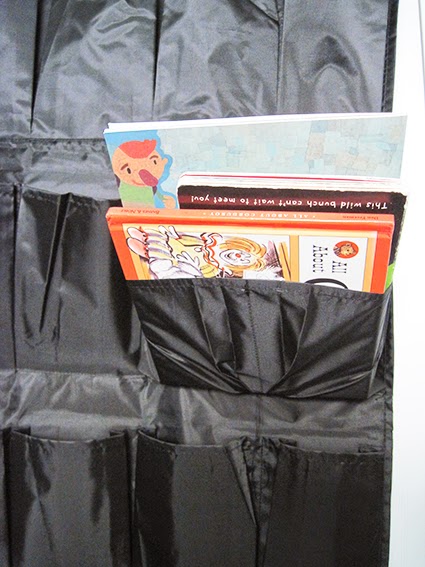
I went to Ikea and bought a shoe organizer.
Shoe organizers are my favorite way to organize anything in my home. The small compartments make them versatile and they hardly take up any space. You can use the enclosed hooks to hang them over a door, or, if you’re out of doors (!) you can hang them from hooks on your wall using the holes (remove the hooks). You can use this hack to make storage for anything. I think that when we have enough books, I’ll convert this into a book rack only.

You can really use any shoe organizer, of course, if you’re not going to make it to Ikea (for the cheapest option), want something nicer, or if you want something sturdier to last longer. My favorites are (click on image links – see disclaimer below):
 |
| comes with two compartments pre-joined! |
 |
| bamboo base- practically a piece of furniture |
 |
| simple pattern that’s both playful and classy |
 |
| simple like the one I chose but much sturdier |
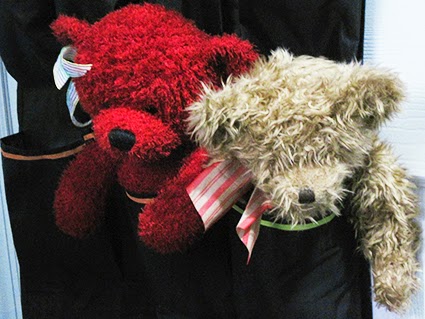
Shoe organizers have painfully small compartments for toys, so you may want to join some together. As is, they work for rattles, linkies, parts, stacking cups, and smaller stuffed animal. For larger toys and books, you’ll want tojoin two compartments (not more) together by following these two steps. It takes about five-ten minutes and you only need to know how to thread a needle.
 |
| seam ripper |
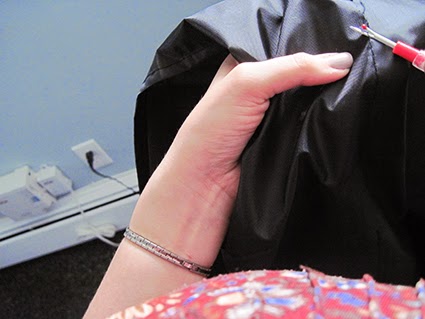
Find the seam that separates those two sections and carefully tear it open with a seam ripper. Work from the back of the organizer.
Toys/books will hang out too much as you can see. They are not supported enough.
 |
|||||
| needle and thread |

Sew the outer corners of the top of the pleat together with a few simple stitches. Repeat with as many as you’d like. It’s easy as that! Note: I mentioned earlier that you do not want to do more than two compartments together as it will hang open too much (even if you secure the pleat).

 |
| washi tape |
 |
| spongebob duct tape |
 |
| fabric paints |
Disclaimer: Picture links that link to Amazon are affiliate links. I took the time to find the products you need for you. this article took me nearly two hours to put together, not counting the time it takes to photograph and fix up the photographs. By purchasing through these links you are enabling me to continue to provide you with unique, informative articles. You are also helping support a stay at home mom and her family. Do not purchase anything you would not purchase anyway, but if you do purchase, I will greatly appreciate it!
I think my kids would like the idea of decorating a shoe rack with duct tape to make a toy holder. I bet it would get used a lot.
I love this!!! I wouldn’t have thought of it! It would be perfect for all of my boys cars and trains!!!
What a great idea. I love using these for all kinds of storage ideas around the house.