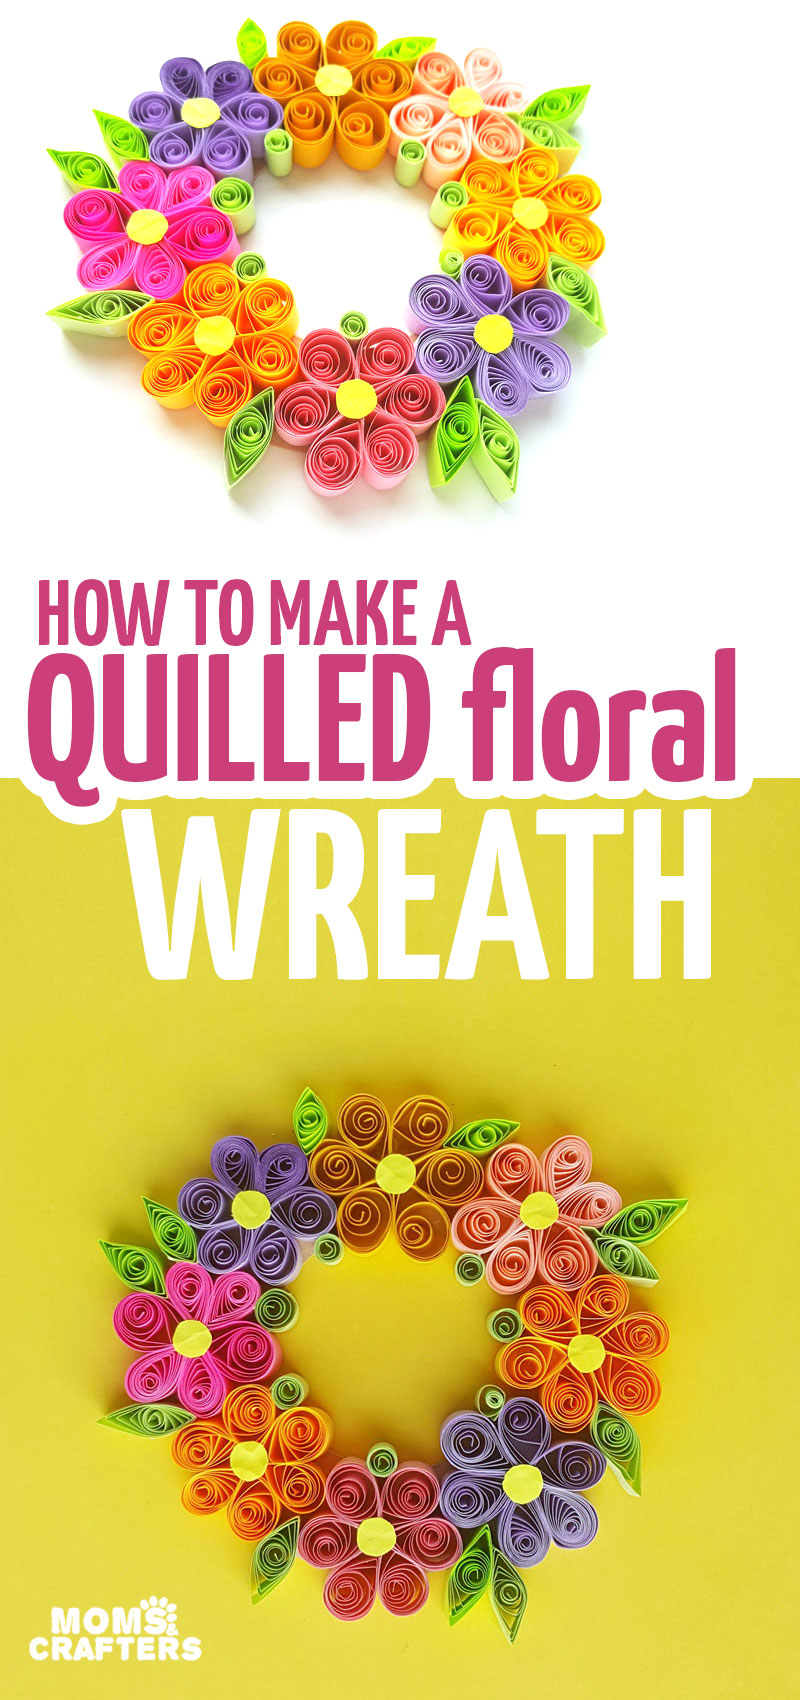
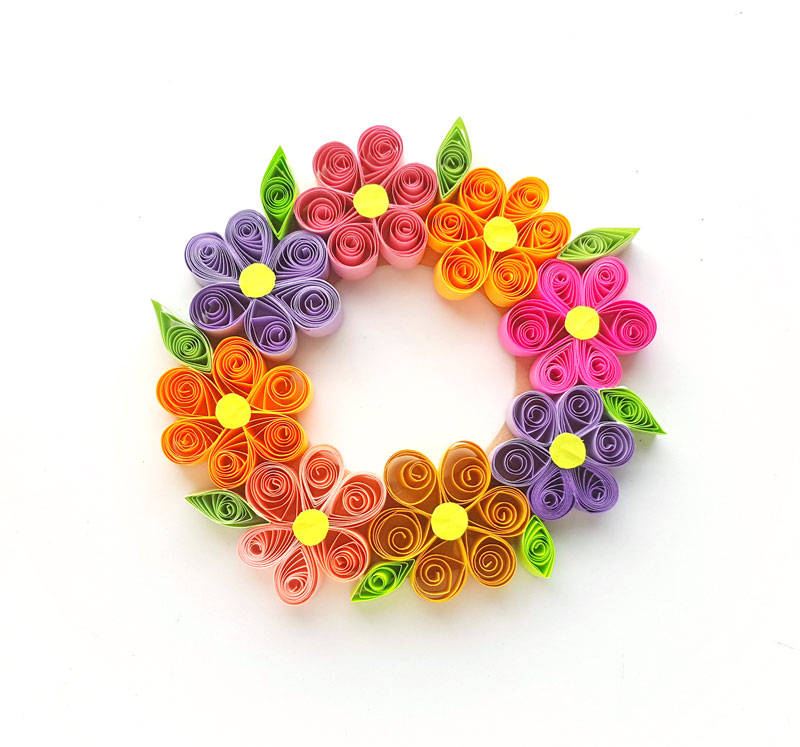
Paper Quilling Wreath with Easy Quilled Paper Flowers
This Spring, make a beautiful paper quilling wreath to brighten up your home. You can try out this paper quilling flower pendant too if you’d like a wearable version of this craft! Disclosure: this post contains affiliate links.
Paper quilling is a magnificent, intricate craft. However, many people are intimidated by it because it looks a lot more complicated than it is.
Most paper quilling projects start with very basic shapes, combined to create more elaborate illustrations. This paper quilling wreath shows you how to make something slightly more detailed while still using only very basic shapes:
- Teardrops
- Marquis and
- Open coils
This tutorial also uses small circles at the connection of the flowers, however, you can modify it as you see fit. Those are used to simplify the process for beginners.
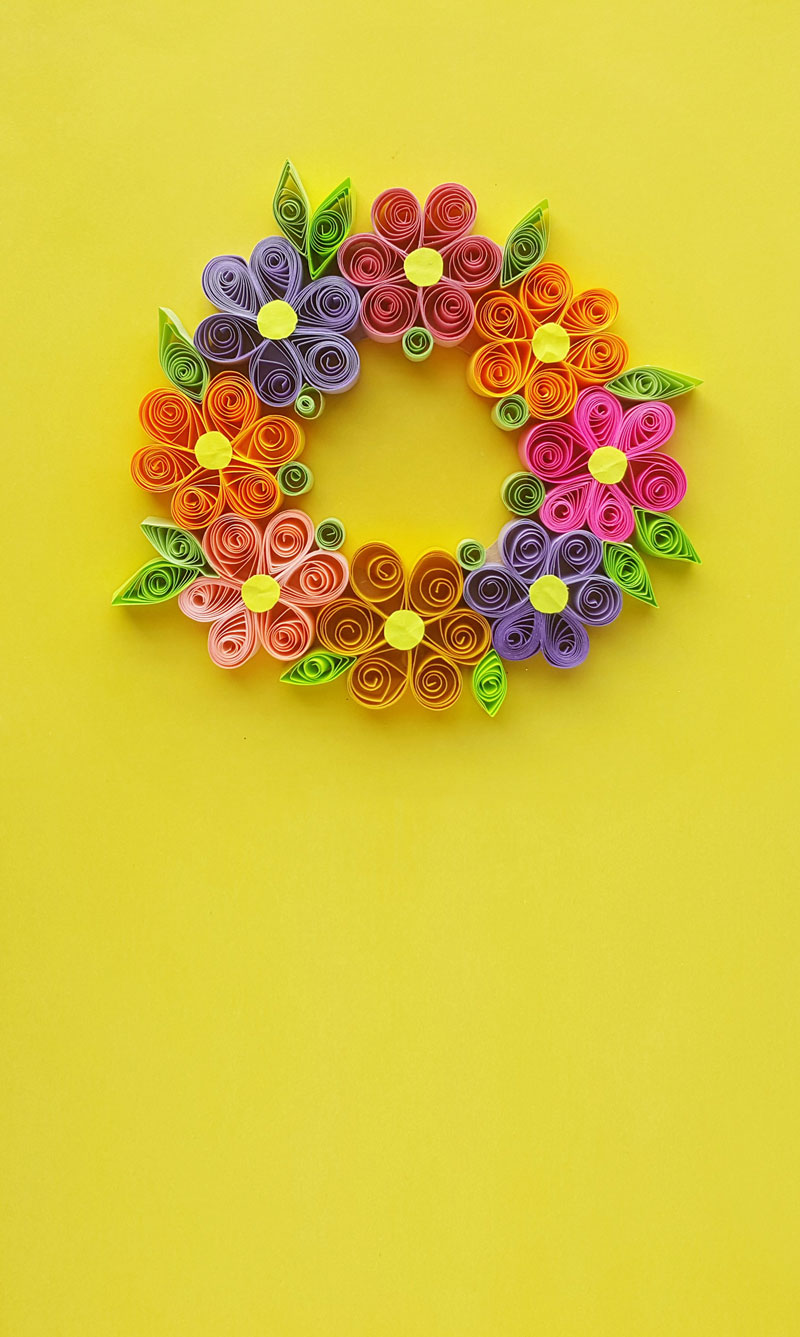
While this beautiful paper quilling wreath is not weatherproof, it’s a great option for placing on a table, as a base for a vase, indoors, or on a well-protected front door.
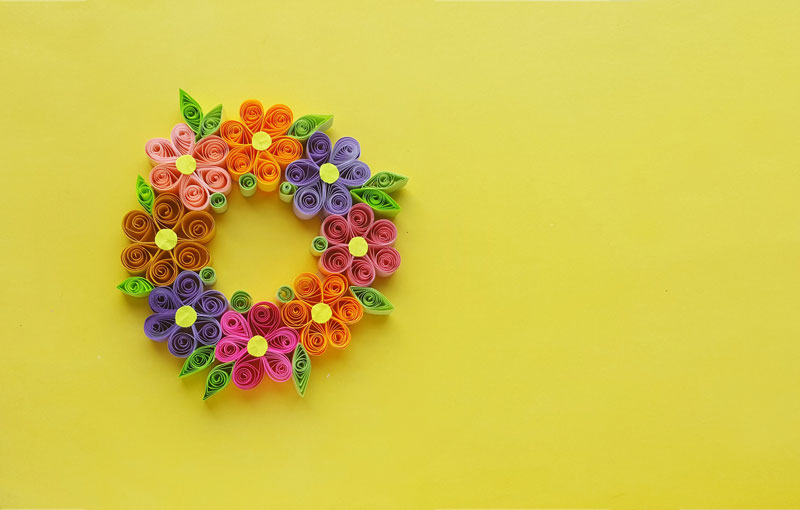
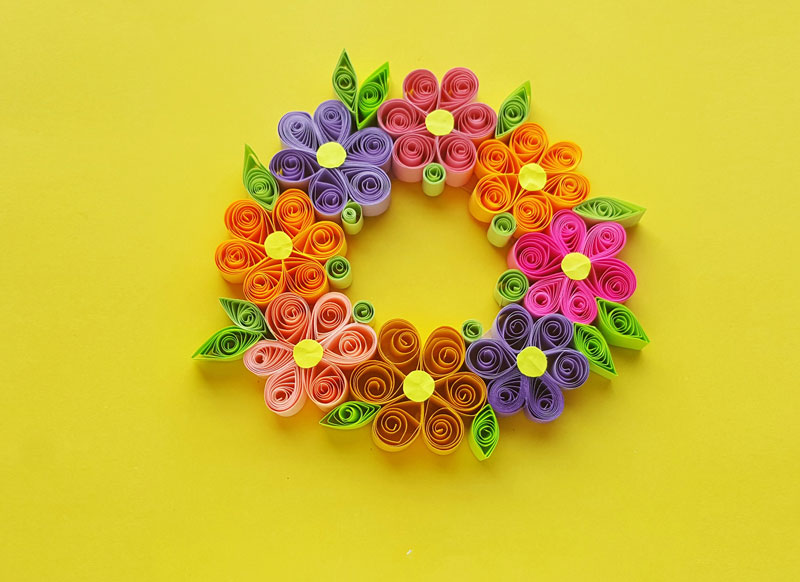
It uses a simple cardboard base making it an extremely inexpensive Spring wreath idea that does not compromise on looks.
Since this project requires a bit more quilling work, I’d recommend having a motorized tool if your wrist is sensitive to repetitive stress injury. It’s not required, though. I also recommend having some basic convenience tools in your stash – they’re not that expensive and very versatile, and will help you remain consistent in your paper quilling wreath.
Want another fun paper quilling idea for Spring? Check out these paper quilling tulips – another great starter project!
What you need to make a paper quilling wreath:
- Paper quilling strips
- Slotted quilling tool
- Scissors
- Craft glue
- Cardboard to make your wreath base
- Recommended: glue precision applicator
How to make a floral paper quilling wreath for Spring:
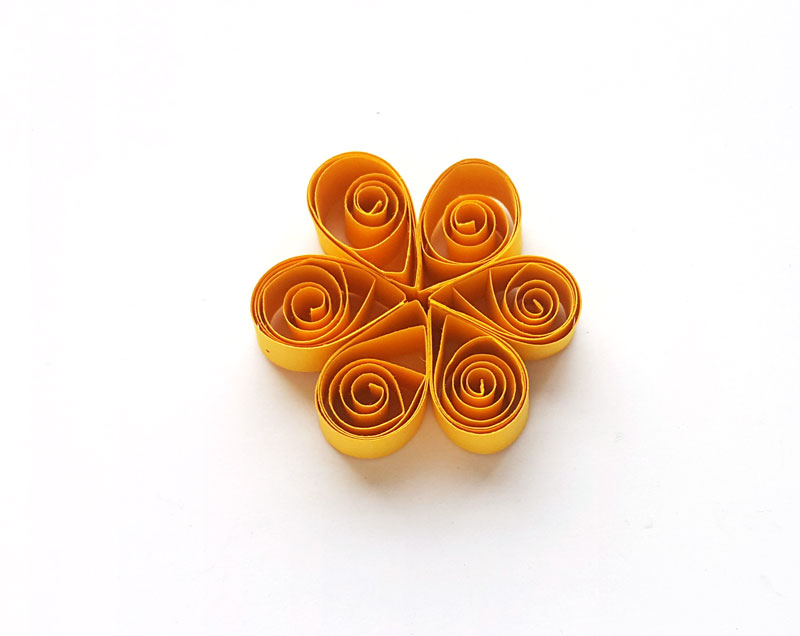
1. Take a 15 cm long quilling strip and make a teardrop shape with it. Simply coil the entire strip with the slotted quilling tool and then take out the coiled strip carefully from the tool. Allow the coiled strip to loosen up freely. Press the loose coil at any point to make teardrop shape. Make 5 more teardrop shapes. You will need a total of 6 teardrop shapes to make each flower.
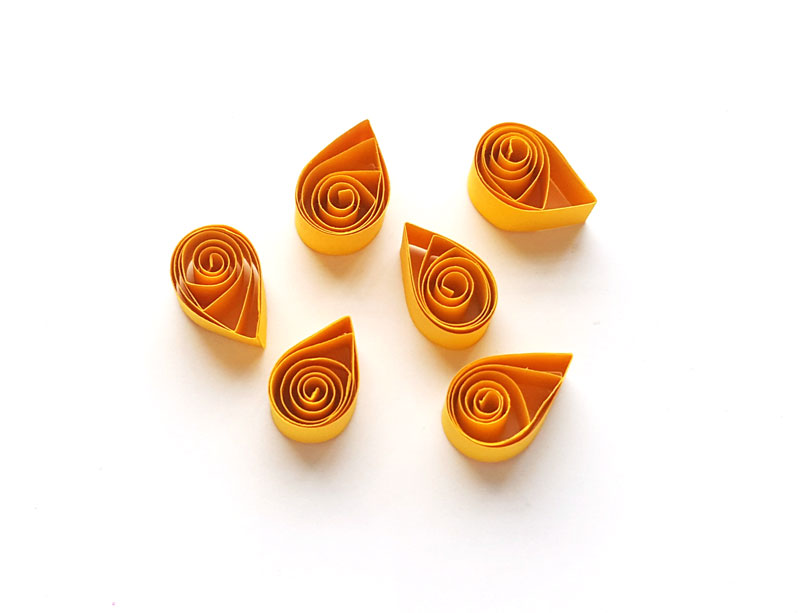
2. Glue all 6 teardrop shapes together, keeping the curved ends facing outwards and points facing towards the center.
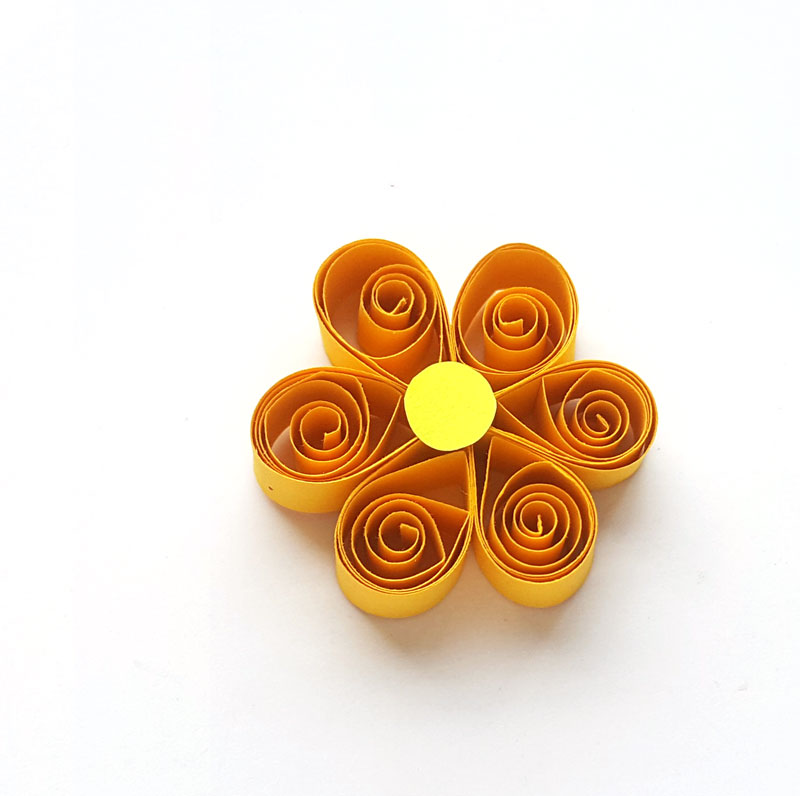
3. Cut or punch out a small circle shape and glue it to the center of the quilled flower.
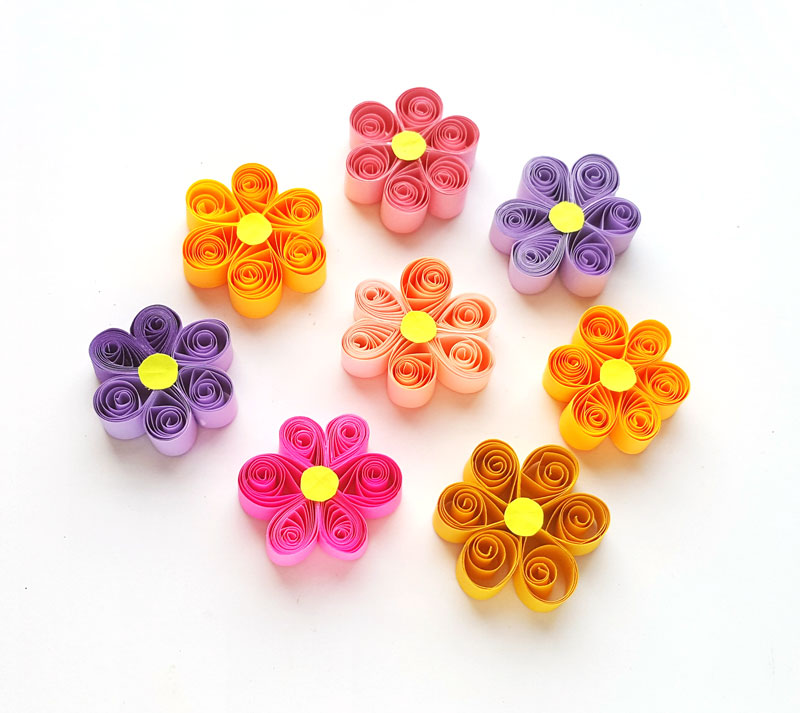
4. Repeat to make more paper quilling flowers using different colored quilling strips.
5. Use green colored quilling strips to make basic quilled marquis shapes for the leaves. Do this by making a loose coil and pinching both ends.

6. Cut out a round wreath base from cardstock paper. This determines the size of your final wreath.

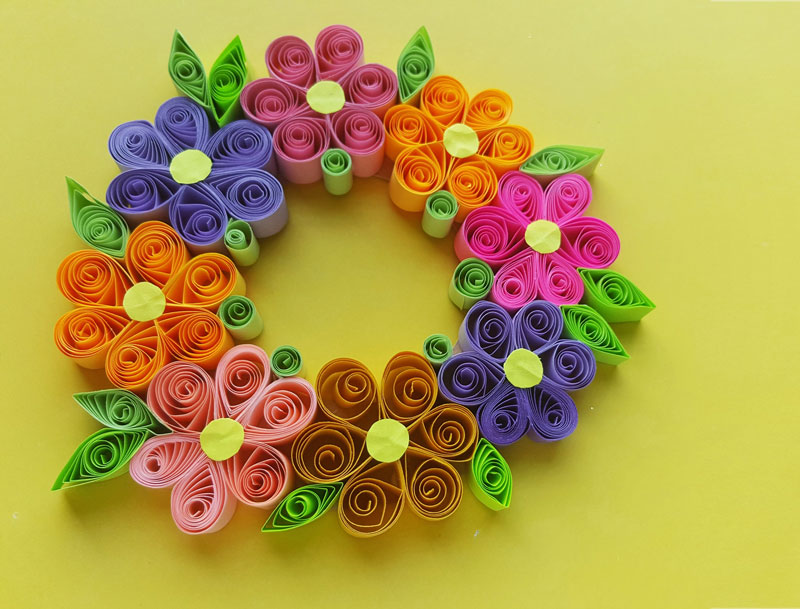
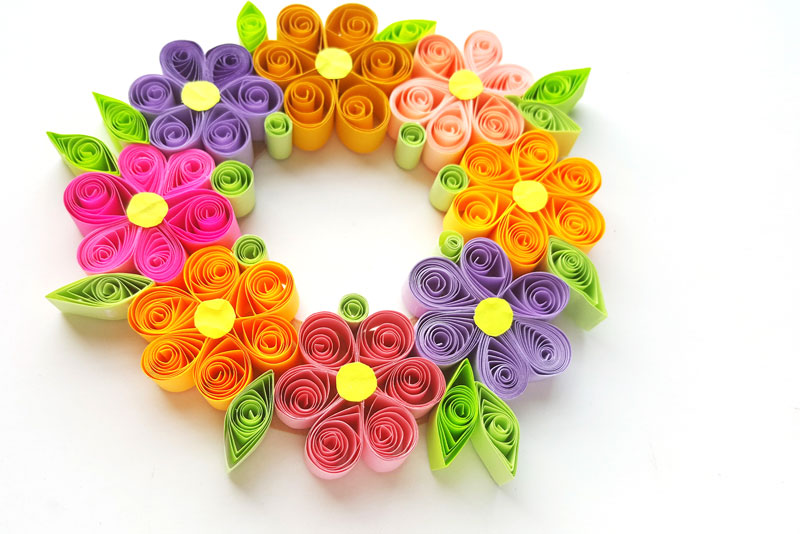
7. Start by gluing the quilled flowers to the wreath base. Keep adding the flowers until the wreath is filled. Place them so that they touch each other, covering as much of the wreath as you can without compromising on appearances.
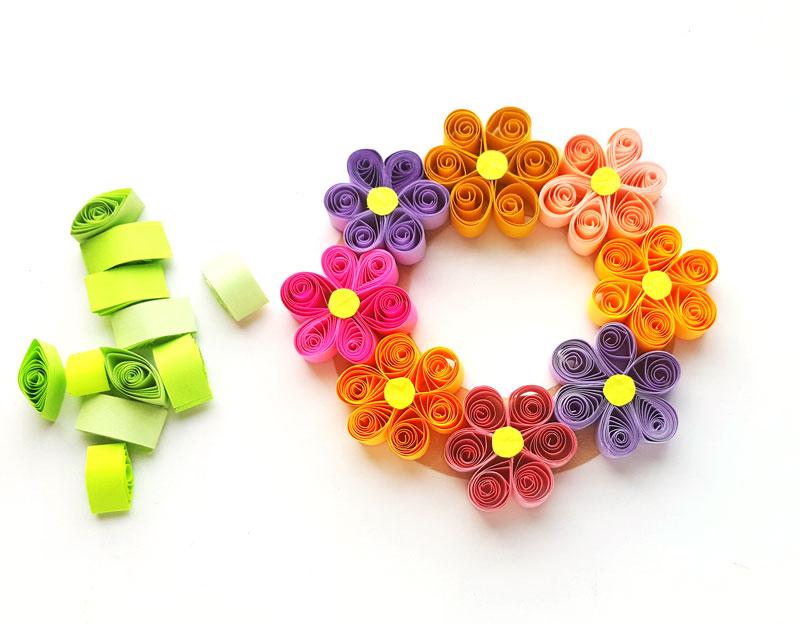
8. Once you are done gluing the quilled flowers to the base, glue the quilled leaves on the wreath base, filling in spaces on the outer edge of the base, between flowers.
9. After gluing all the quilled flowers and leaves if there are still some blank spaces left on the base or if you want to decorate it a little more, glue some loose quilled coils in the gaps.
Allow the glue to dry completely once the wreath is complete.
You have successfully tried a paper quilling wreath! Where will you be using yours? Comment below!
Learn how to make your own paper heliconia, or try these fun color-in paper flower templates for more cool Spring flower crafts! Or, try making a crepe paper flower wreath.

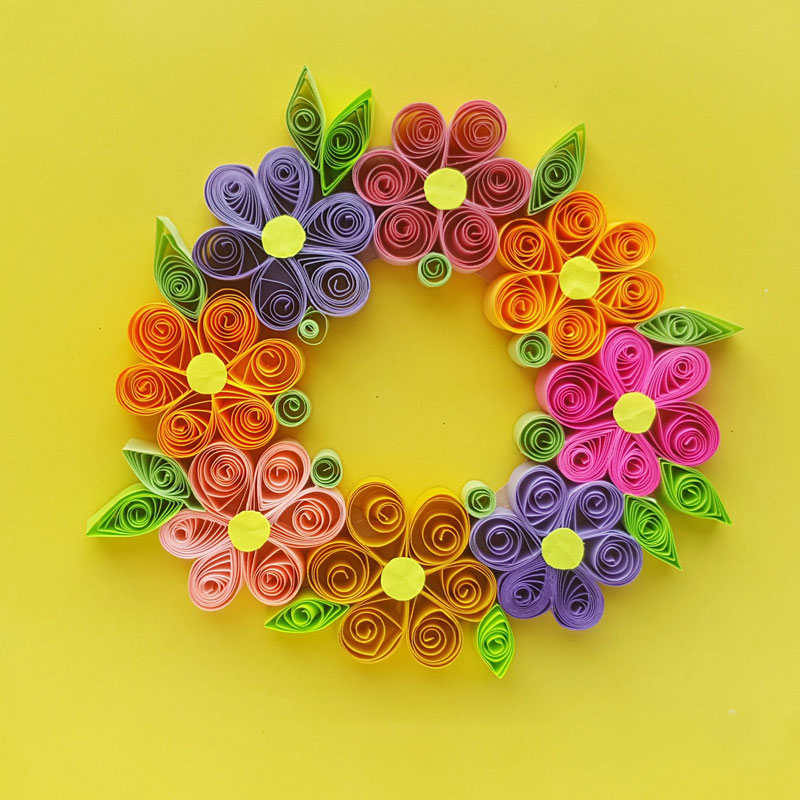
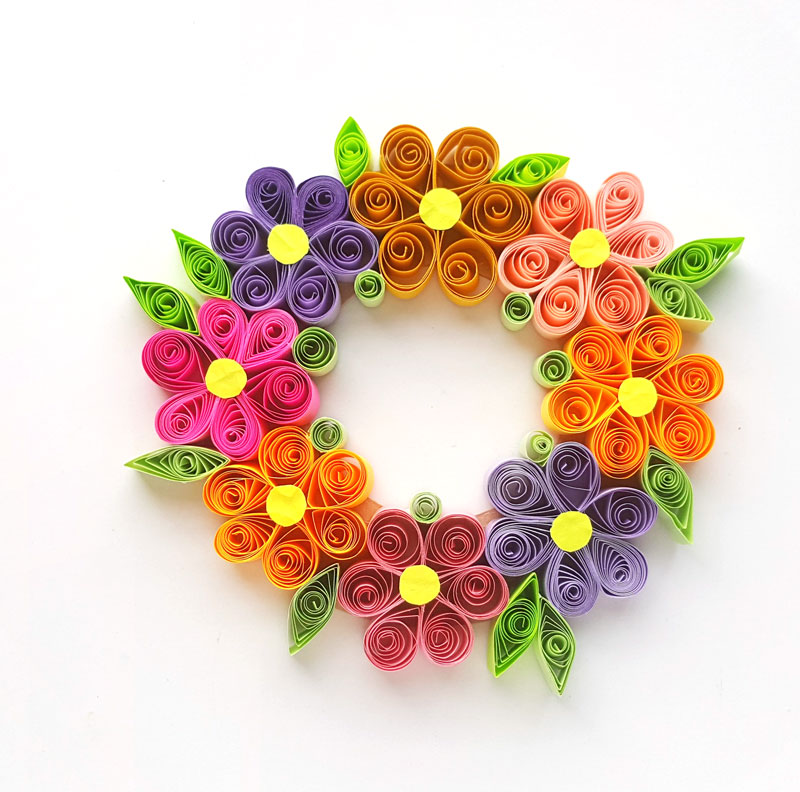
Quilled Floral Wreath
Use basic paper quilling shapes to create a gorgeous paper filigree floral wreath for Spring.
Materials
- Paper quilling strips
- Slotted quilling tool
- Scissors
- Craft glue
- Cardboard to make your wreath base
- Recommended: glue precision applicator
Instructions
1. Take a 15 cm long quilling strip and make a teardrop shape with it. Simply coil the entire strip with the slotted quilling tool and then take out the coiled strip carefully from the tool. Allow the coiled strip to loosen up freely. Press the loose coil at any point to make teardrop shape. Make 5 more teardrop shapes. You will need a total of 6 teardrop shapes to make each flower.
2. Glue all 6 teardrop shapes together, keeping the curved ends facing outwards and points facing towards the center.
3. Cut or punch out a small circle shape and glue it to the center of the quilled flower.
4. Repeat to make more paper quilling flowers using different colored quilling strips.
5. Use green colored quilling strips to make basic quilled marquis shapes for the leaves. Do this by making a loose coil and pinching both ends.
6. Cut out a round wreath base from cardstock paper. This determines the size of your final wreath.
7. Start by gluing the quilled flowers to the wreath base. Keep adding the flowers until the wreath is filled. Place them so that they touch each other, covering as much of the wreath as you can without compromising on appearances.
8. Once you are done gluing the quilled flowers to the base, glue the quilled leaves on the wreath base, filling in spaces on the outer edge of the base, between flowers.
9. After gluing all the quilled flowers and leaves if there are still some blank spaces left on the base or if you want to decorate it a little more, glue some loose quilled coils in the gaps.
Allow the glue to dry completely once the wreath is complete.
Recommended Products
As an Amazon Associate and member of other affiliate programs, I earn from qualifying purchases.
-
 Little Red Riding Hood puppets
 -
 Learn With Play Kids Activities Ebook
 -
 Mug for Crafters - I Make Stuff - What's Your Superpower
 -
Youth Short Sleeve T-Shirt - I Make Stuff Whats Your Superpower - Funny Humorous Gift for Crafters
-
 Over 75 Printable Coloring Pages for adults - HUGE DISCOUNTED Coloring Bundle- PDF instant digital d