
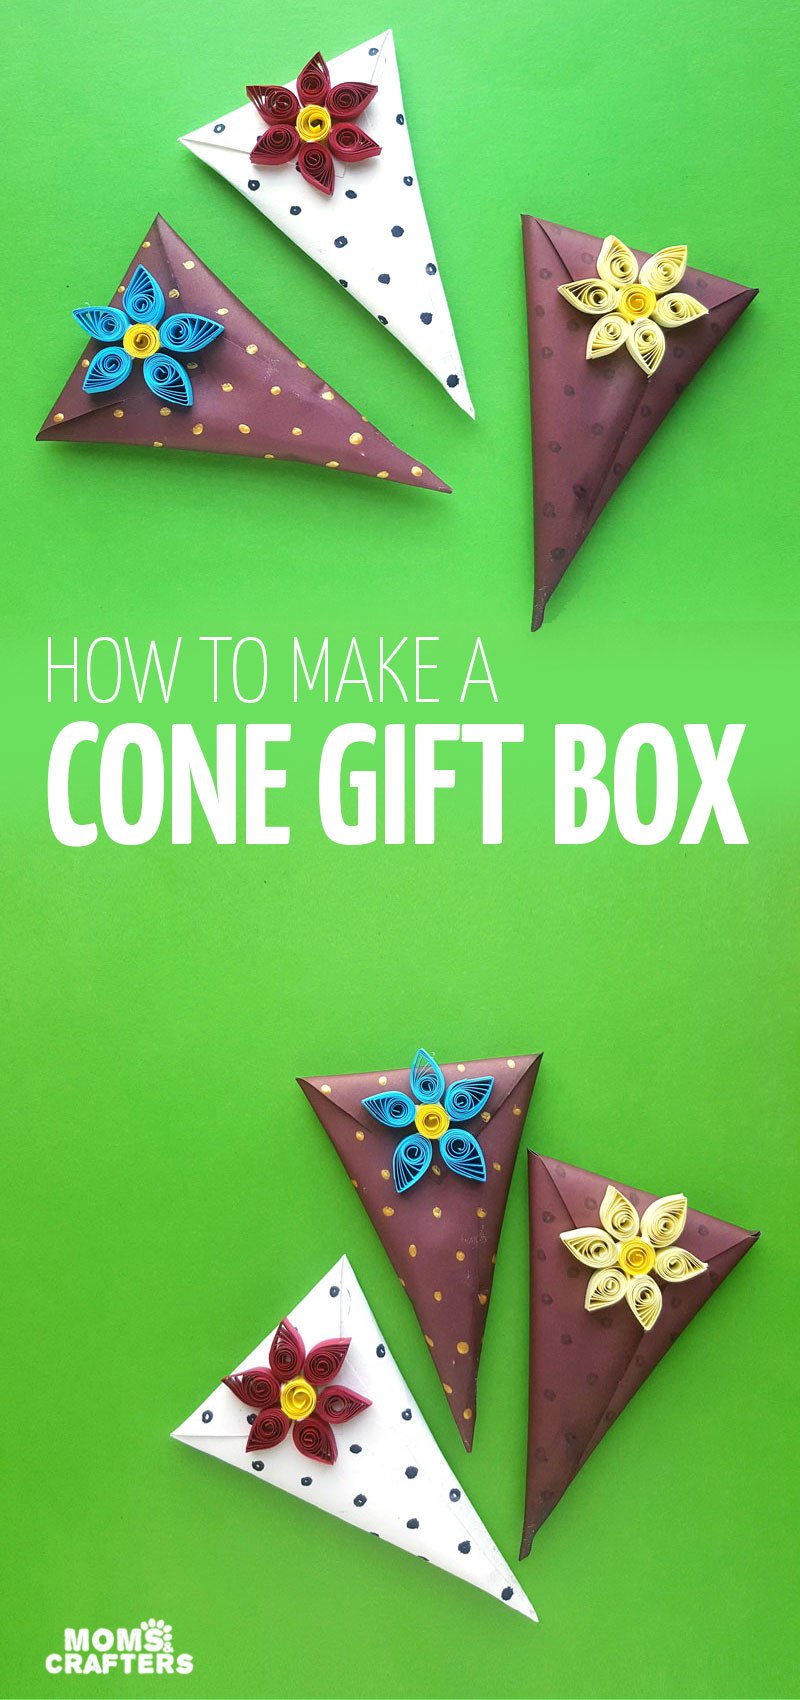
Cone gift box tutorial – a fun DIY gift wrap idea!
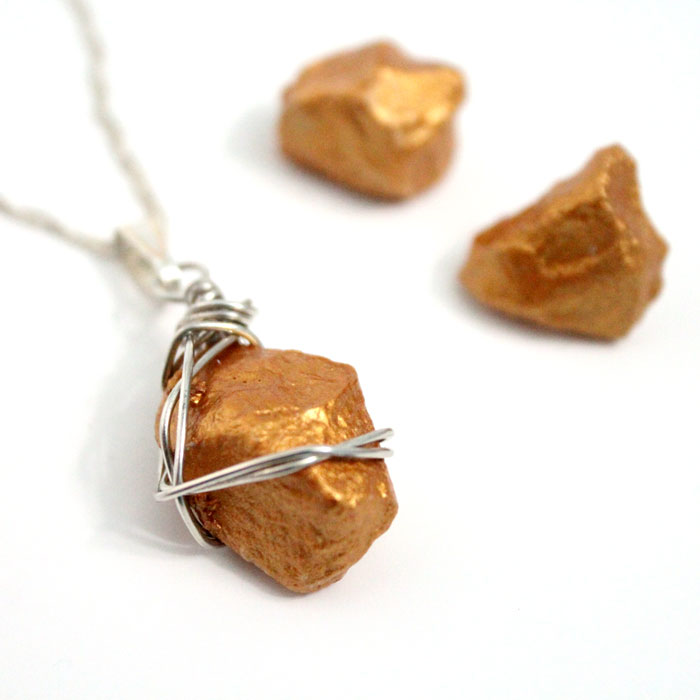
This pretty cone gift box is a perfectly sweet way to gift small items like jewelry or chocolates! If you’re looking for one that’s special for Valentine’s Day, check out my origami heart box, or scroll down for the tutorial for this cone gift box. Disclosure: this post contains commissioned links.
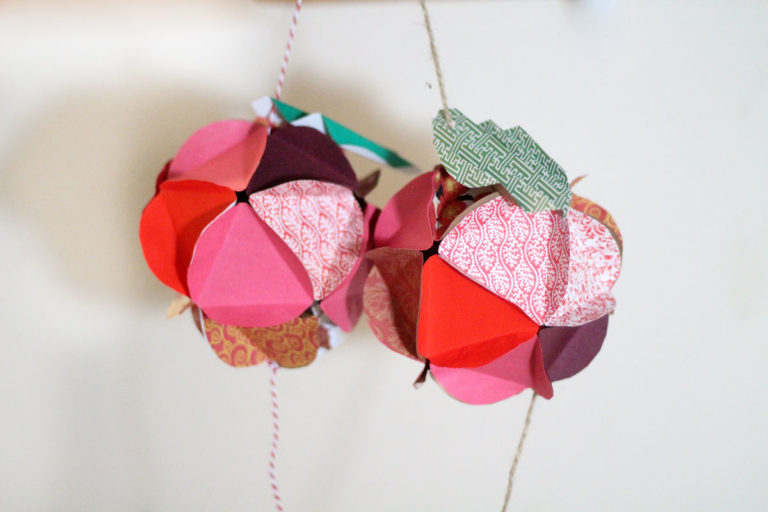
Sometimes, all it takes is a big of scrapbook paper to make a beautiful gift box. A while ago, I shared how to make a simple kirigami gift box from a sheet of paper. You can find the tutorial for those DIY gift boxes if you’re looking for something more conventional, that’ll hold slightly larger gifts.
However, if you prefer something cute and quirky that works for small gifts, try this cone gift box tutorial!
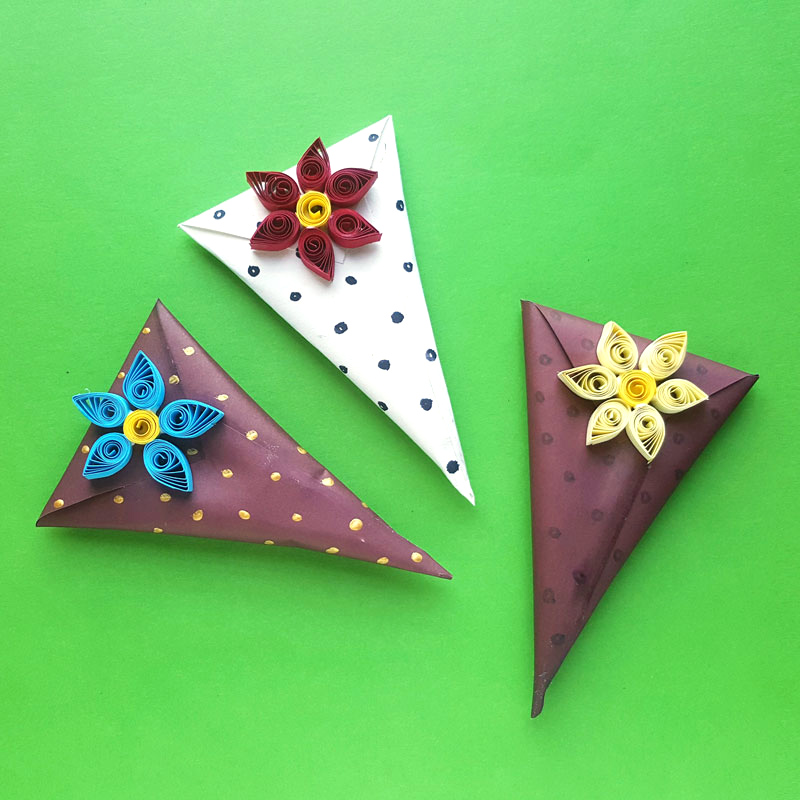
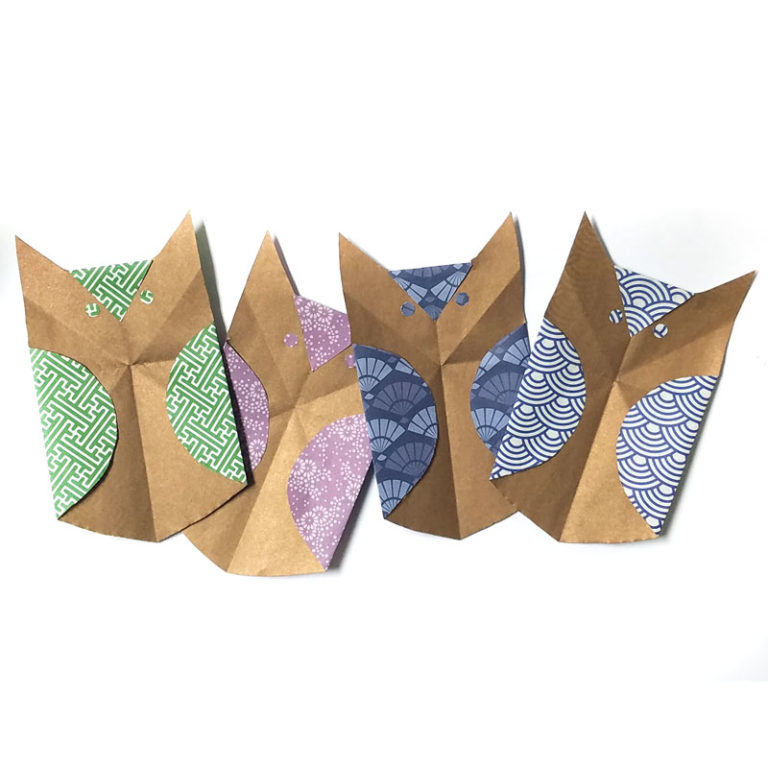
Just a few simple folds runs a sheet of paper into a cone that can hold chocolates or other sweets, or a jewelry gift.
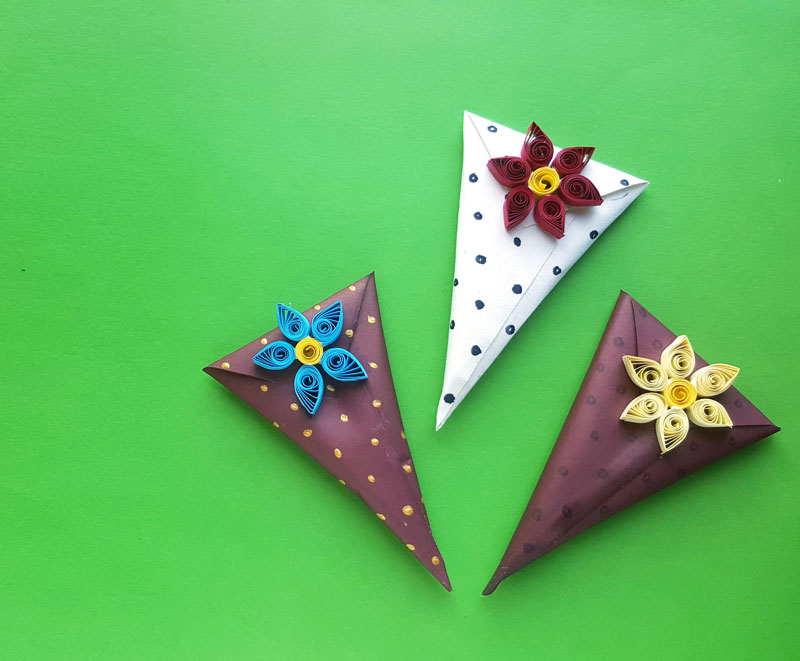
Embellish it with some simple paper quilling techniques to practice your paper quilling skills. If you’re making this for Christmas, quill a poinsettia. If you’re making it for Valentine’s day, you can quill a rose, a heart, or any “romantic” flower. Or, just have fun and skip the themes.
These cone gift boxes are simple enough to make as favor boxes. It’s a fun and inexpensive way to upgrade any small gift or favor.
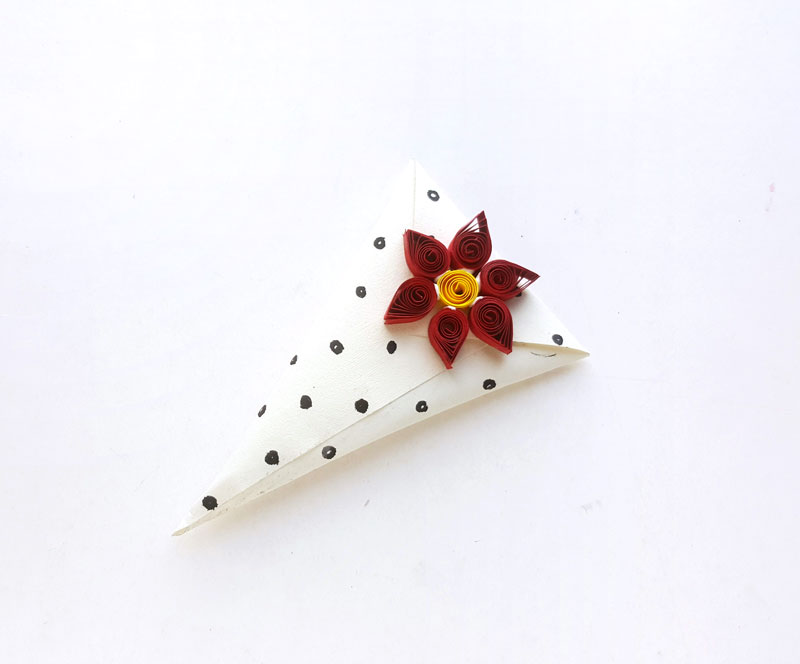
You can use pretty patterned paper for a cone gift box, or use plain white construction paper and embellish with black polka dots, or any other pattern.
What you need to make a paper cone gift box:
- Craft paper
- Quilling strips
- Slotted quilling tool
- Markers if using solid paper
- Glue stick or lines for the box
- Paper glue for the quilling
How to make a paper cone gift box:
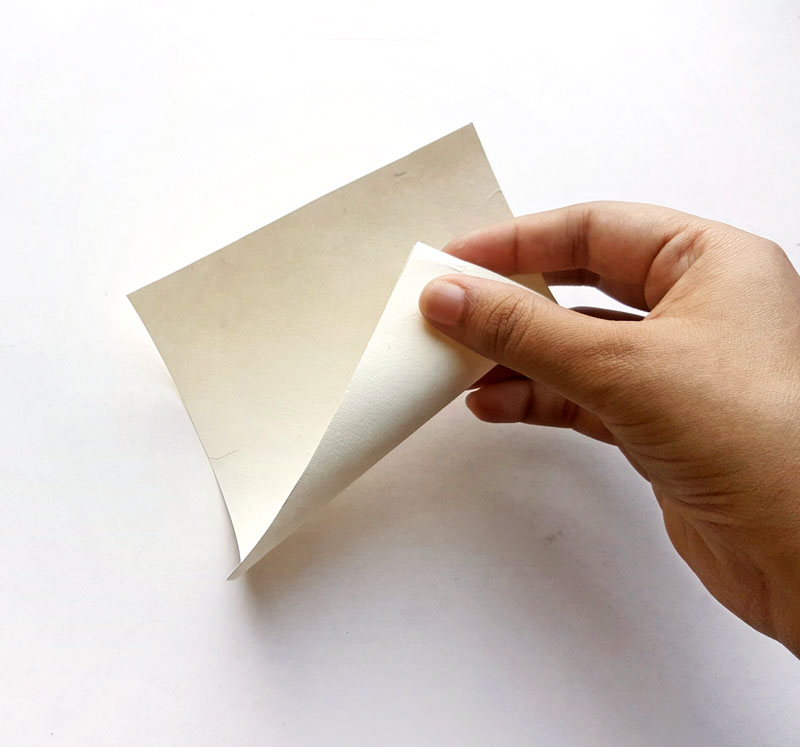
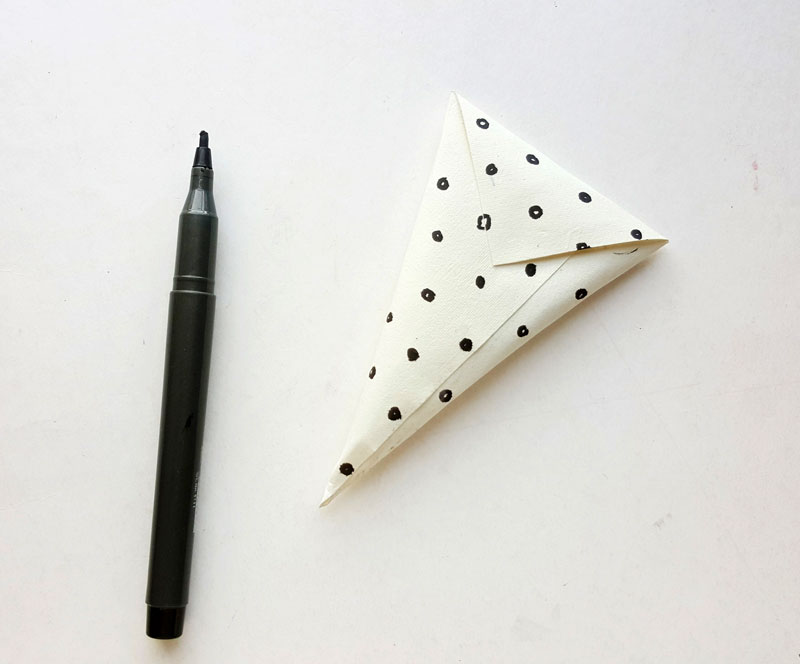
1. Take a piece of square craft paper. Bright the bottom right corner, up toward the center top of your square, stopping about an inch from the top. Do this so that the bottom left corner forms a point.
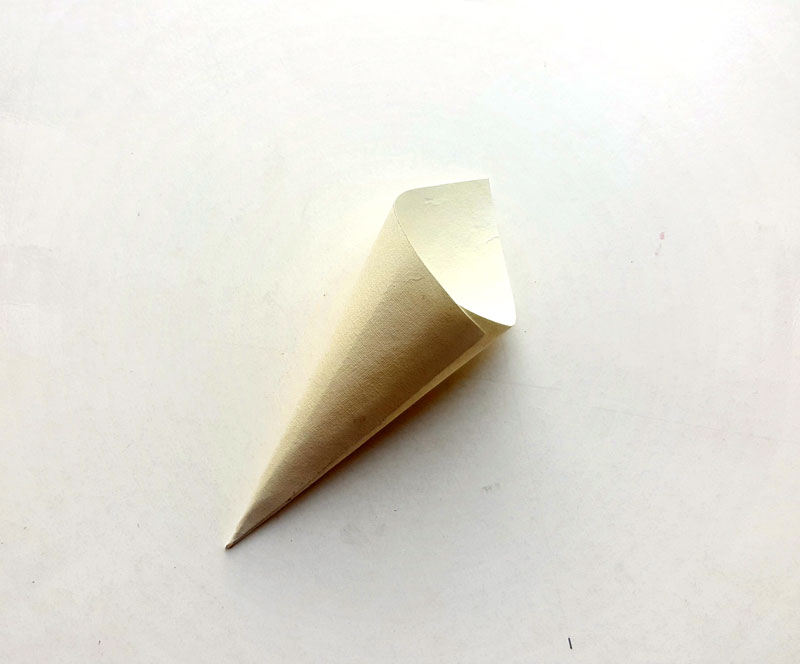
2. Bring the top left corner down so that it overlaps the side from the previous stop. What was previously the left edge should now overlap what started out as the bottom edge, forming a peak at what was the bottom left corner. Glue in place.
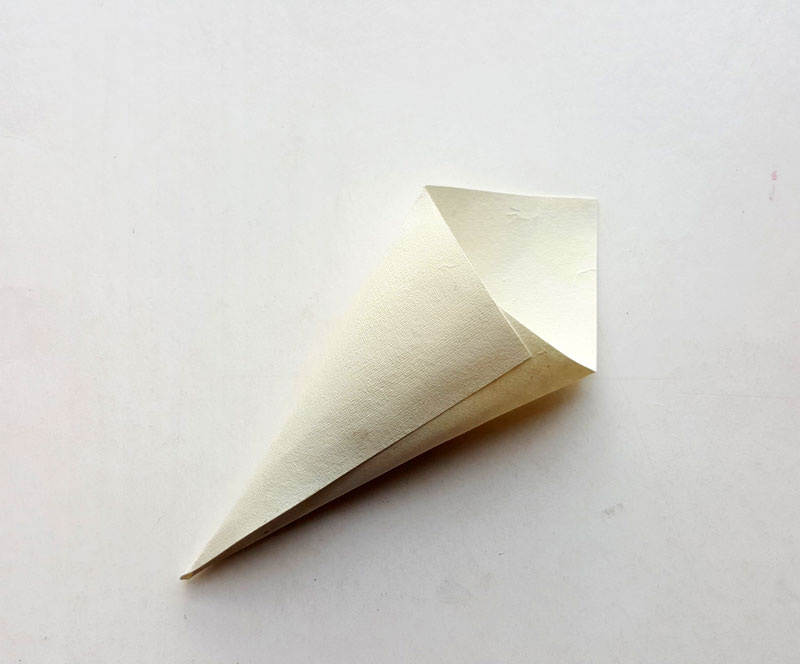
3. Press the cone on a flat surface to slightly flatten it. Place the gift inside the cone through its open end.
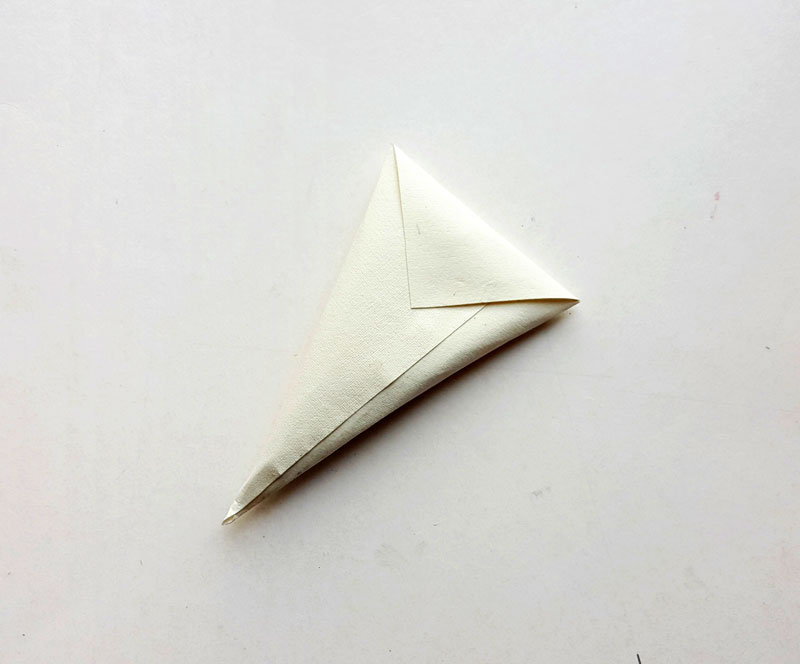
4. Now fold the top corner of the cone downwards and glue it to close. If you want to keep it as a reusable box, you can instead cut a small slit to insert the corner into.
5. Use a marker to draw polka dots or another pattern onto your cone.
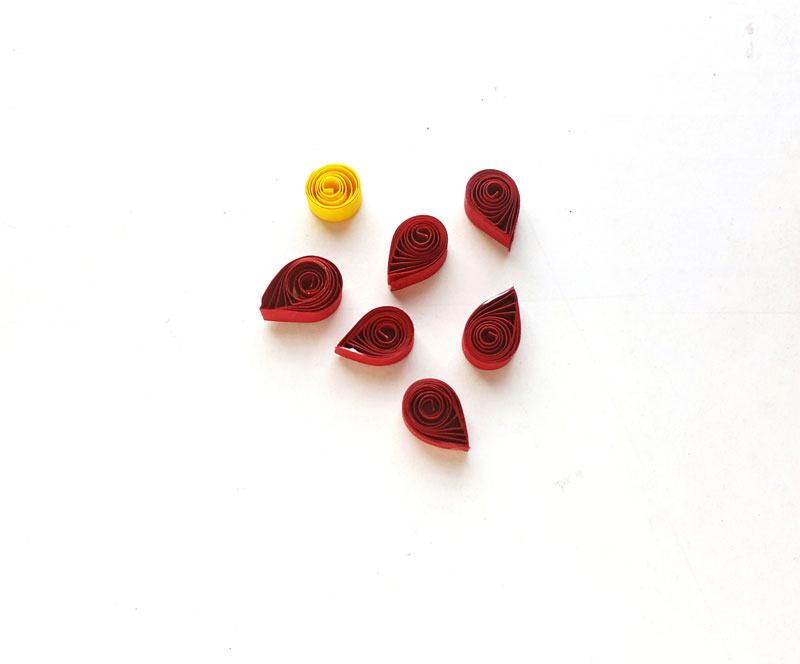
6. Time to grab those quilling strips! Create 1 loose coil using a one colored strip and 6 teardrop shapes using a second color.
7. Glue the loose coil to the top flap of the cone.
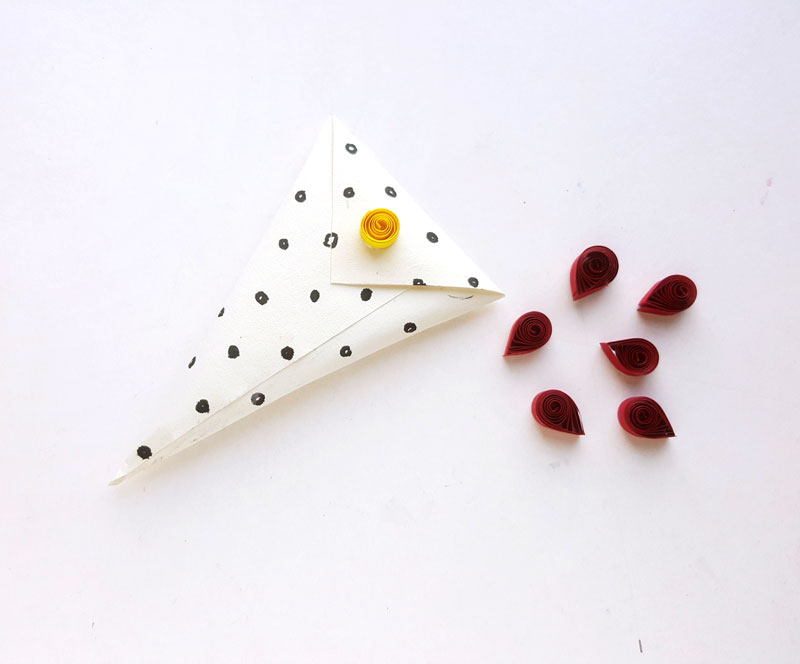
8. Take the teardrop shapes and glue them around the loose coil one by one to create a flower pattern.
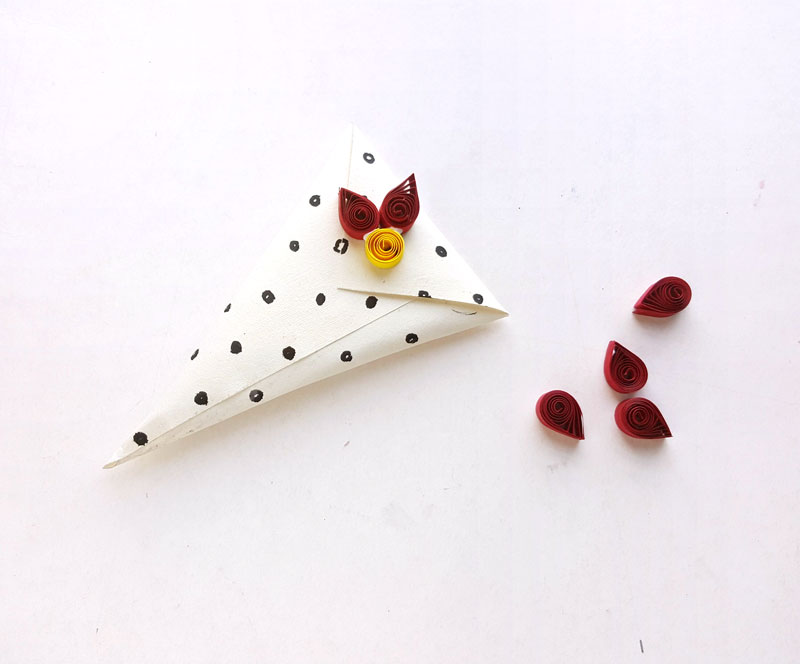
9. You can add more patterns to the flower or use a different quilled shape for the flower. Once the decoration is complete allow the glue to dry completely.
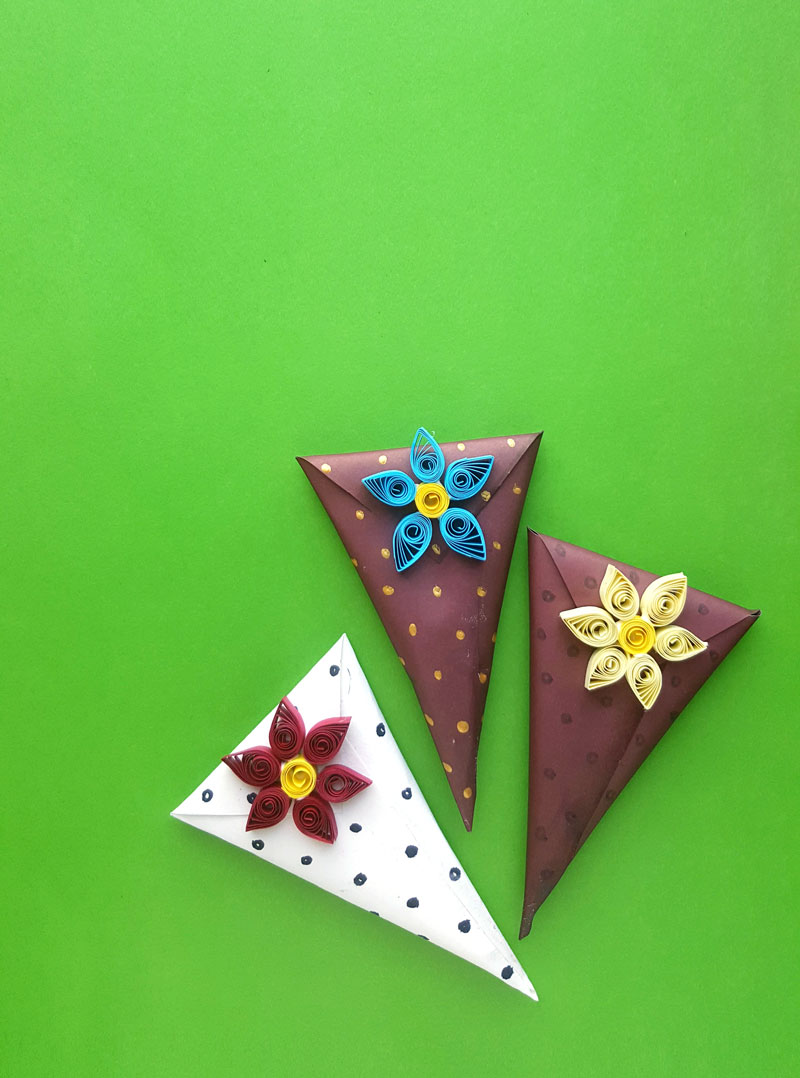
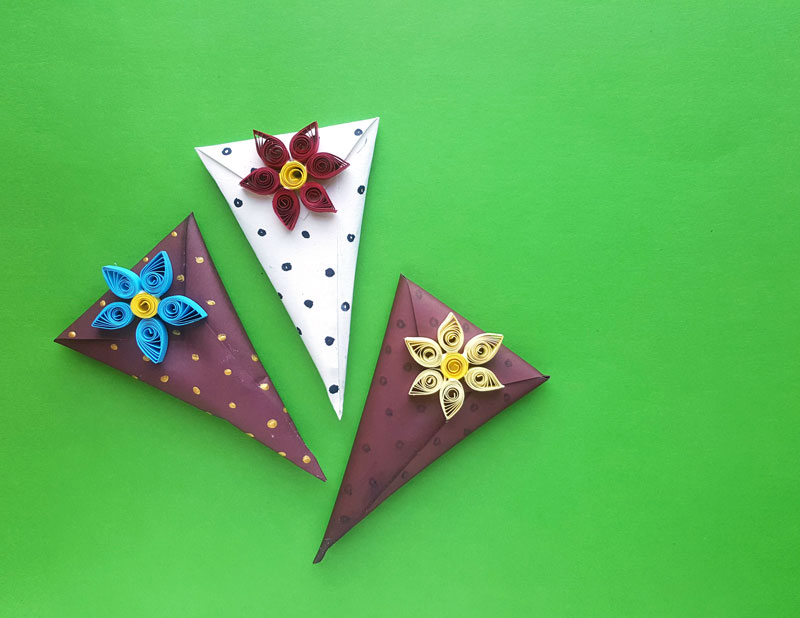
Your cone gift box is complete! Now try it in other colors and patterns!
What will you be using this cone gift box tutorial for? Who will you be gifting to? Comment below!

Always enjoy seeing your ideas. I will be using this in place of gift bags for my daughter’ birthday party coming up. I haven’t quilled in years, but figure I will use a hole punch and ribbon to close and spiral the ribbon.
Thank you Kerri! Yes, this would totally work without the quilling – I love your idea! It’ll definitely add a cute twist! And such a great idea to use instead of favor bags – wrapping or scrapbook paper in any theme would work for this too!