
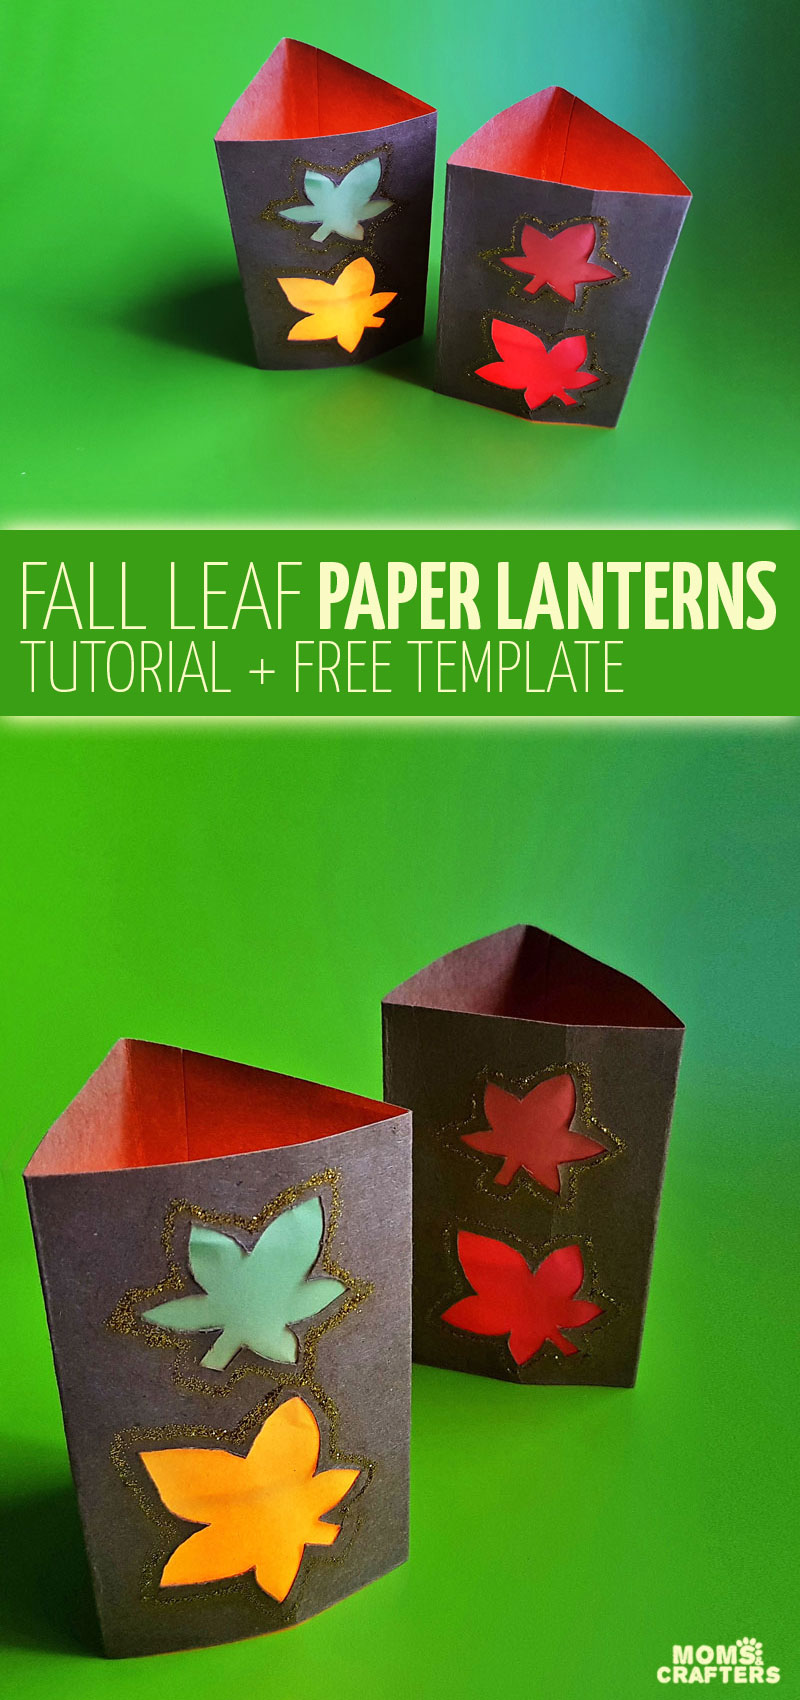
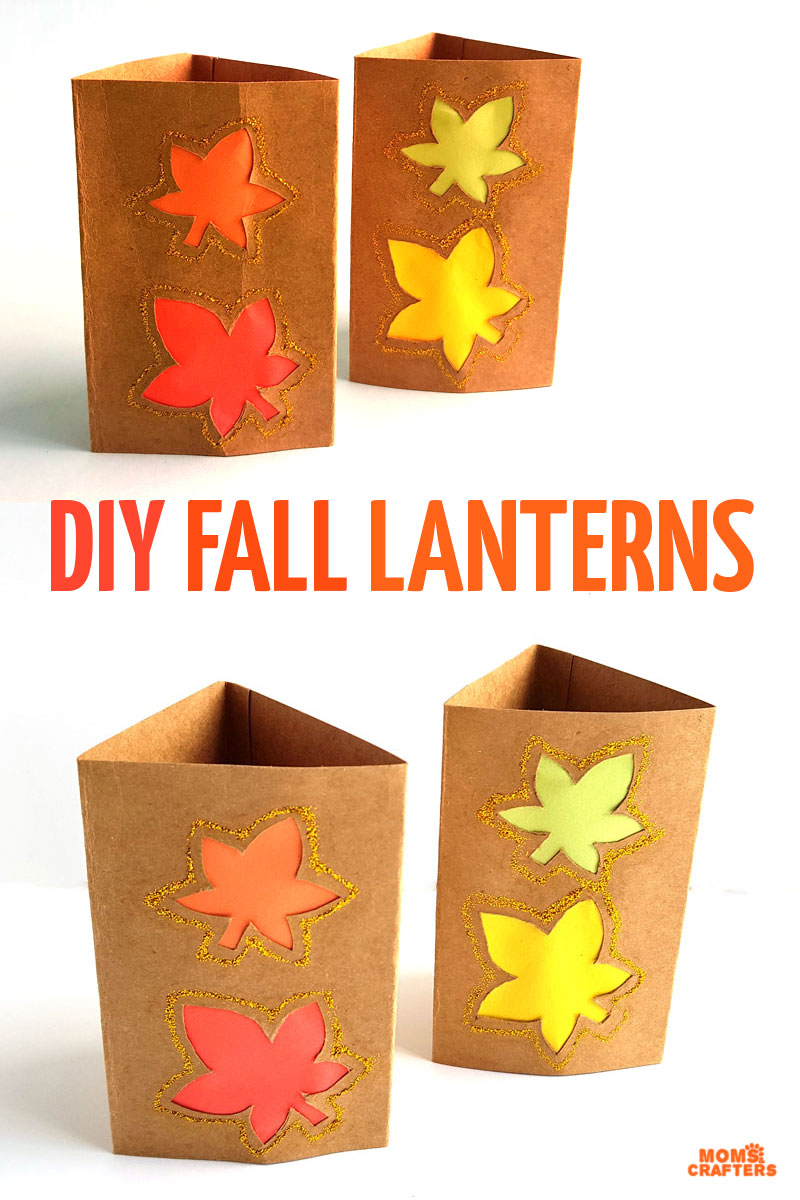
Fall Luminaries – DIY Paper Fall Leaf Lanterns
Make your own fall luminaries using a simple process, a free template, and colored paper! Find my list of scrapbook paper crafts, then scroll down for this DIY paper fall leaf lantern. This post contains affiliate links.
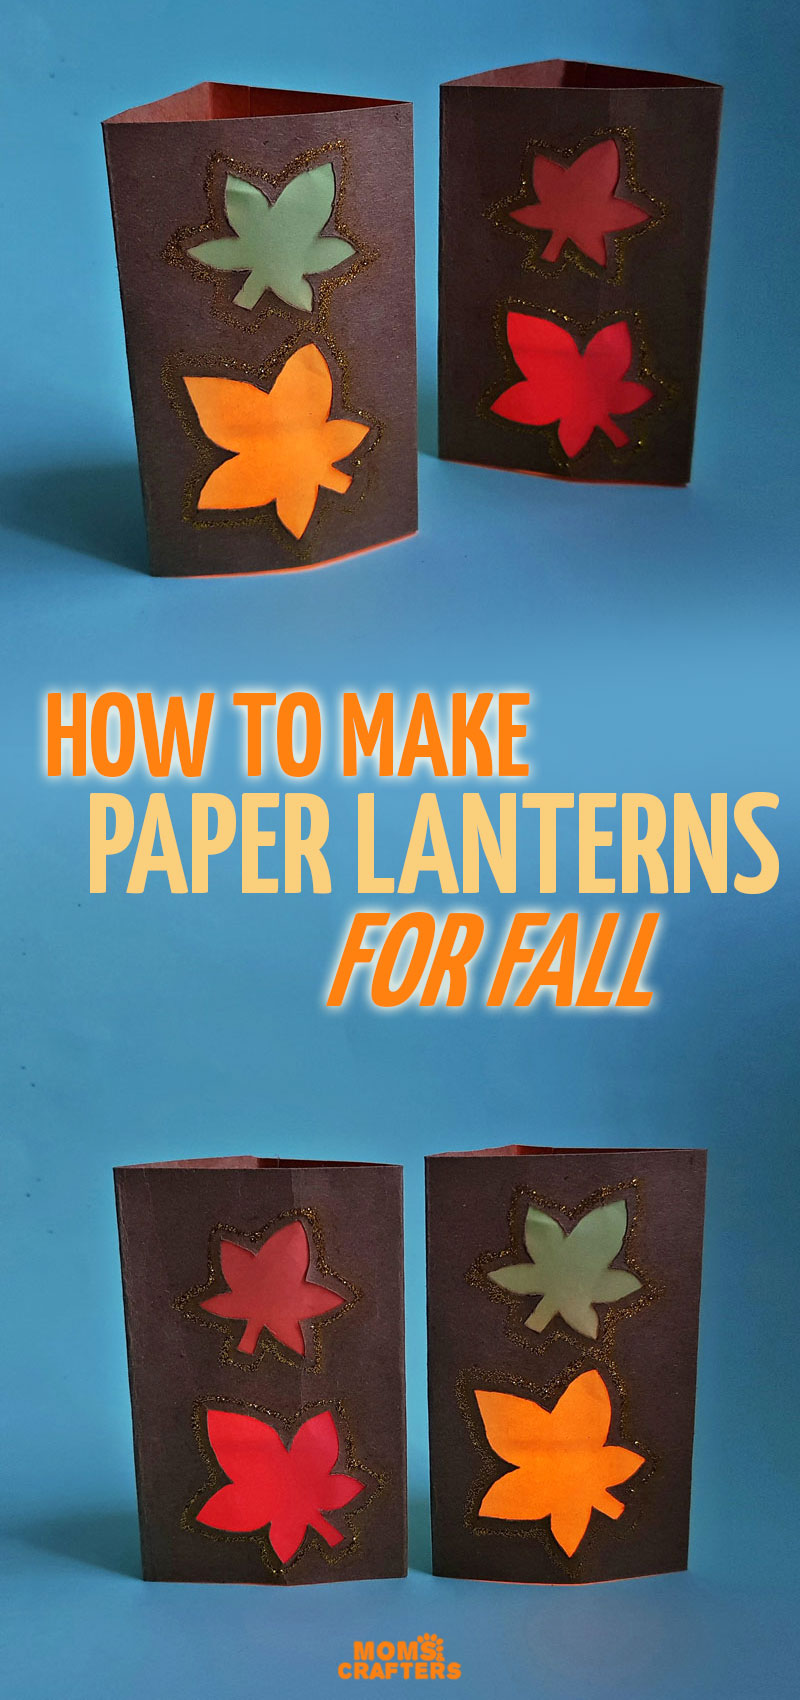
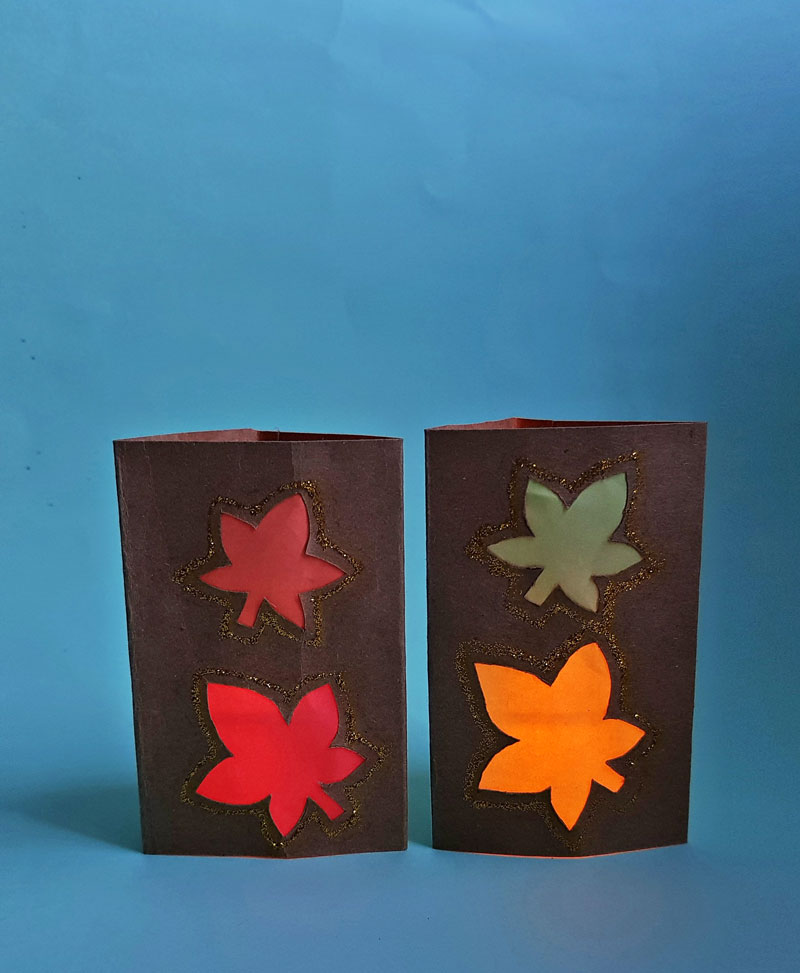
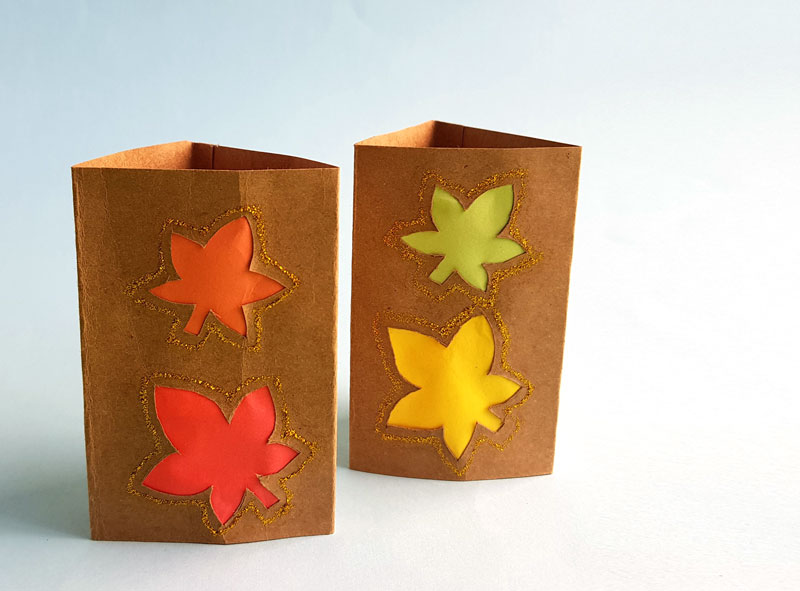
These paper fall luminaries are so simple to make – you’ll want to scatter them all over! Make a cluster in different heights for a beautiful centerpiece on a round table. Make them the same height and place them at even intervals on a longer table.
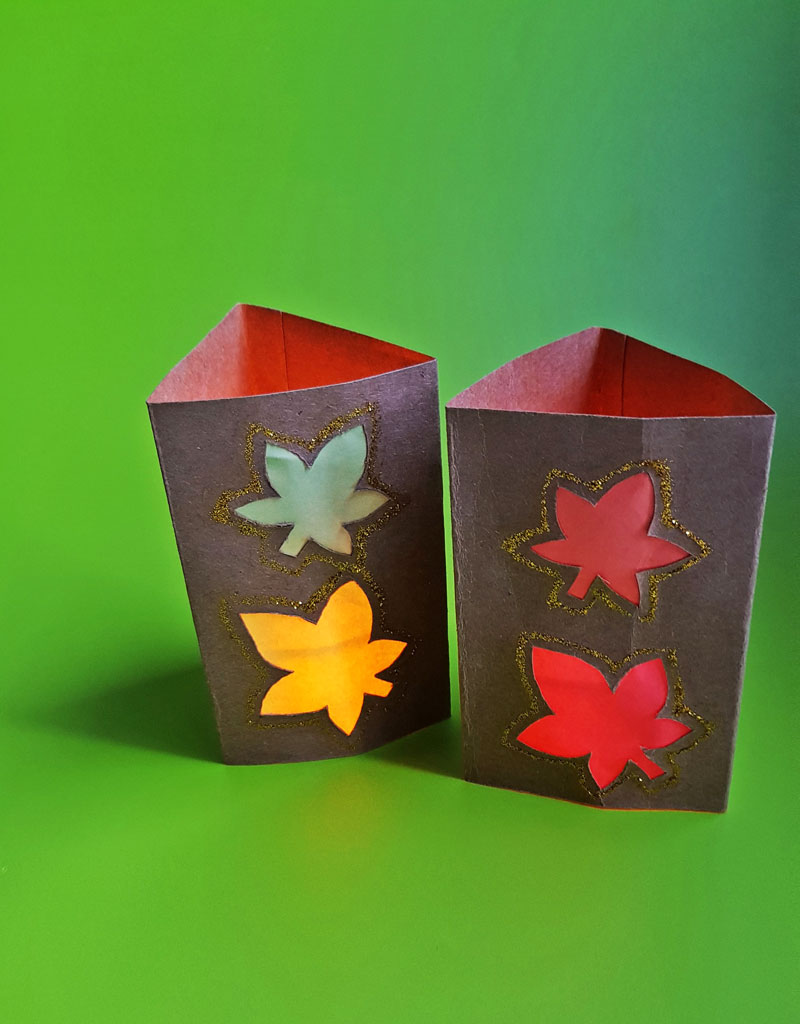
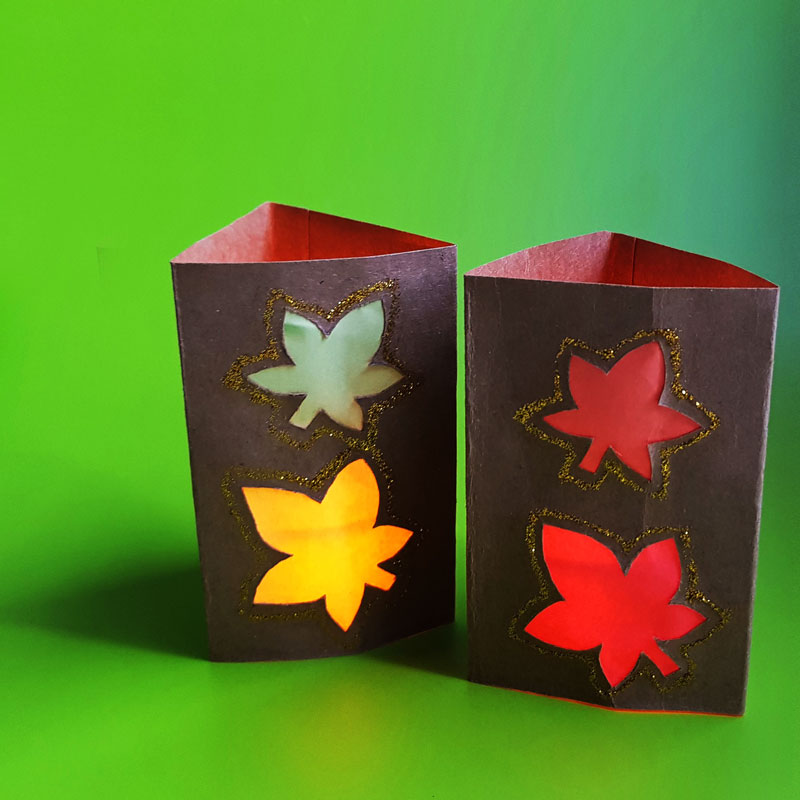
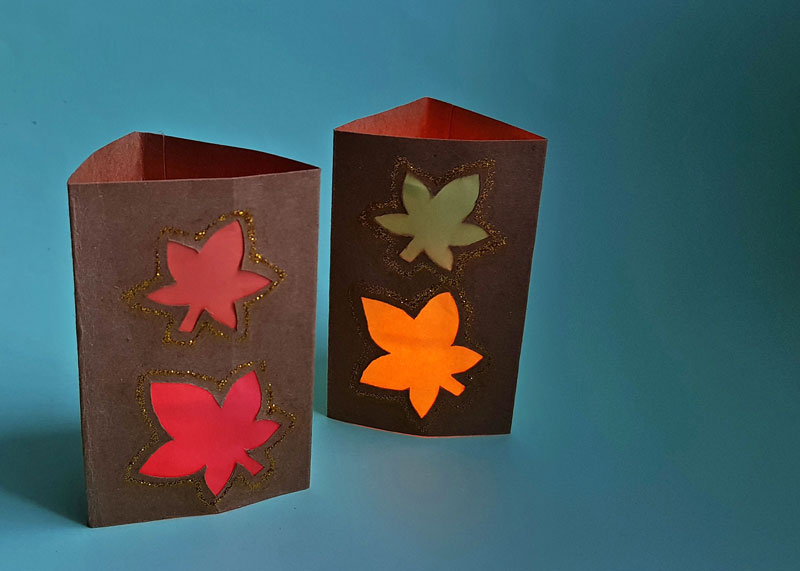
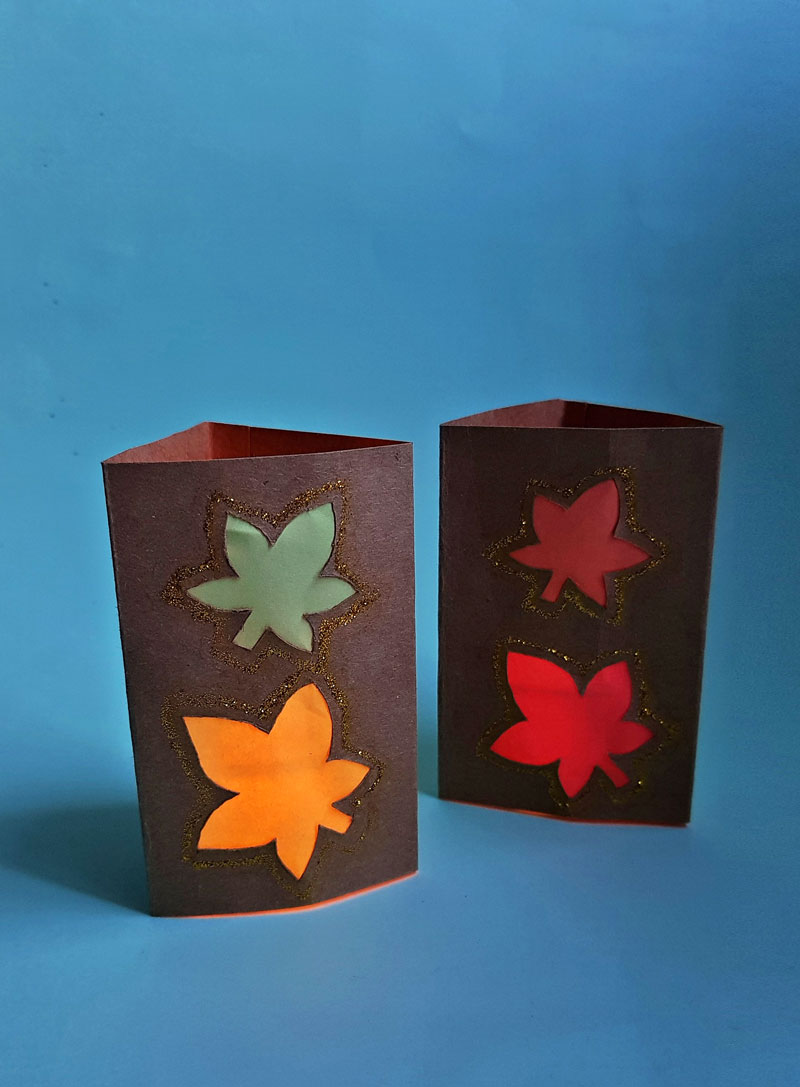
You can use these on your autumn mantle. They look great with lights on or off, and you can add some real ambiance to your living space, even when the lights are off.
You’ll be using them with LED candles, of course, since they are highly flammable paper!
One of my favorite features of these fall luminaries: anyone can make them!
For younger kids, you’ll want to streamline it by preparing the components in advance and allow them to focus more on decorating it.
Older kids with better cutting skills can make it mostly independently. If they are not ready to use a knife, simply cut a starting hole with a knife and allow them to finish it off with age-appropriate scissors.
If you celebrate the holiday of Sukkot, these will look fantastic in your sukkah! Place them in the center and use the LED lights to add some seasonally-appropriate ambiance and festivity to your holiday meals. (And yes, they go great with these place cards too!)
What you need to make paper lanterns for fall:
- Cardstock/Kraft paper
- Colored craft papers (thin enough for light to shine through)
- Pencil
- Craft glue
- X-acto knife
- Cutting mat
- Ruler
- LED candles
- Template (opens in a new tab)
How to make paper fall luminaries:
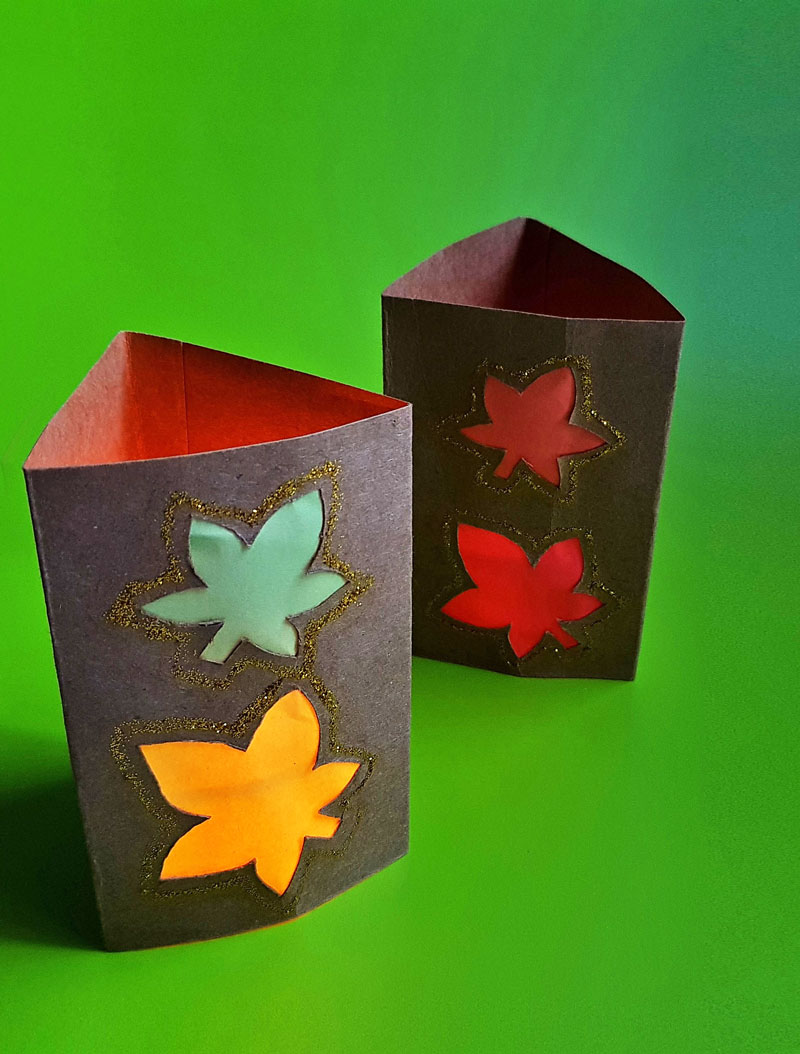
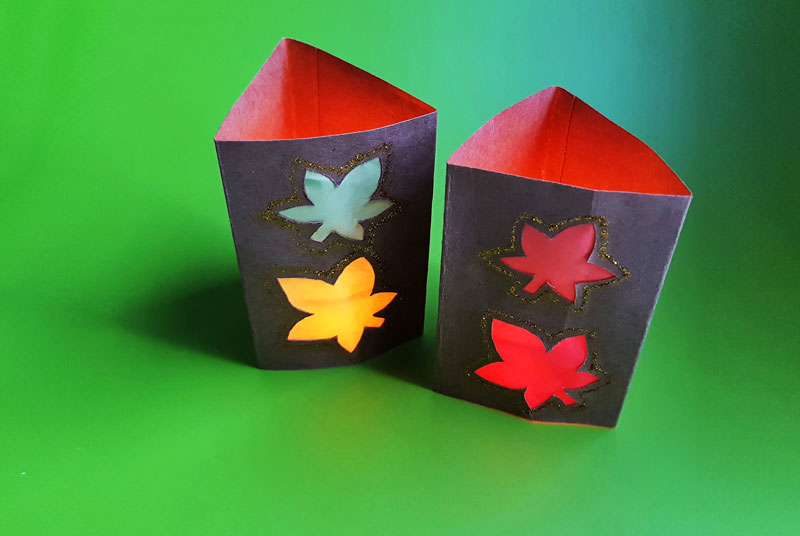
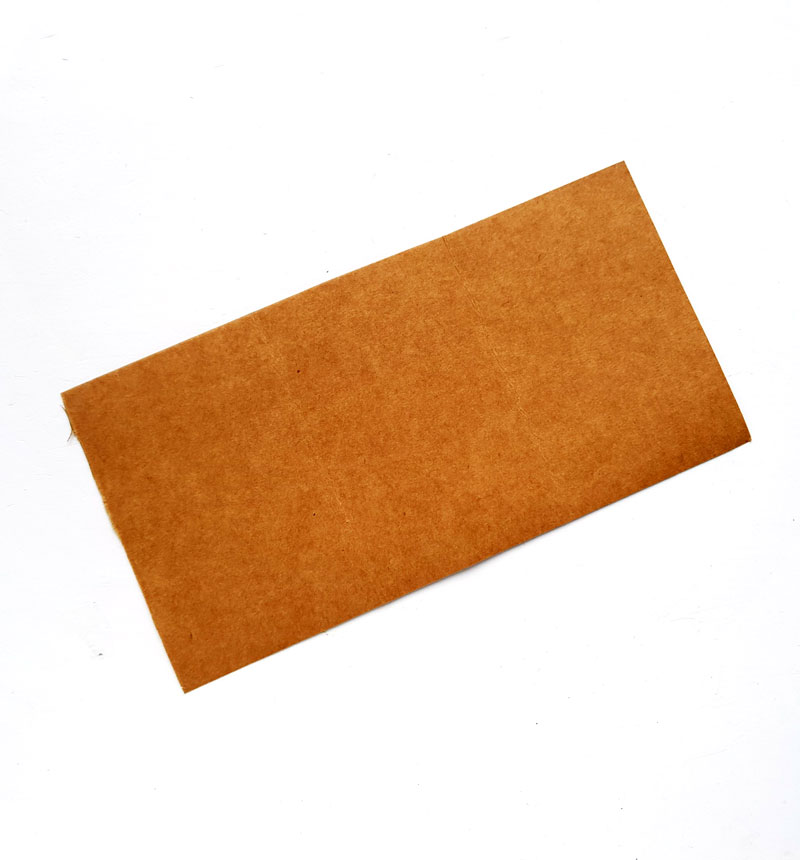
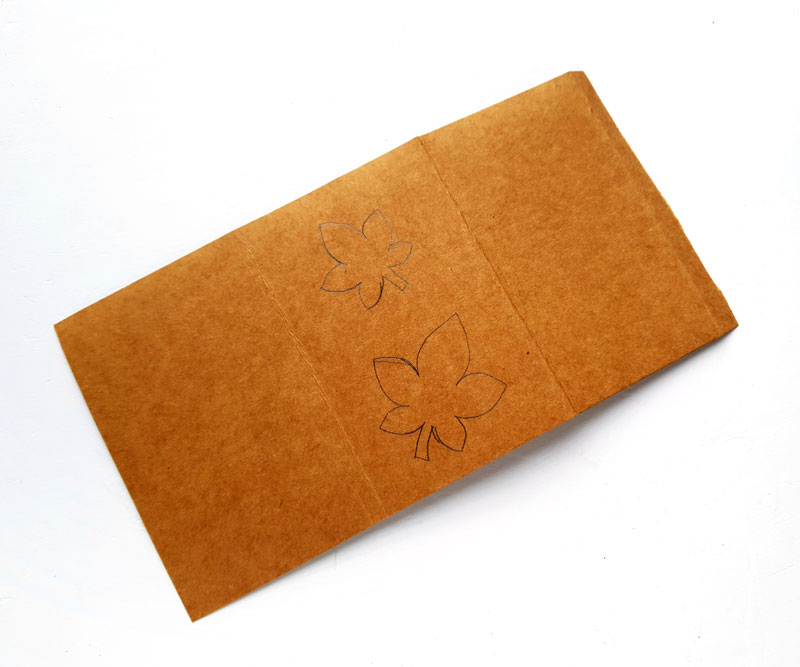
1. Determine a size for the luminaries and use a ruler and pencil to trace the determined size on the selected cardstock paper. I’ve cut out a 6 inches x 12.5 inches piece of cardstock paper. Keep 0.5 inch as a glue tab for joining the sides. Folding the main part (12 inches) into a triangle will form a 4 inch luminary. The luminaries I made are 6 inches tall and 4 inches wide.
2. Leaving 0.5 inch along the short side of the cardstock paper, fold the rest of the width into 3 even parts. Unfold to create creases. Print and cut out the leaf patterns from the provided template and trace them on the middle section of the cardstock. The template includes different sizes of leaves, so choose any size you want.
3. Place the cardstock paper on a cutting mat and use an x-acto knife to cut out the traced leaves.
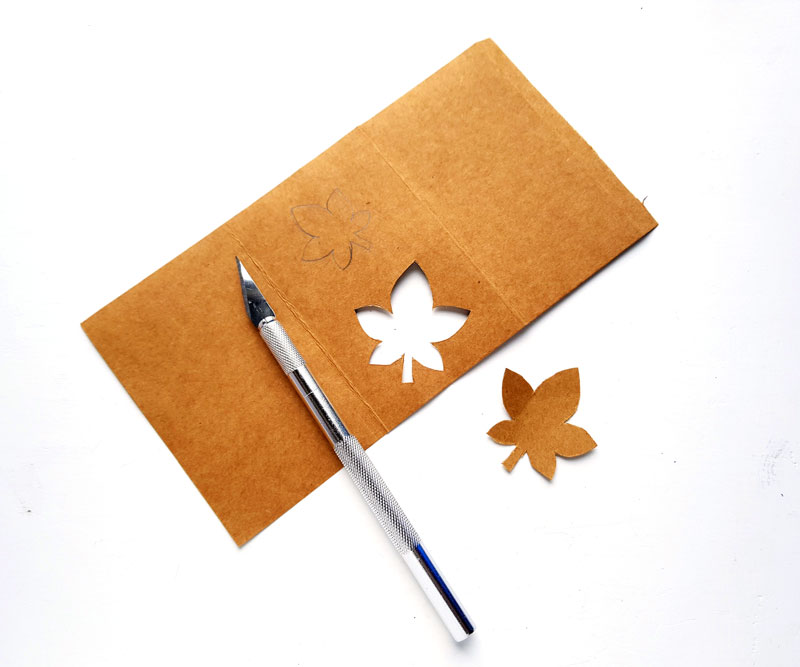
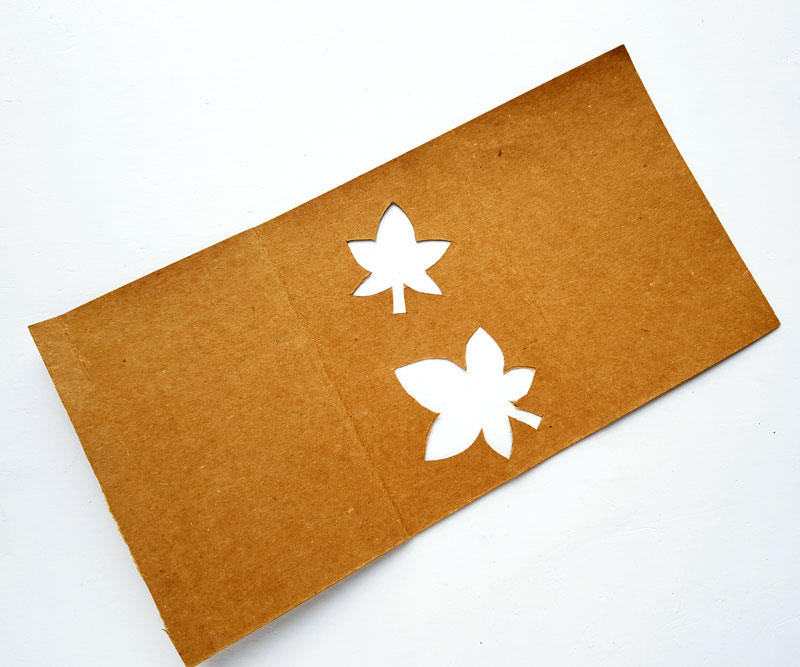
4. Try to cut out the leaves as neatly as possible.
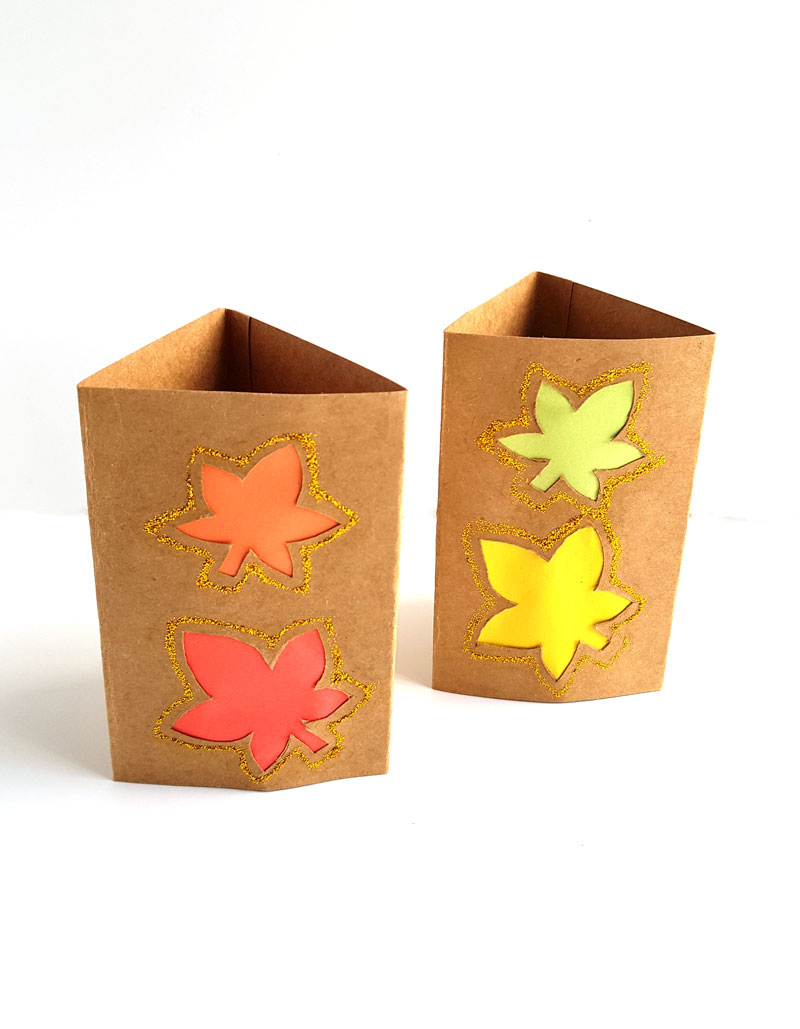
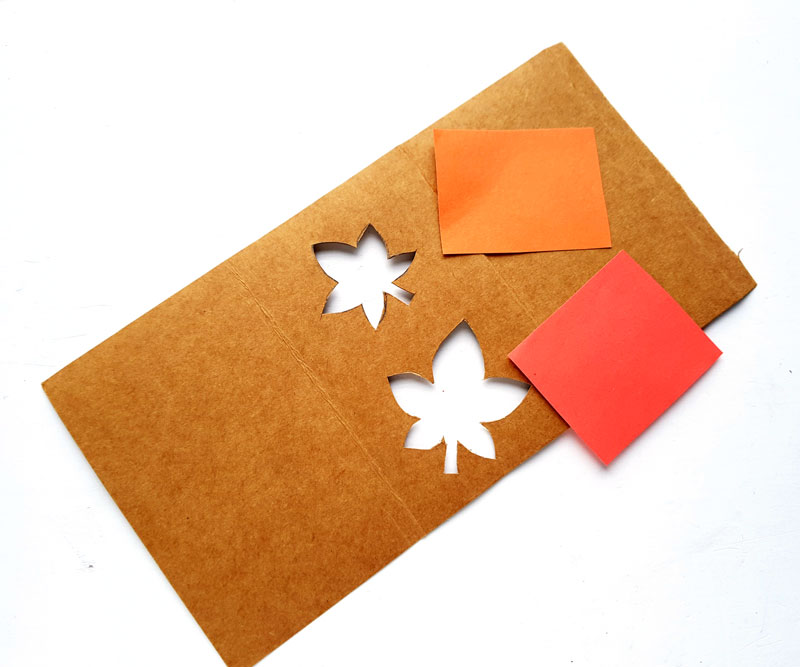
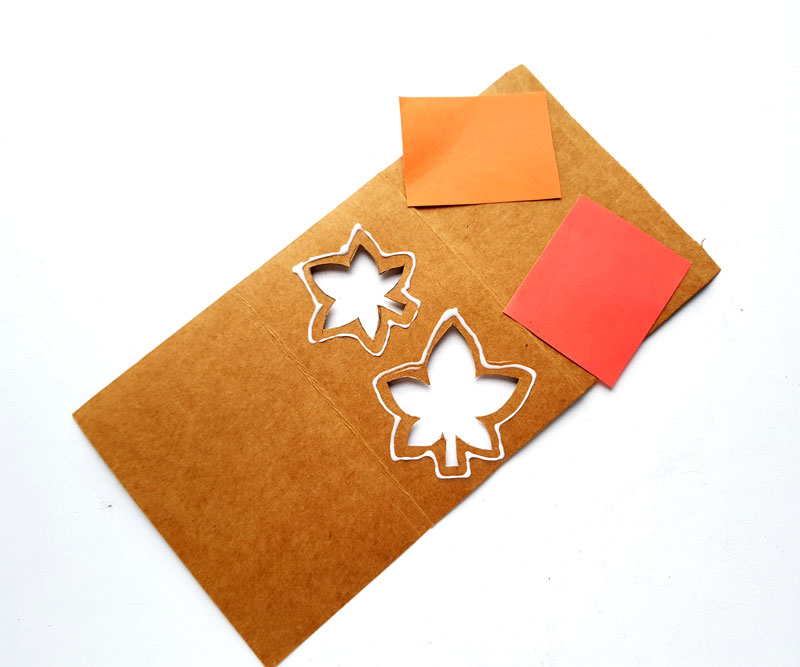
5. Select colored craft papers (the papers should be thin enough to pass light). Cut them into pieces big enough to cover the cutout.
6. Apply glue around the cutout on your main lantern.
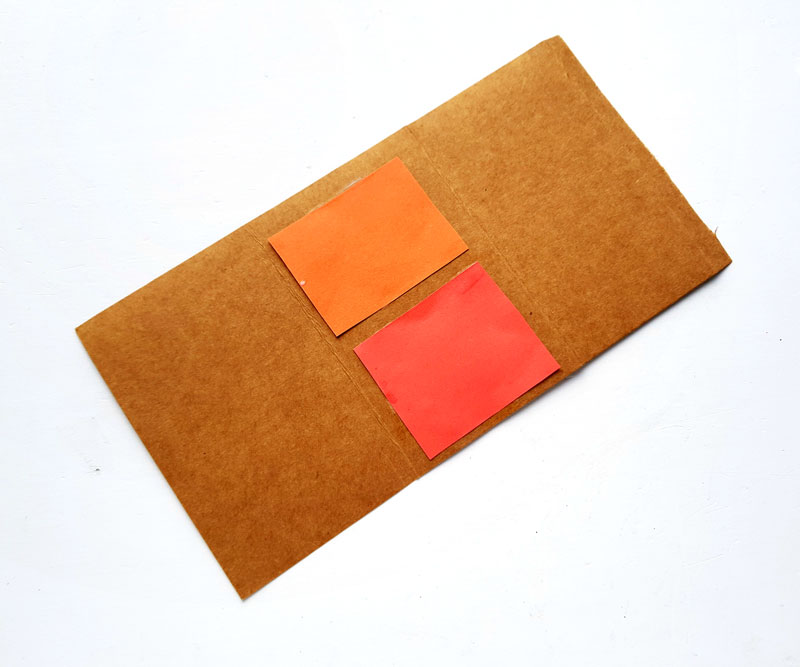
7. Place the colored craft papers on the glued part and press the papers against the glue to make sure that they are glued securely.
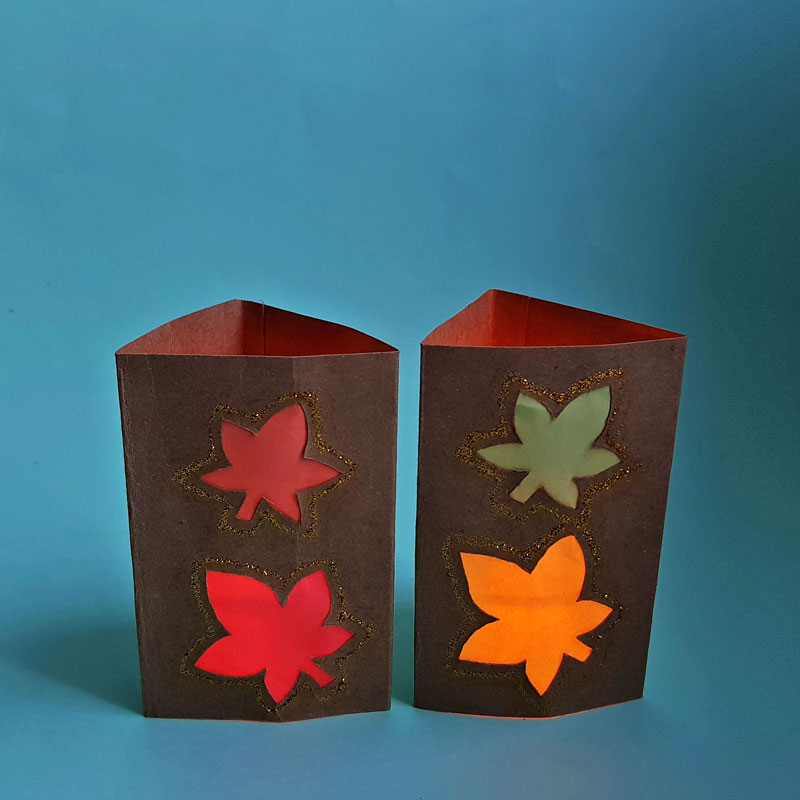
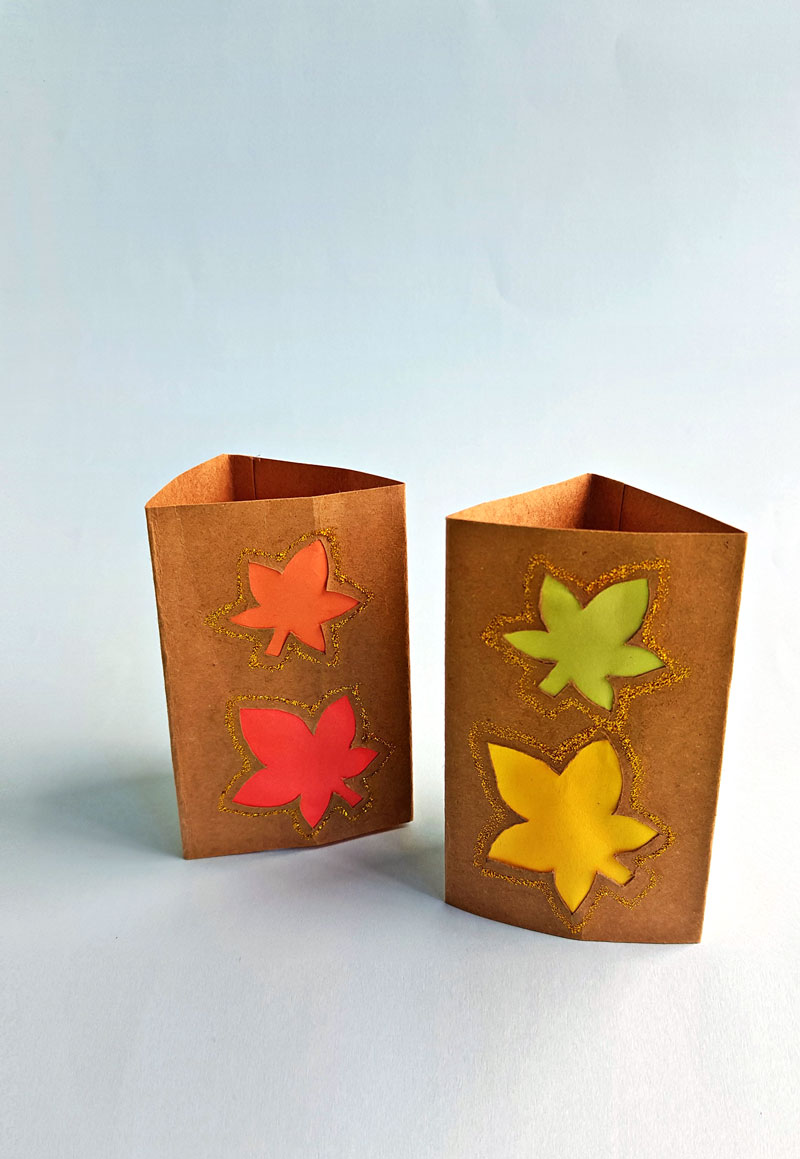
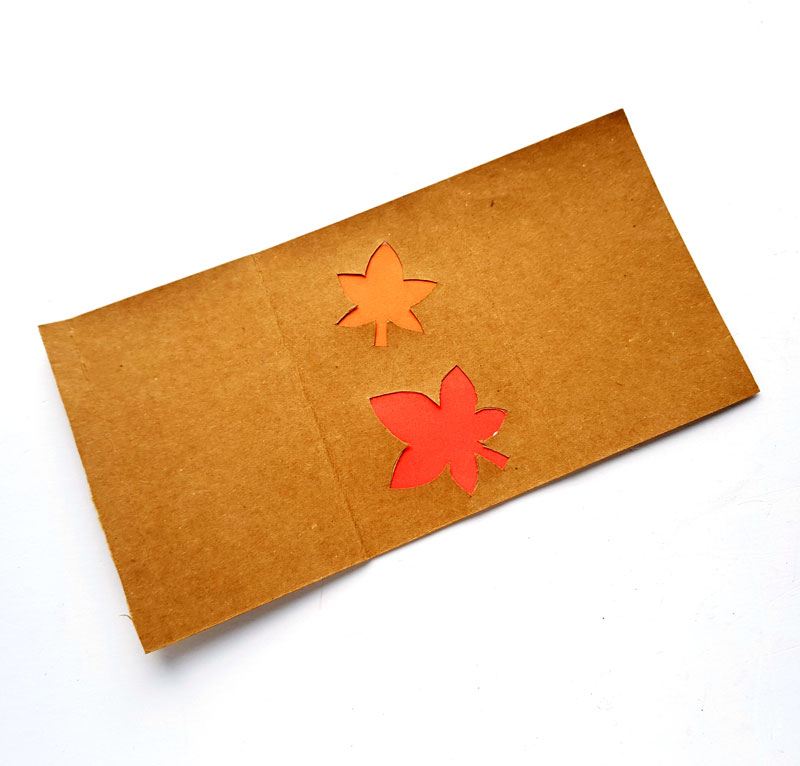
8. This is how the fall luminaries should look on the front at this point.
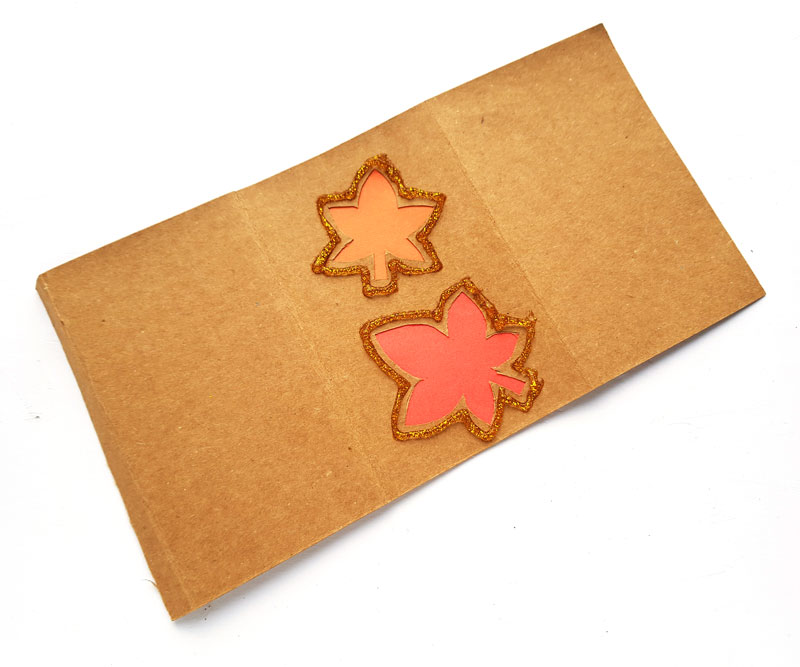
9. Though this optional, you can apply a glitter border around the leaf cutouts. Allow the glitter border to dry. You can also decorate the other portions however you’d like.
10. Fold the lantern on the folds you made earlier in this tutorial.
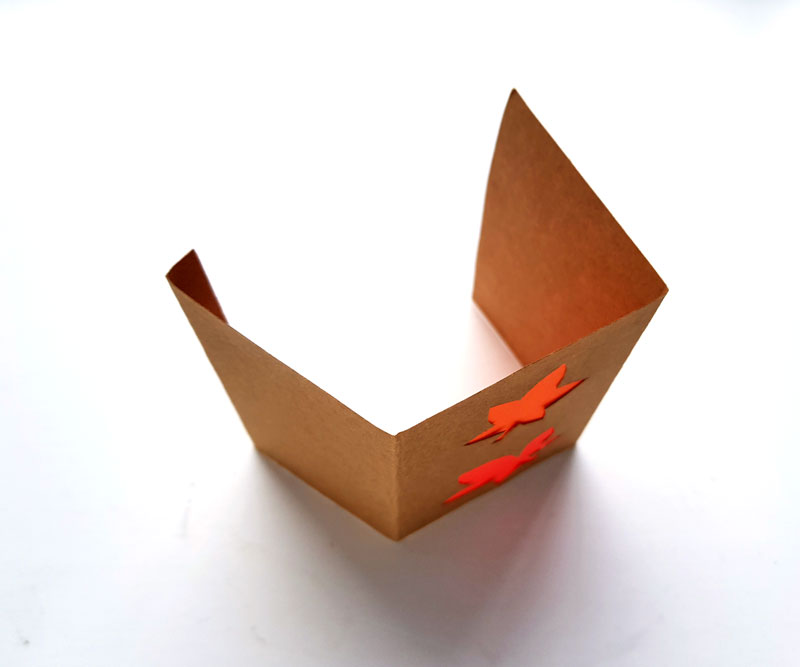
11. Apply glue along the 0.5 inch tab and join it with the open end side to form the luminary. Allow the glue to dry completely. Place an LED candle inside each lantern and enjoy the glow!
Have you ever made fall luminaries out of paper? What’s your favorite way to decorate for autumn? Comment below!


Very cute and easy idea for young paper crafters. You might consider kite paper or mulberry tissue paper for the cut out areas. These papers allow the light to shine through nicely. (Kite paper available through Amazon or various Waldorf school supply websites, mulberry tissue paper World-Mart or various art supply stores or art paper sellers online.