
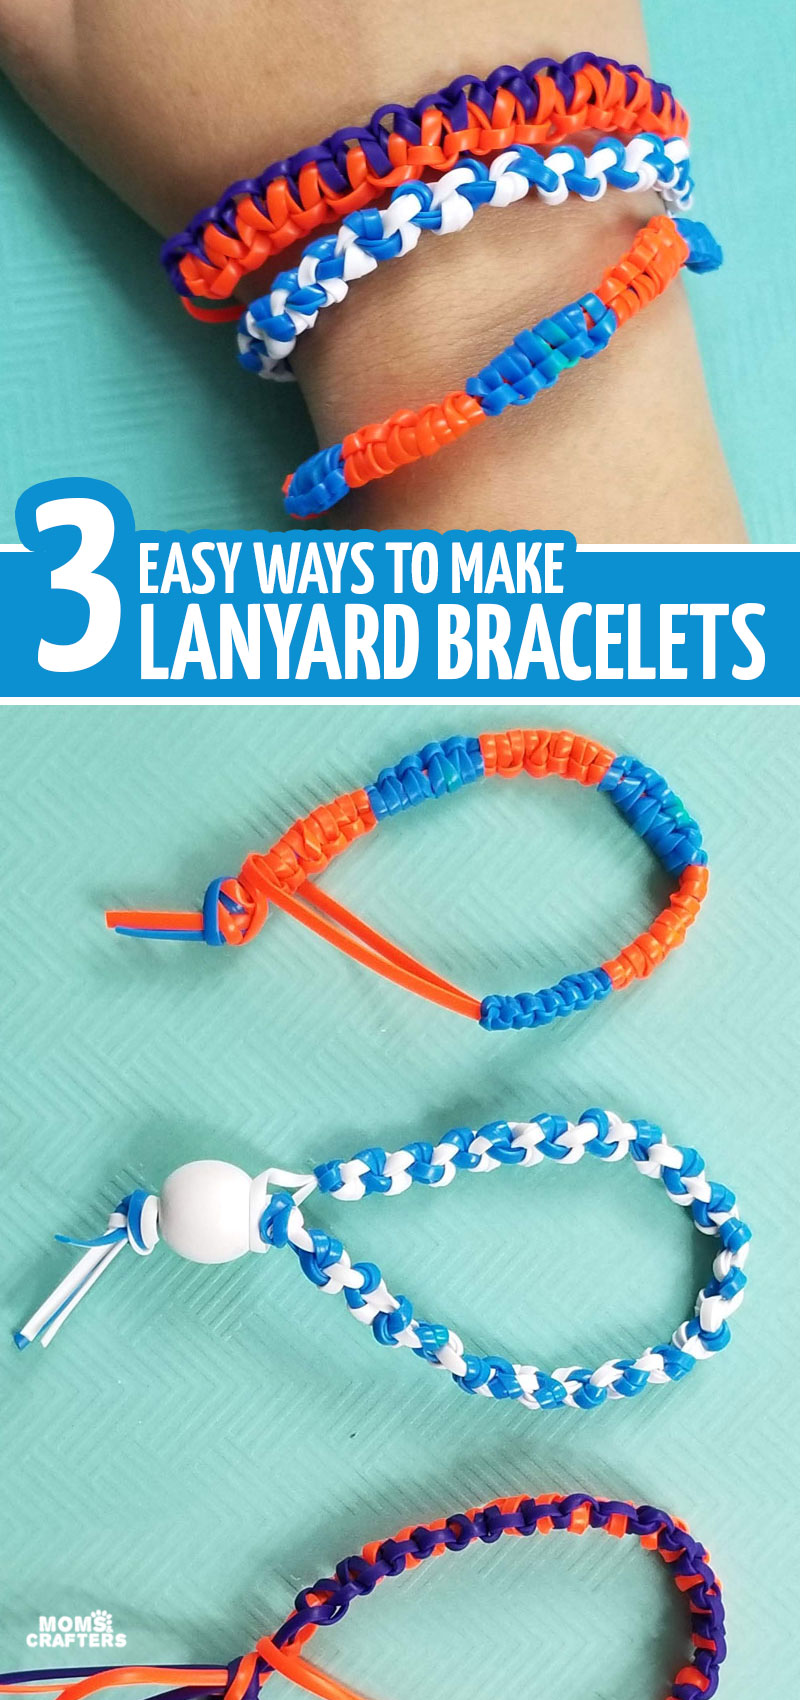
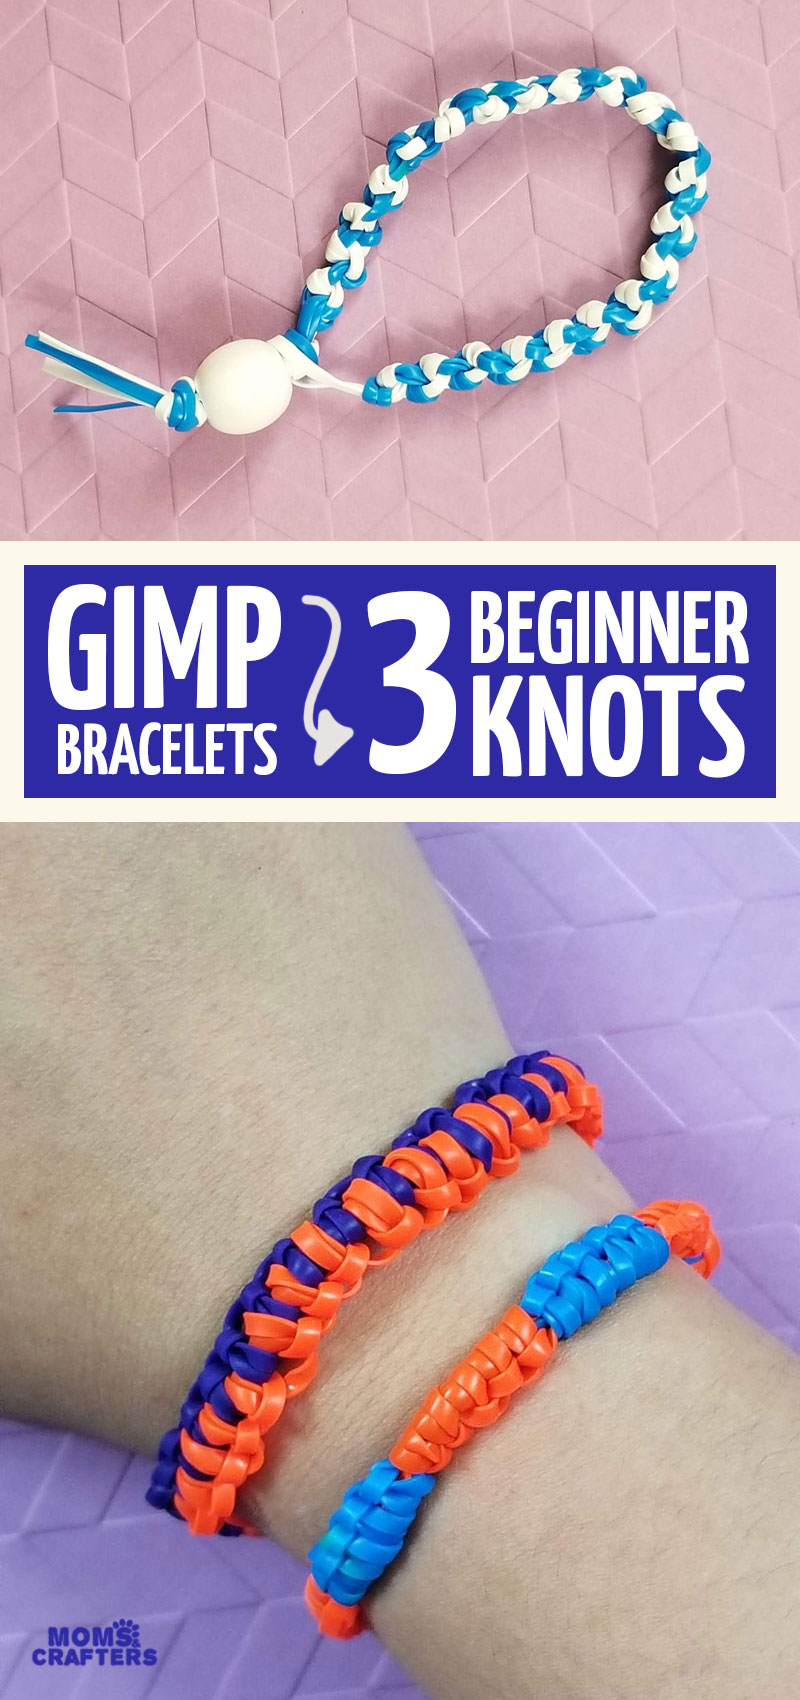
How to Make a Gimp bracelet 3 Ways
Learn how to make a gimp bracelet (or lanyard/boondoggle) with 3 ridiculously simple and flexible knots. Perfect for beginners! Find more bracelet crafts here and then get crafting! This post contains affiliate links.
The main thing that sets gimp bracelets apart from other boondoggle or lanyard crafts is the need for flexibility.
After scouring for some ideas myself, I found that too many of them used the same box stitch and butterfly stitch that is used for key fobs.
Those tend to be very stiff for gimp bracelets, and hard to wear.
I decided to figure out how to make a gimp bracelet that is much more wearable. And then, after playing with plastic lacing for hours while refereeing two little boys’… arguments…. I discovered that the trick is to keep it simple.
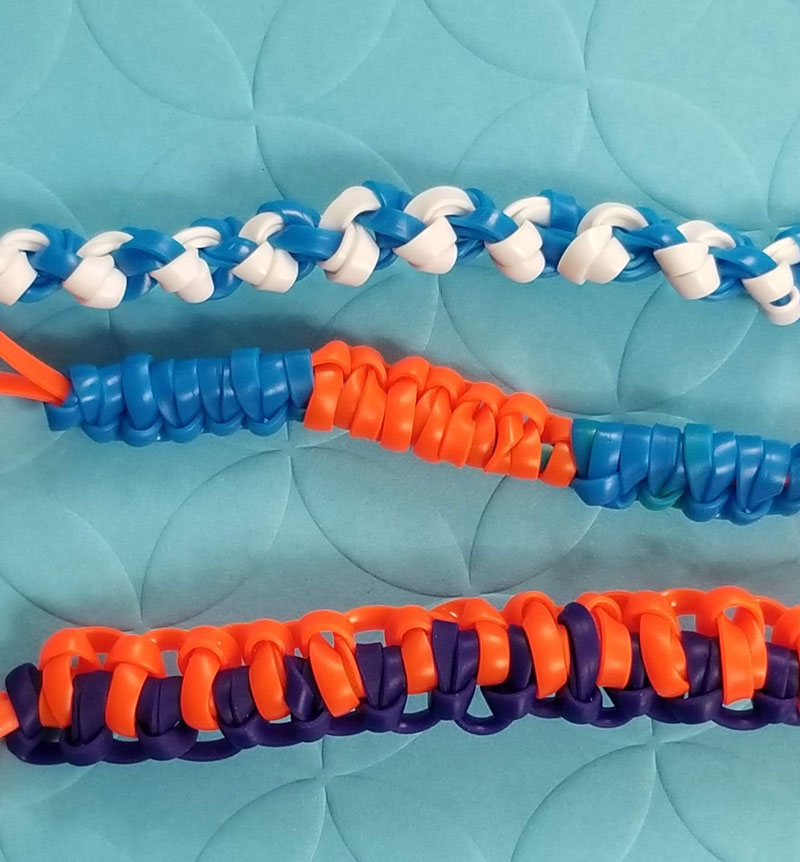
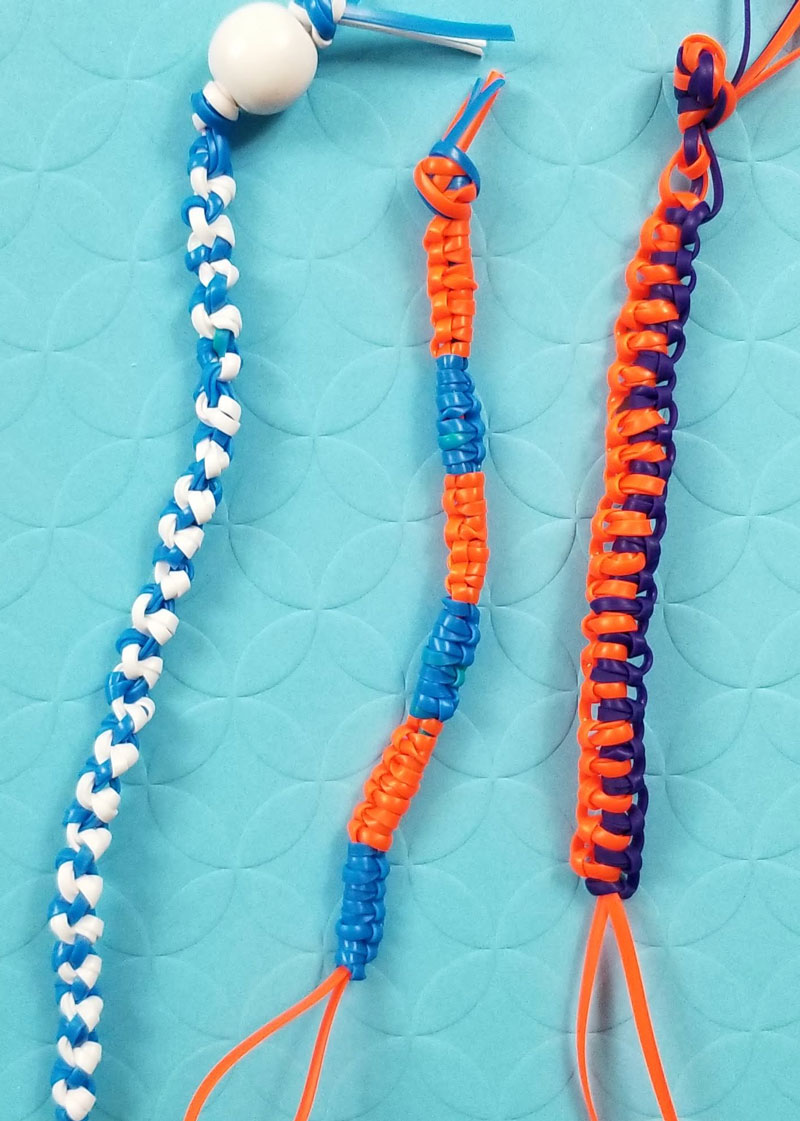
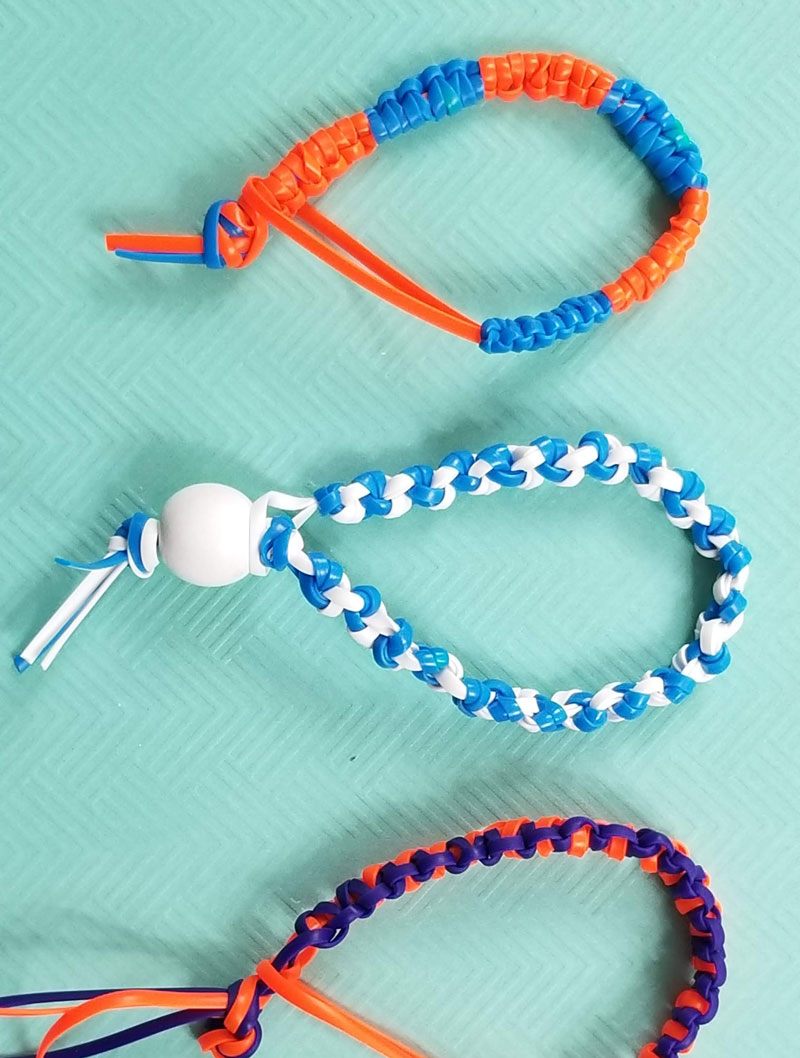
So here are three methods to make gimp bracelets that use very basic knots.
I came to these through experimentation and adapting knots I already know. If these knots already have an official name, forgive me for not knowing most of them (and drop ’em in the comments!)
I also experimented with three different ways to close the gimp bracelets and concluded that the “bead button” method is the best way. You’ll see a few ways played out in these photos, but the tutorial is for my top method.
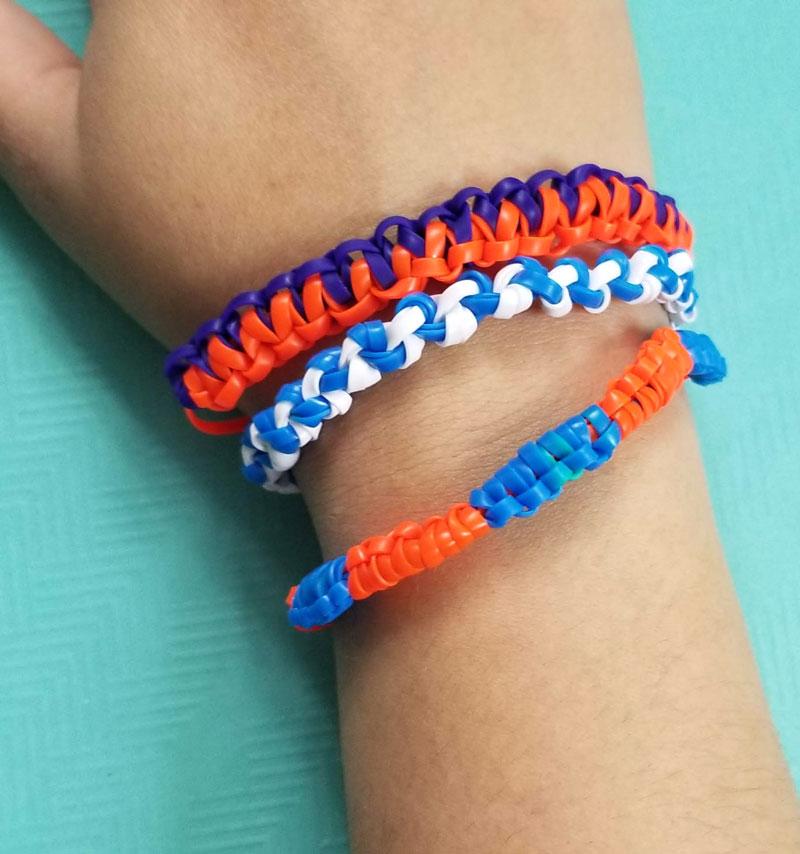
And finally, when it comes to arm candy, many tutorials are interchangeable once you learn how to make the knots.
I hope you enjoy learning how to make a gimp bracelet with these three different methods!
Want more arm candy – and ear, neck bling – ideas? Love thinking out of the box and making things colorful and cool? Want to learn jewelry making from scratch? How to Make Jewelry Out of Anything was written with you in mind!
What you need for gimp bracelet making:
- Plastic lacing
- Recommended: paper tape
- Scissors
- A large (14-20mm) wood bead with a large hole (large enough to fit 4 strands of your lacing)
- Optional: glue
How to make a gimp bracelet:
Watch the video if you want to learn how to make a gimp bracelet completely visually, or scroll through the step-by-step photos!
All of these knots use two strings, folded in half to create four.
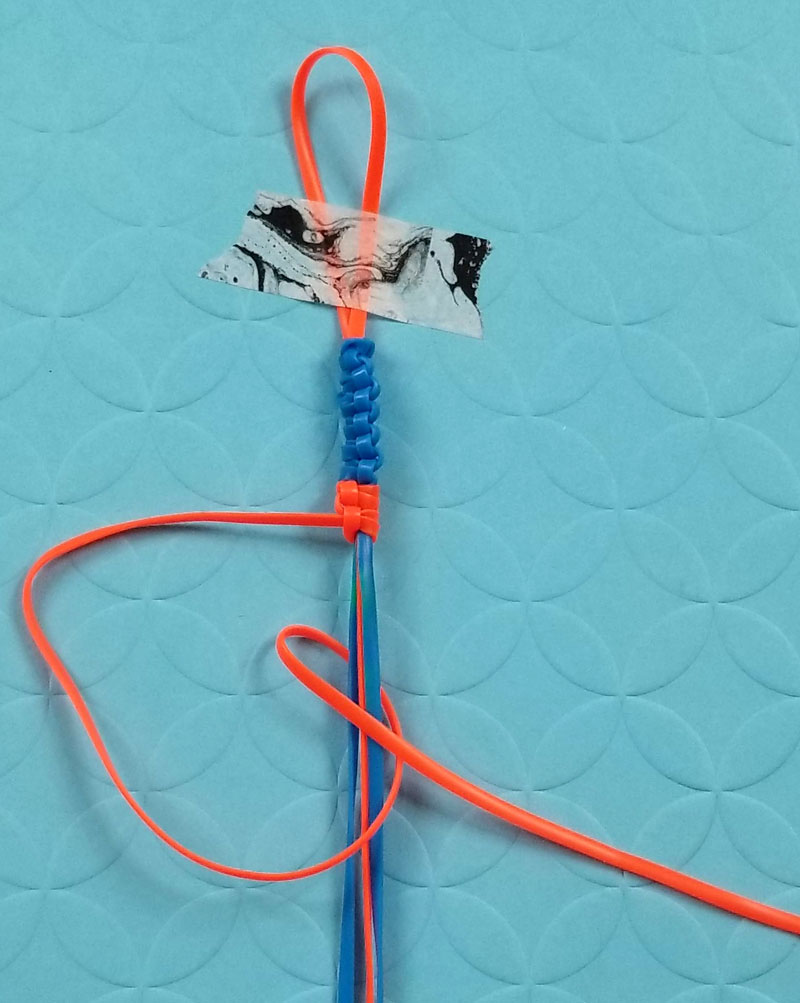
How to start all of them:
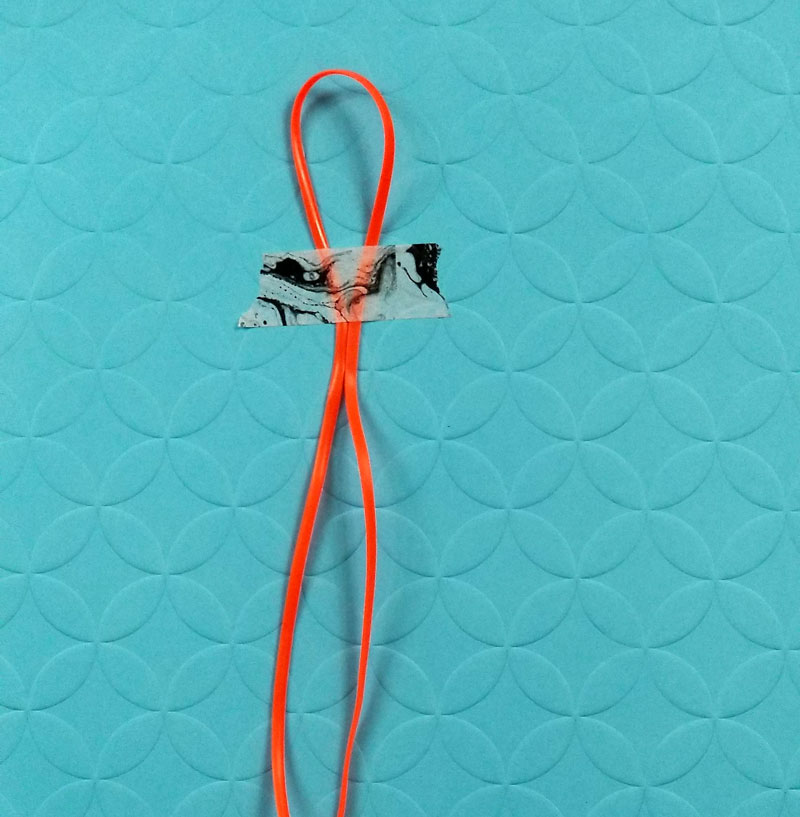
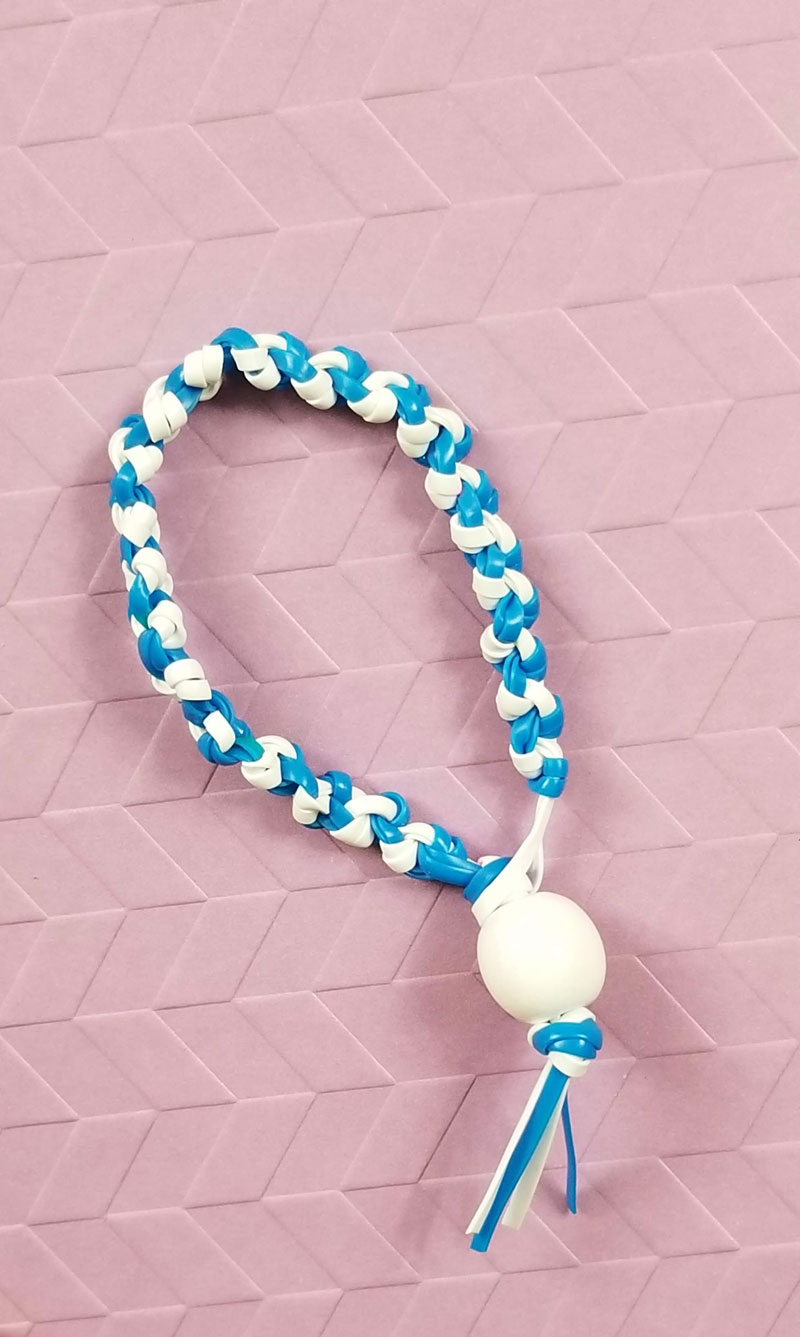
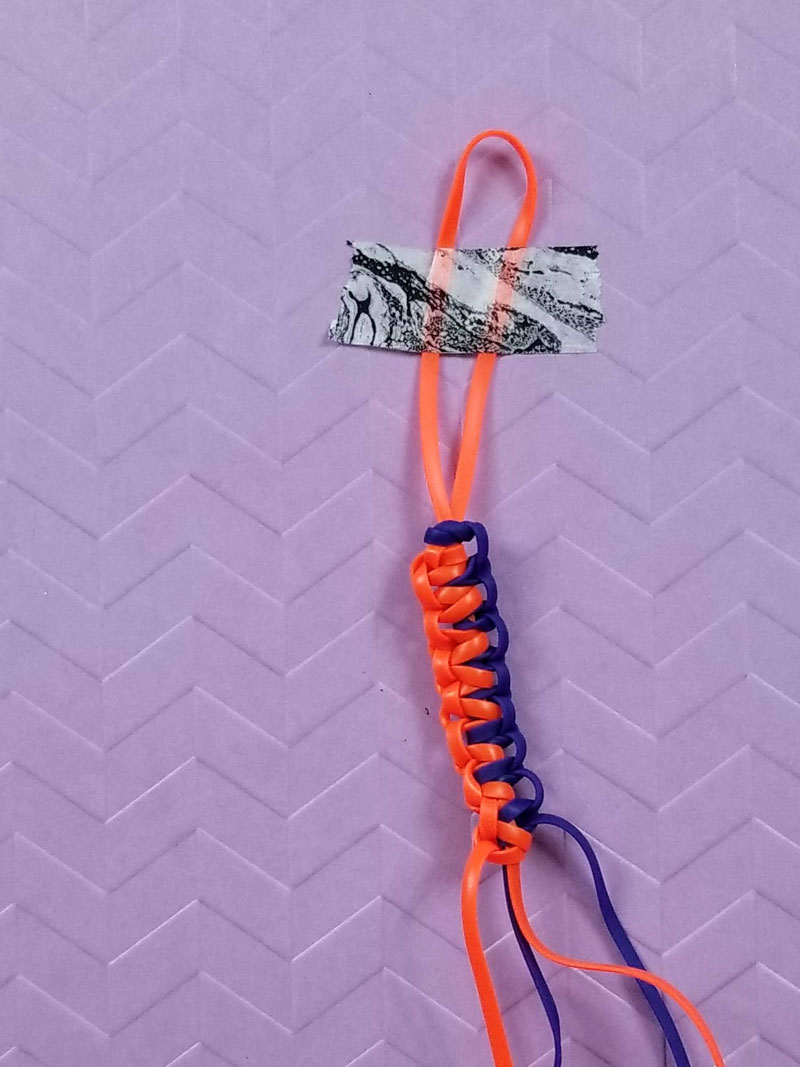
1. Fold your first color in half, forming a loop at the top.
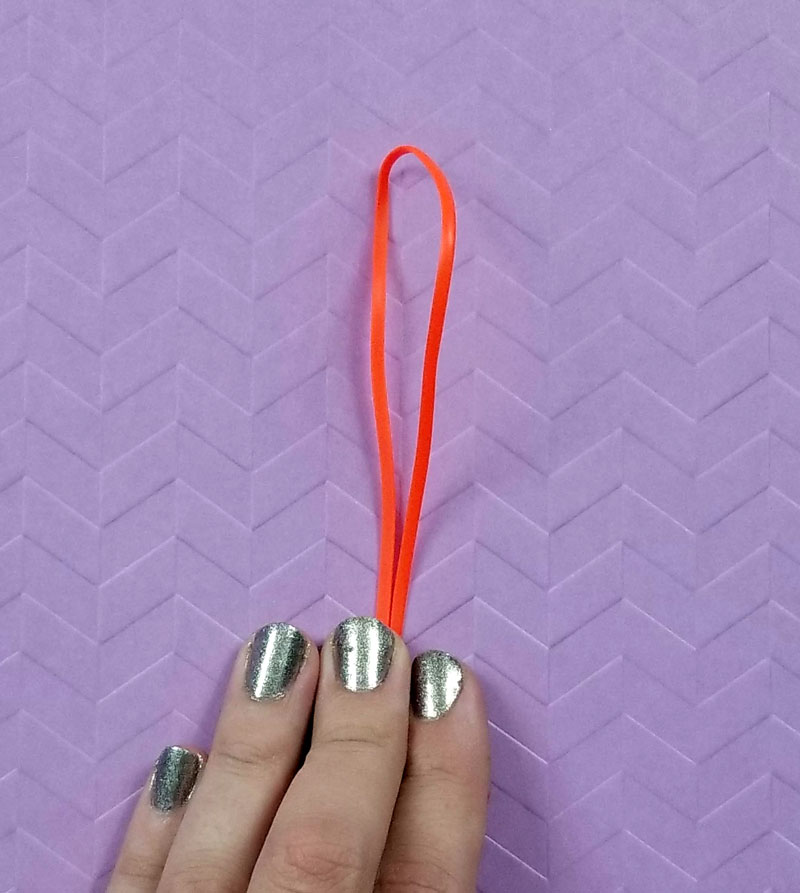
2. You may want to tape down your loop. Make sure your loop is about the diameter of your bead. You want it to barely be able to loop over it so it doesn’t fall off. I made mine too big on some of my bracelets so use your beads as a reference – not my photos!
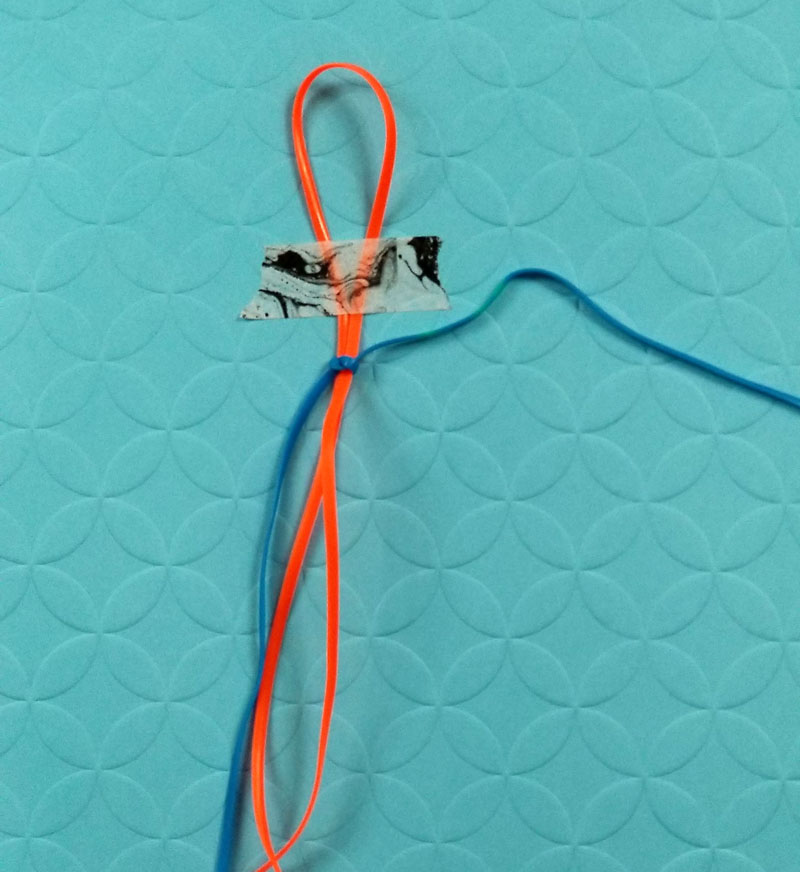
3. Take your second string at the center point, slide it behind the first, and knot around it.
How to finish all of them:
1. Make a knot at the end, sealing the deal.
2. Slide your bead over your final four strings.
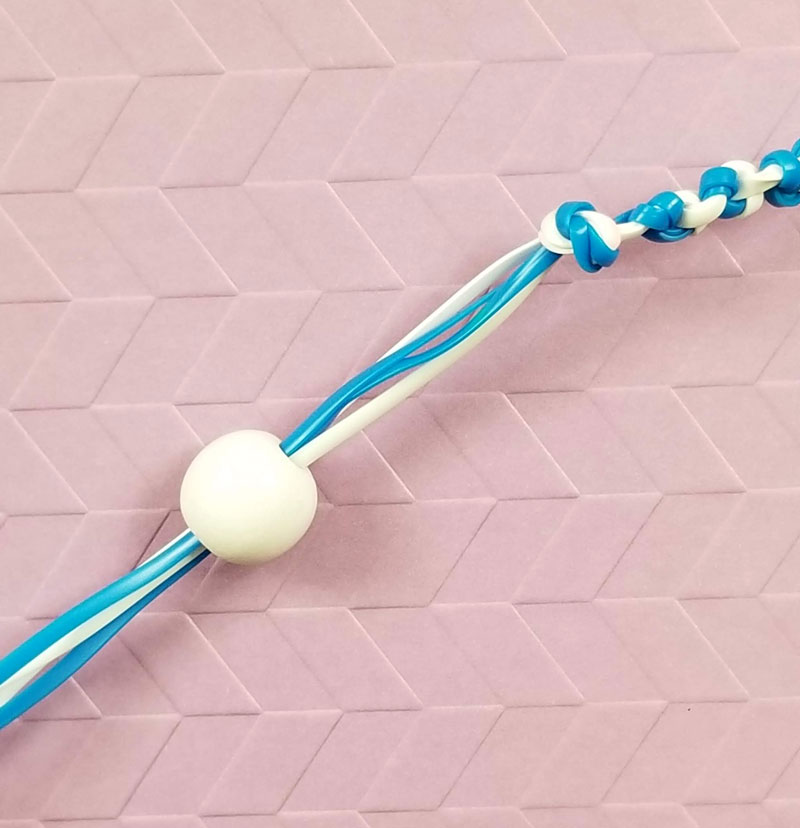
3. Knot the bead in place and trim, leaving a ~2cm fringe. If you’d like, you can use superglue or E6000 to glue your final knot.
Gimp Bracelet knot #1:
I don’t know why, but I’m starting with the most complex – maybe to scare you off 😉 But it’s actually still quite easy. I believe it’s called a lark’s head knot but I’m not positive.
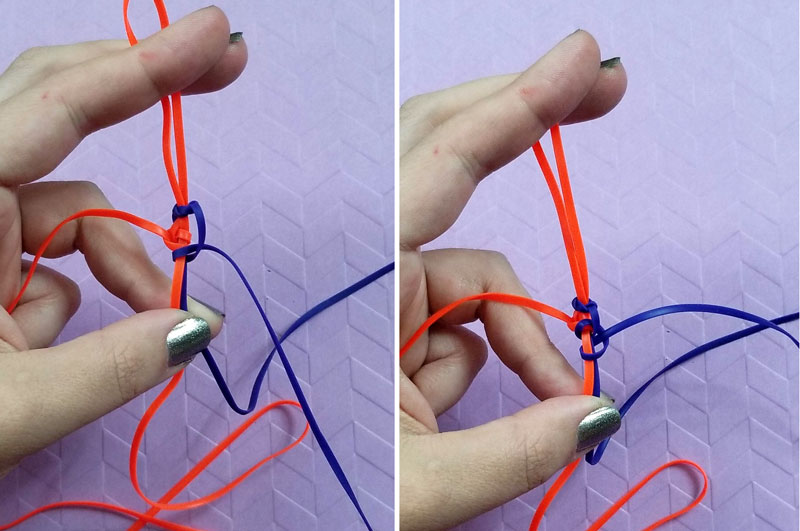
1. Lay out your laces so that the colors alternate. Take your left string and tie a backward knot around the next two strings, leaving the right-most string loose.
To tie a backward knot, place the string you’re tying behind the two you’re enclosing. Bring it back toward the left through the loop you created and tighten.
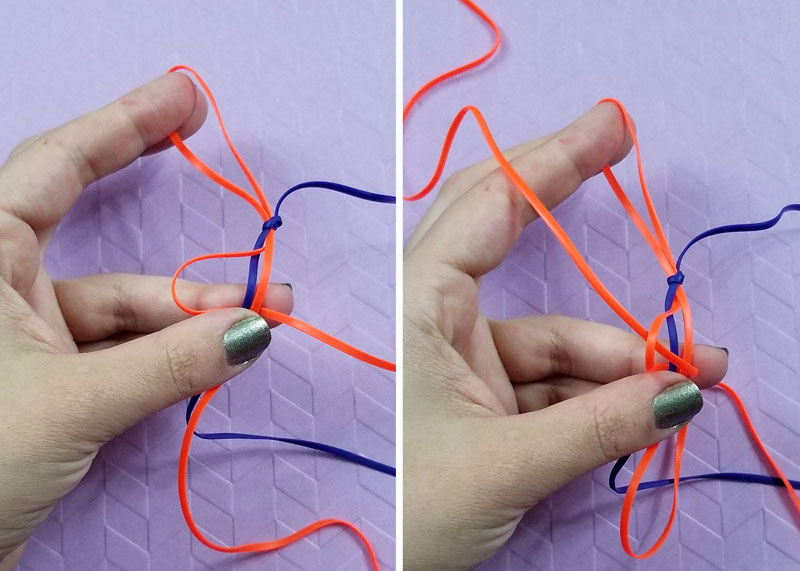
2. Now create a forward knot with the same string. Start in front of your two strings, bring it behind and through the loop. You’re doing one of each forward/backward knot with each stitch.
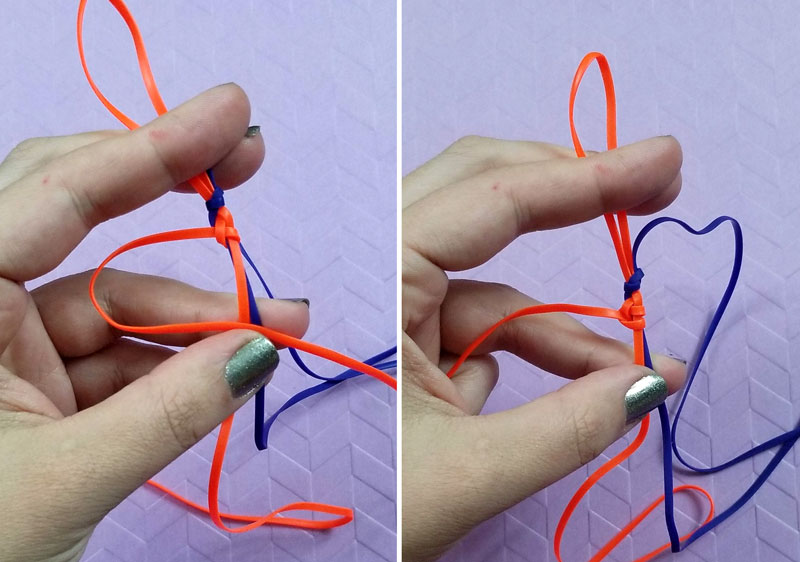
3. Repeat with your other color around the center two. This time I started with a forward knot and then a backward knot. The trick to remembering: I always started my new knot behind the center knots and second in front.
4. Keep alternating colors until you’re satisfied with the length. You can switch out which cord from each color (remember, you have two of each!) at any point you feel you need to so you’re not always using the same two strings.
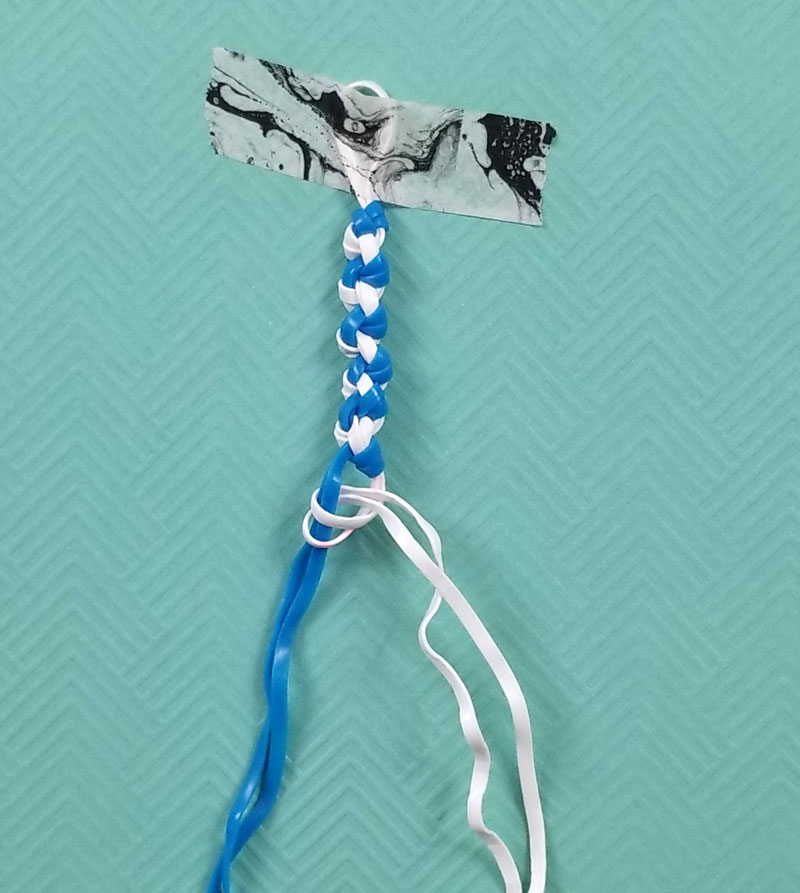
Easy Peasy Knot #2:
Have you ever chinese laddered some friendship bracelets? This method for how to make a gimp bracelet uses the same concept – only you’re once again alternating forward/backward knots, instead of sticking with forward knots.
This keeps your stitch straight instead of letting it spiral around your gimp bracelets. It forms a pretty alternating stitch. You can make this look pretty cool using just one color, but you’ll need a very disproportionate amount of lacing from each color, and the long string may be hard to work with.
1. Start with whichever color you prefer, on whichever side of the bracelet you prefer. Tie a forward knot using one of the strings in that color around all the others. Now repeat with a backward knot.
Repeat this process for about 1.5 inches of bracelet – or whatever you’d like.
2. Now take your second color and starting from the other side of the bracelet. Once again, alternate forward and backward knots until you have the same length knotted.
Repeat this process until you’re happy with the length, alternating which string of each color you use as well so that you use them up evenly (only switch between colors.)
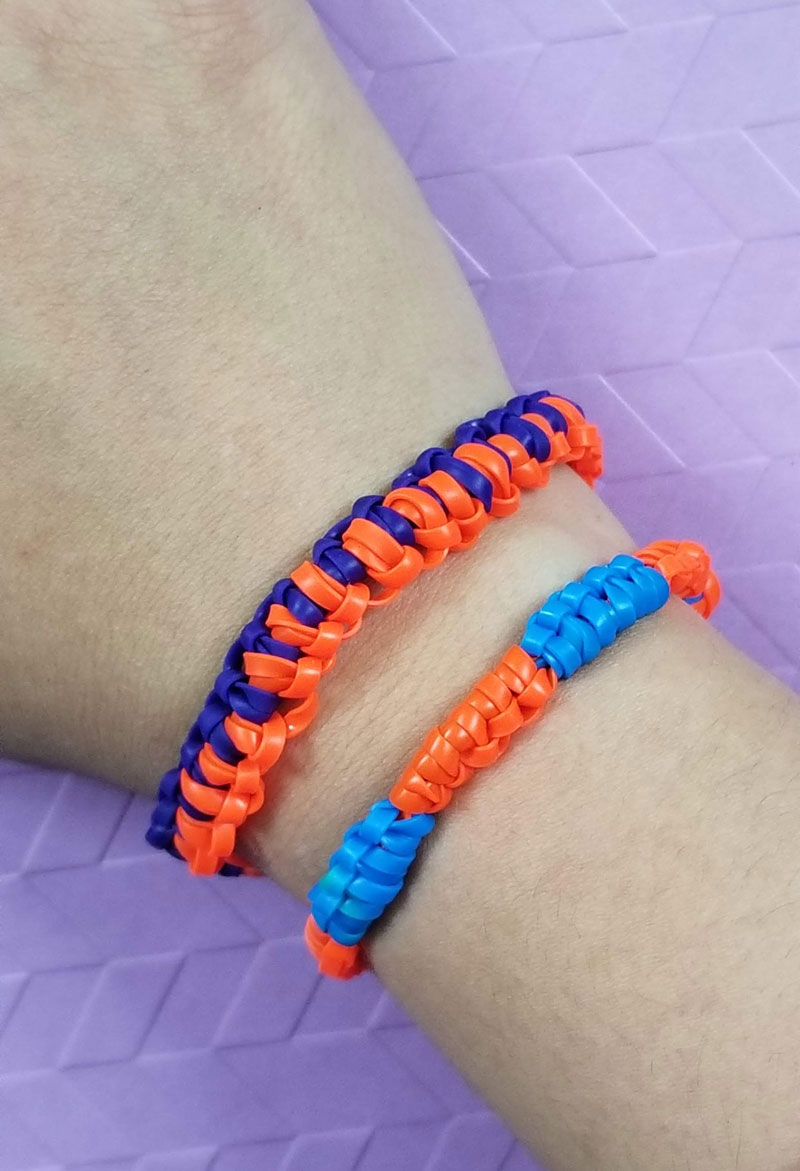
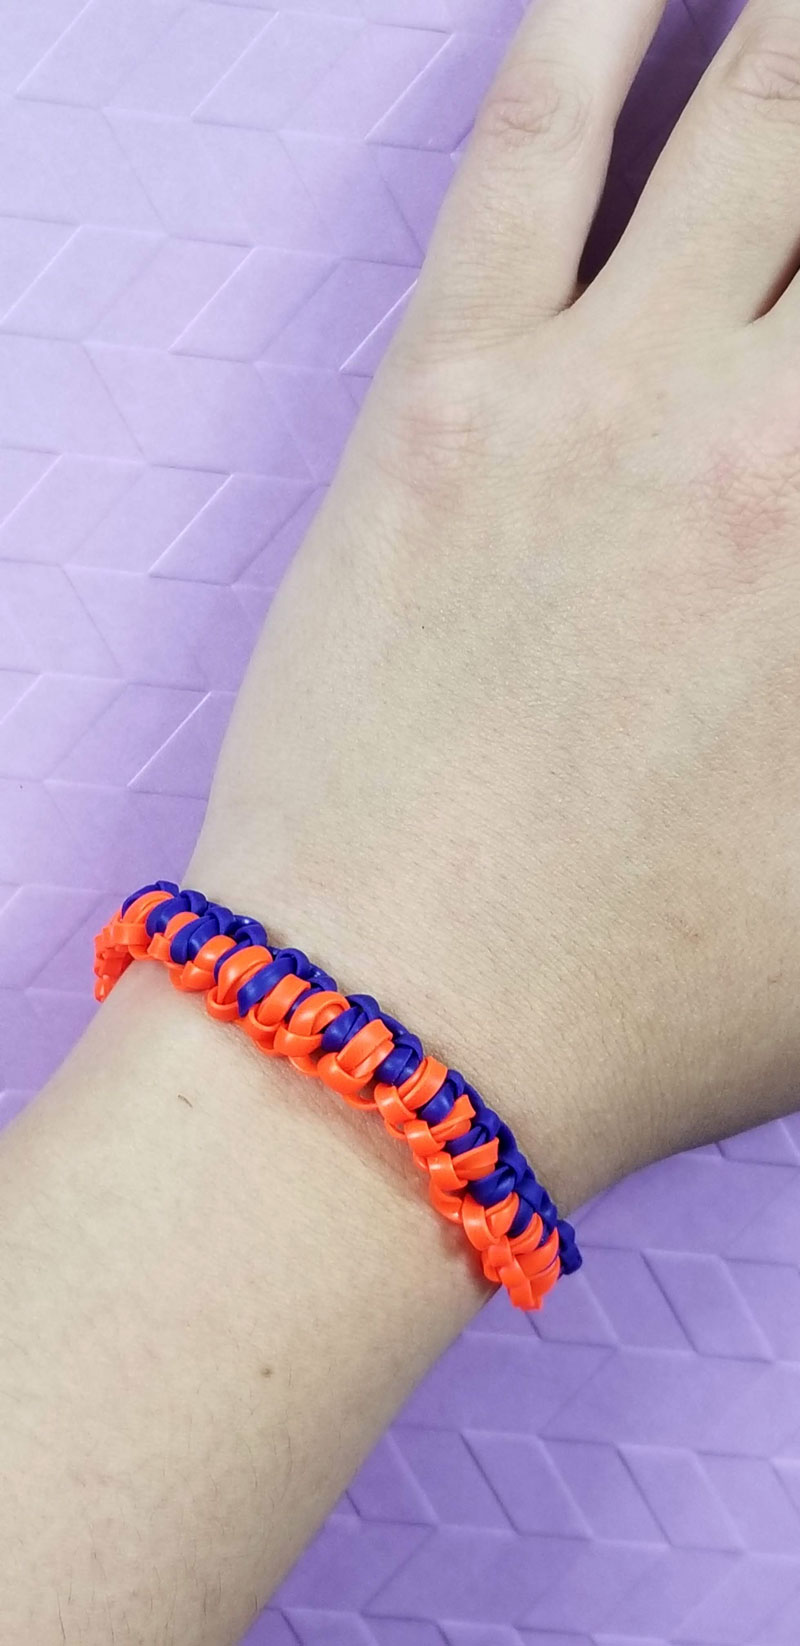
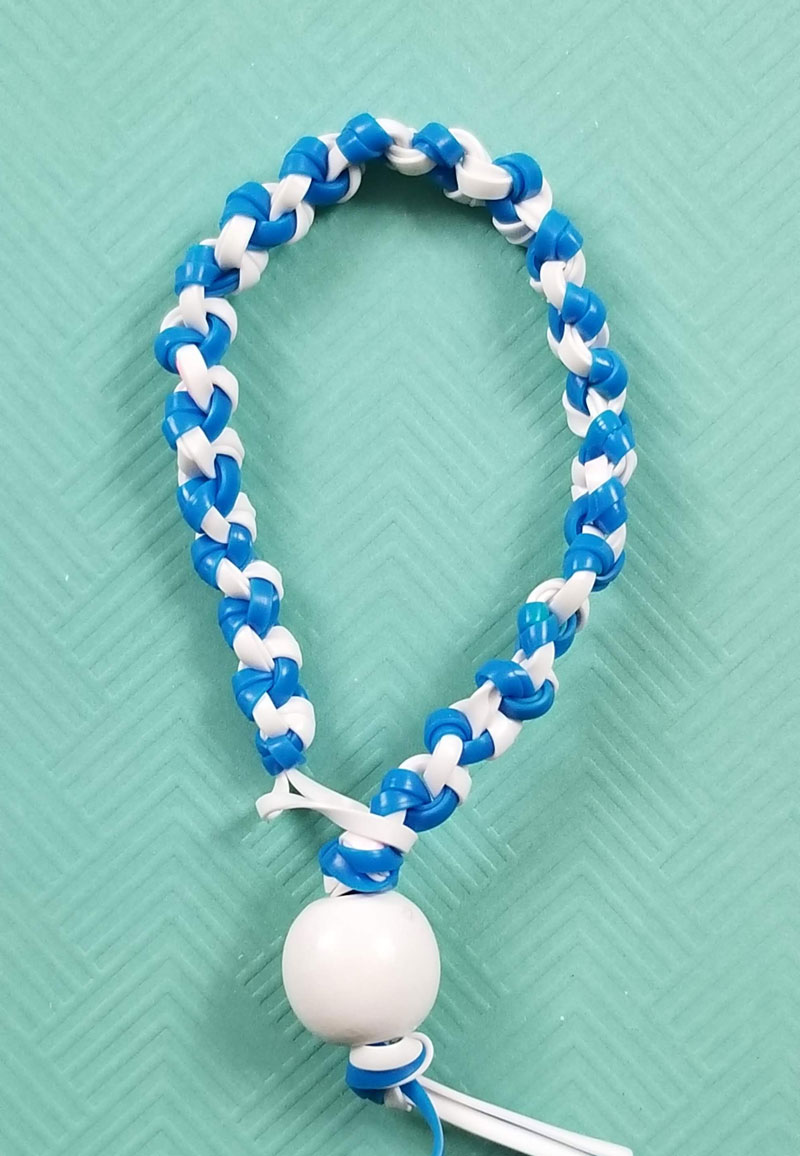
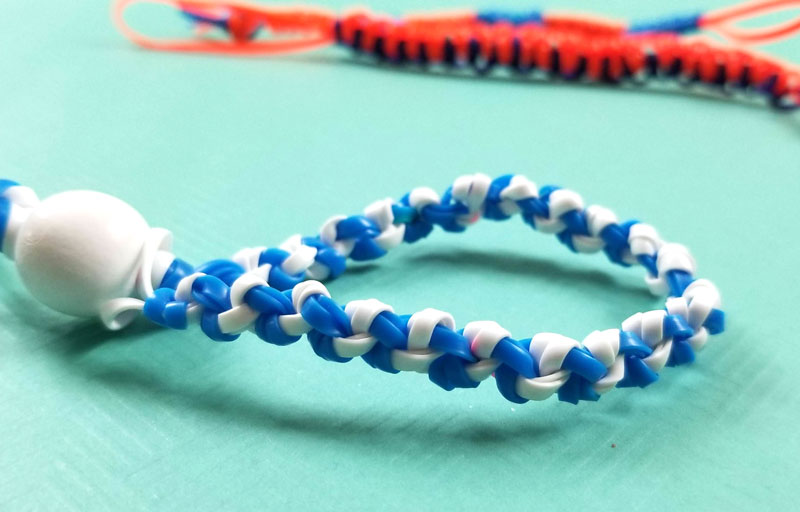
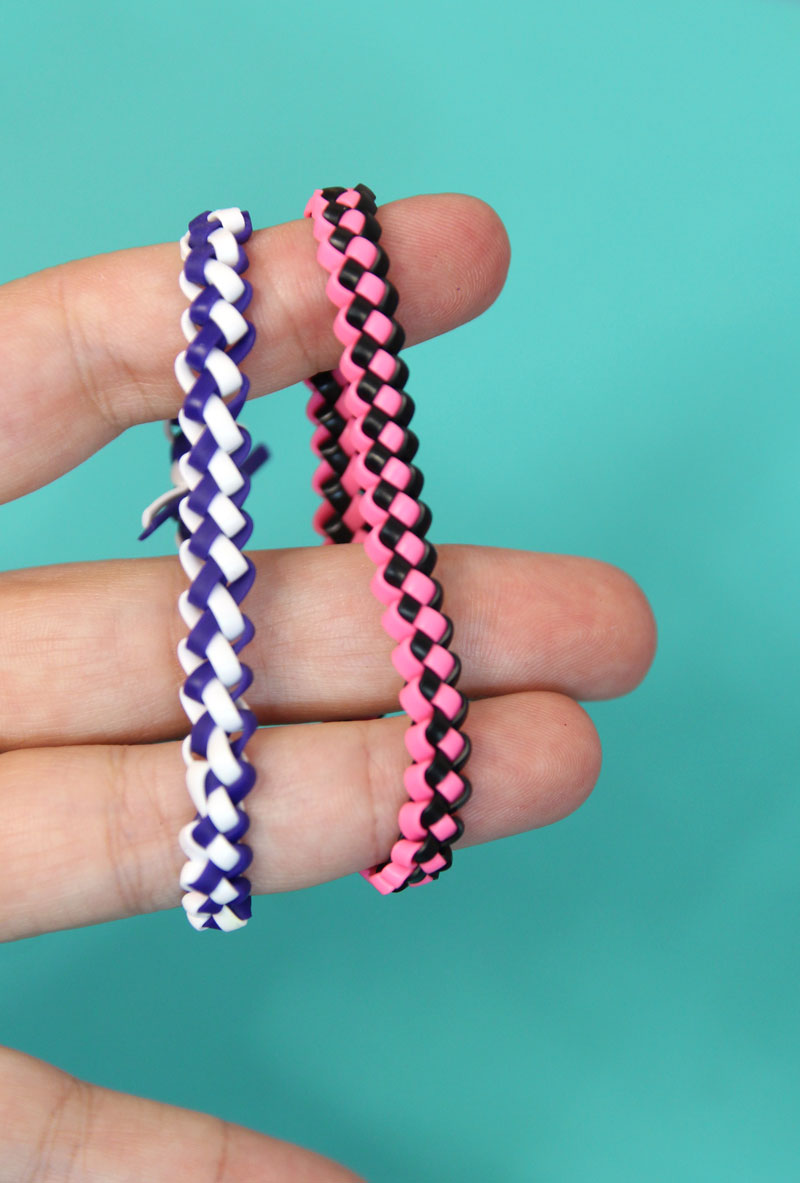
The third and favorite way to make Gimp bracelets:
So why is this my favorite?
I simply don’t like things complicated and this method of making a gimp bracelet is so stupid simple, it’ll rock your world. And for reference: the loop on this one looks much more like the size you’ll really need.
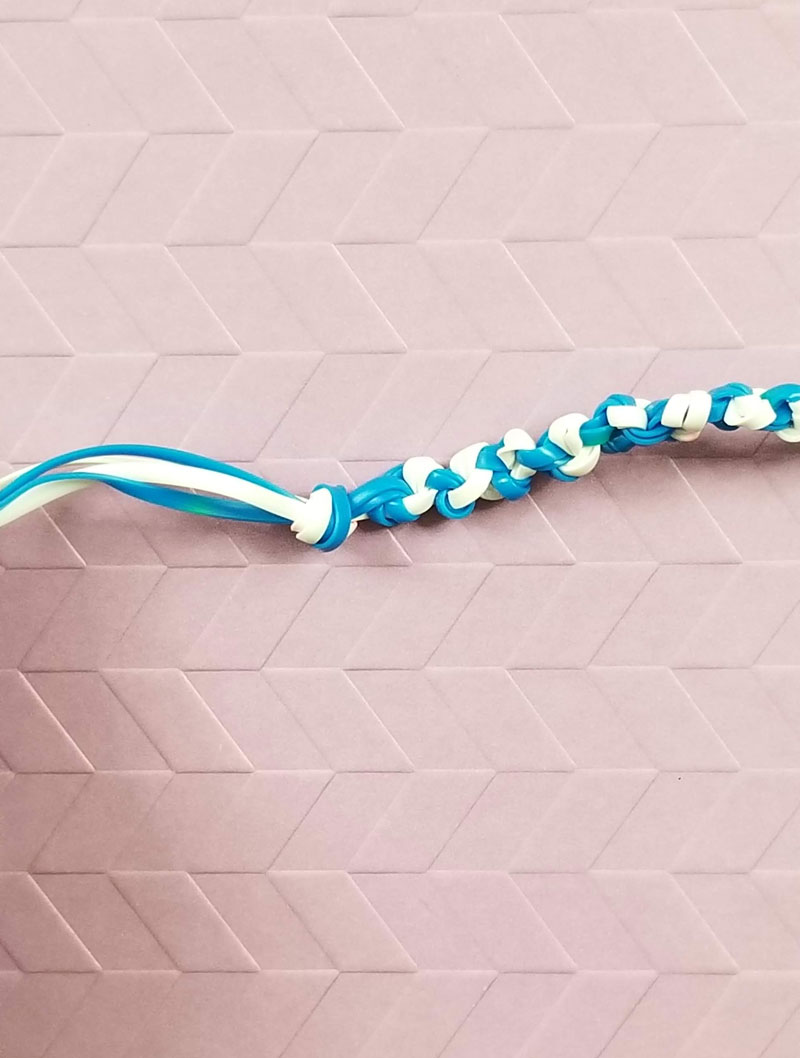
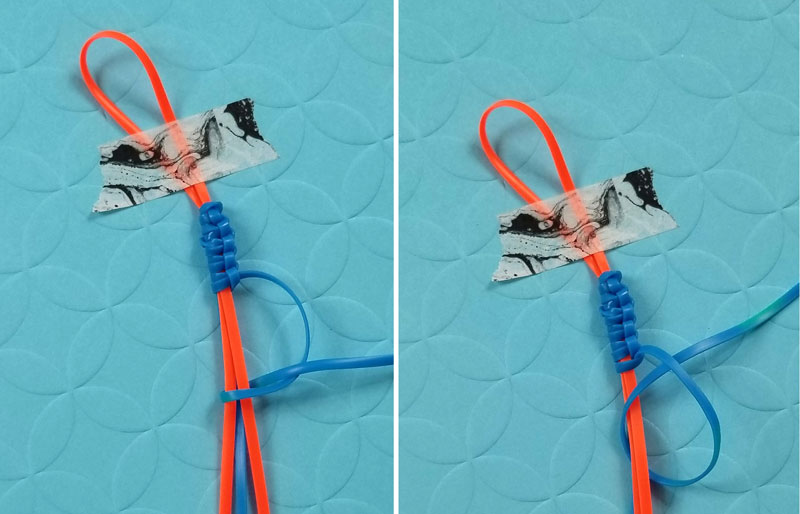
1. Take both your strings of color A (left) and forward knot it around color B.

2. Take both strings of color B (right) and backward knot it around color A.
THAT. IS. IT.
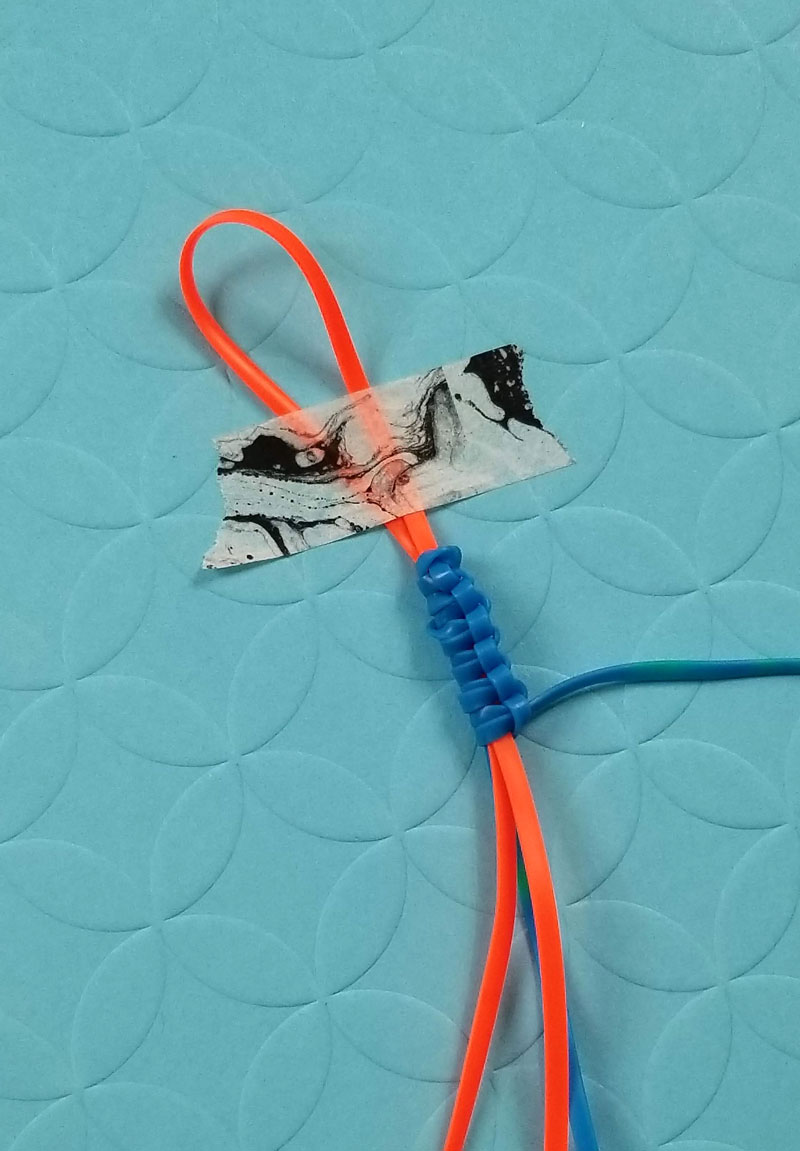
The flatter and neater you keep your project, the cooler it’ll look.
And the result is a cool fake braided look.
Ready for 2 bonus gimp bracelets?
The zipper stitch lanyard is another cool way how to make a gimp bracelet! It’s flat, flexible, fun and super duper easy!
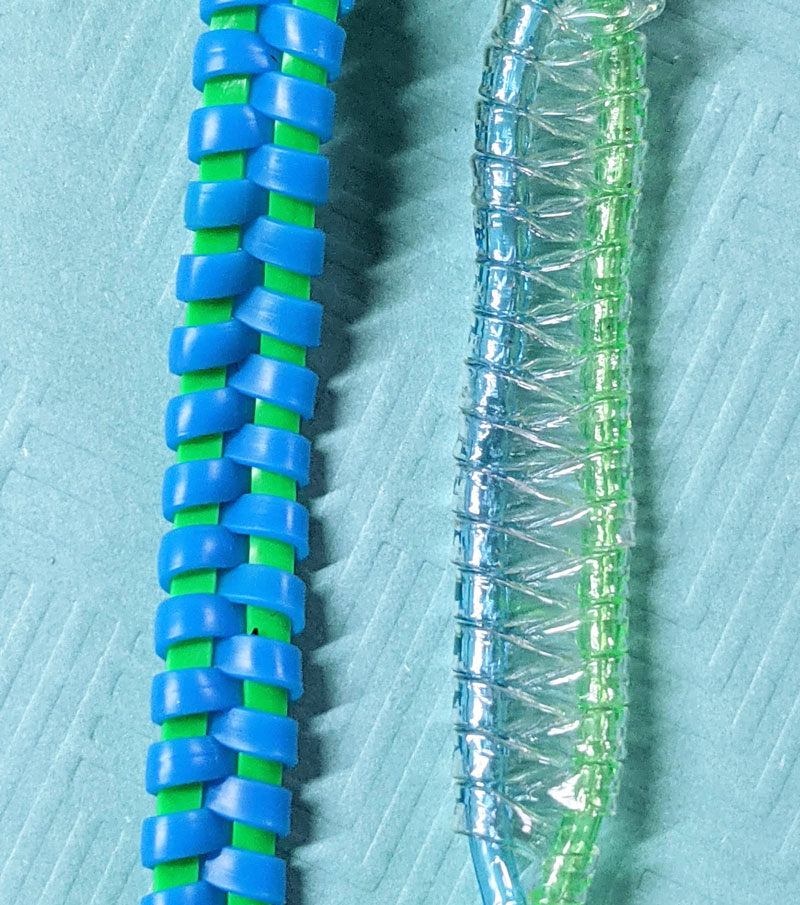
And the butterfly stitch lanyard is fabulous and easy too!
I hope you loved learning how to make a gimp bracelet with 3 super cool and easy knots! Got any questions or comments? Drop ’em below!
how long are the gimp pieces to start the bracelets
HI, I can’t really share a hard and fast formula, but I’d say to start with 4x the size you want the bracelet to be.