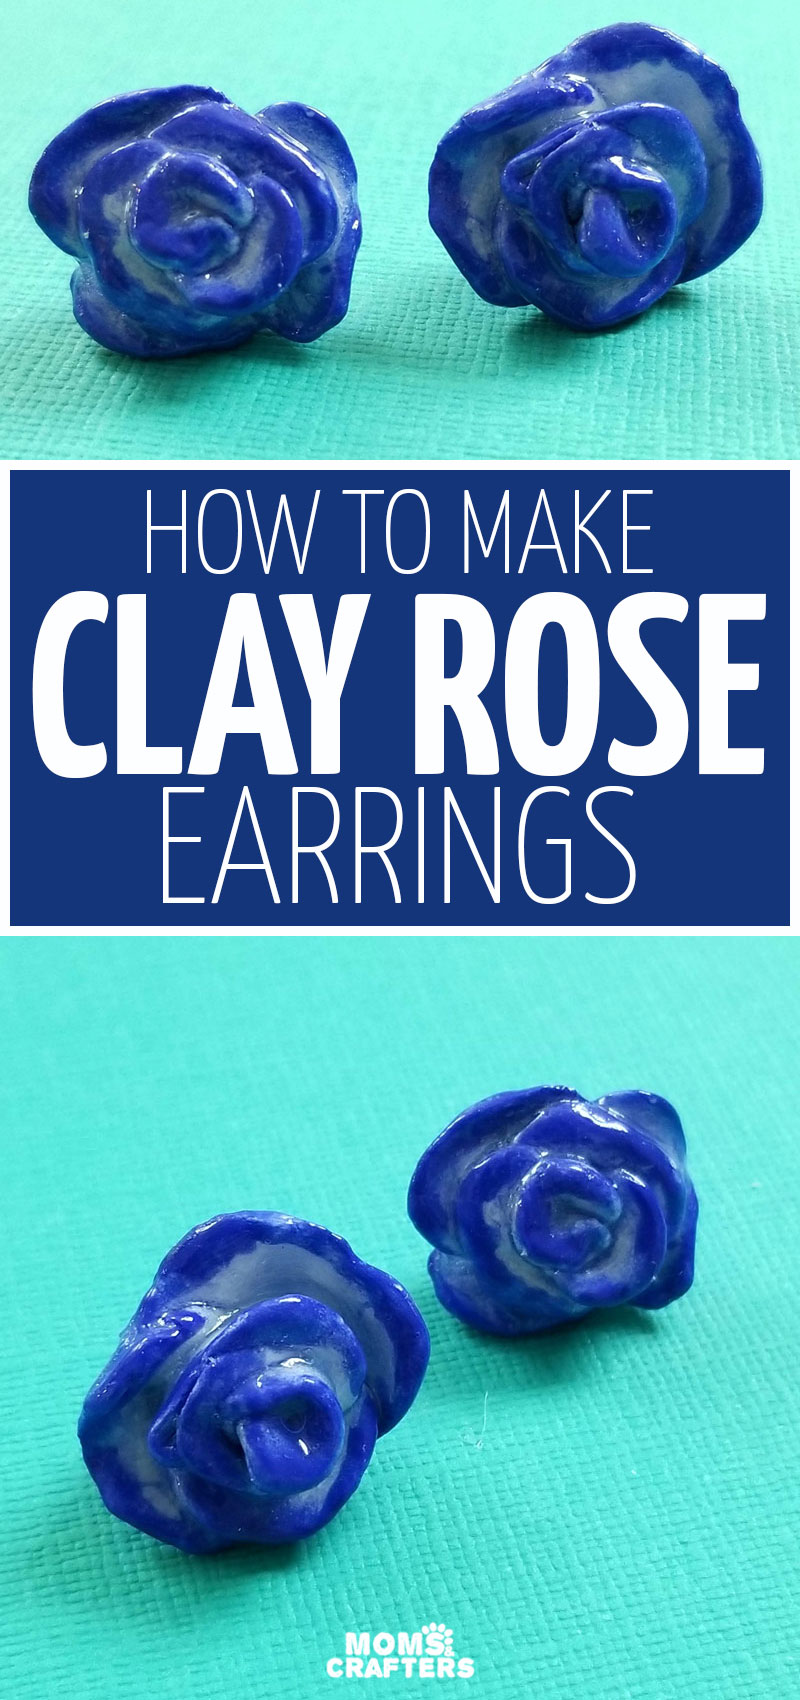
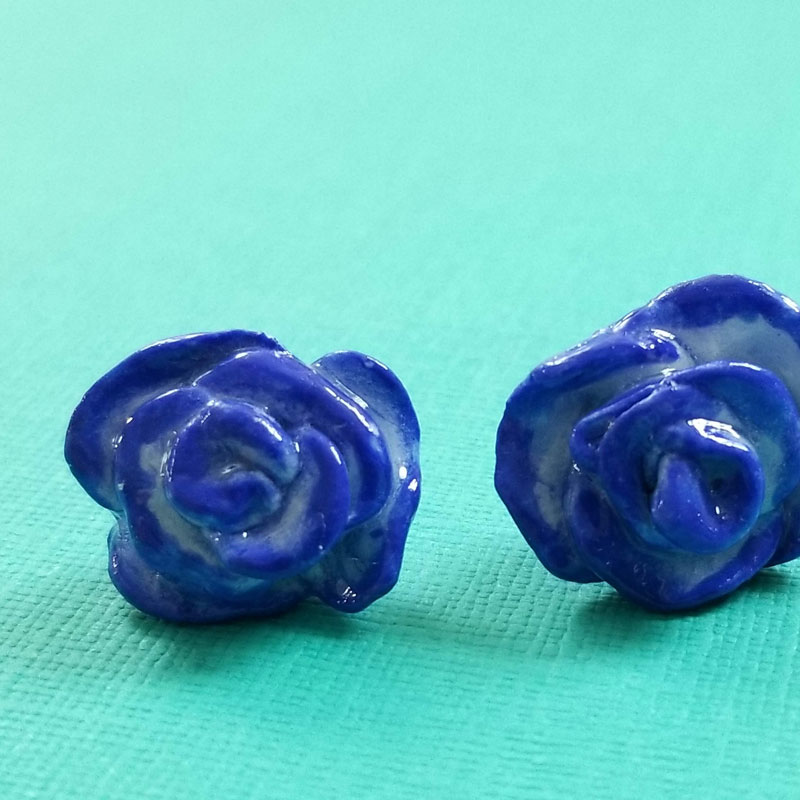
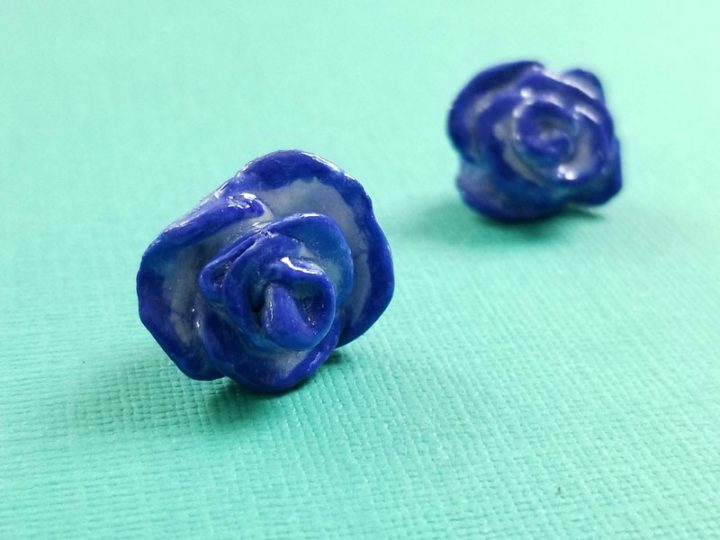
How to Make Clay Rose Earrings
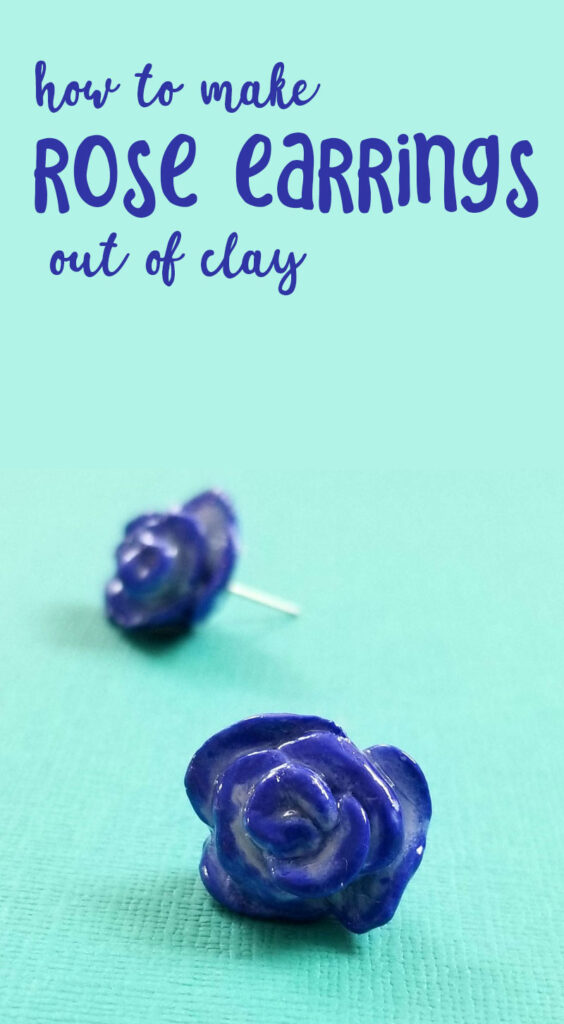
Learn how to make clay rose earrings with a beautiful watercolor finish in this super simple craft. I love “statement studs” and other earring studs DIY ideas and these roses are so much fun – you won’t want to stop at one pair! Disclosure: this post contains affiliate links. Plaid, Martha Stewart Crafts and Mod Podge products were received from the company free of charge in the hopes I’d share with you.
For a while, I’ve been wanting to make some clay rose earrings, because who doesn’t love roses? I’d already made paper rose studs for my book How to Make Jewelry out of Anything and I thought that a clay version would be so cool!
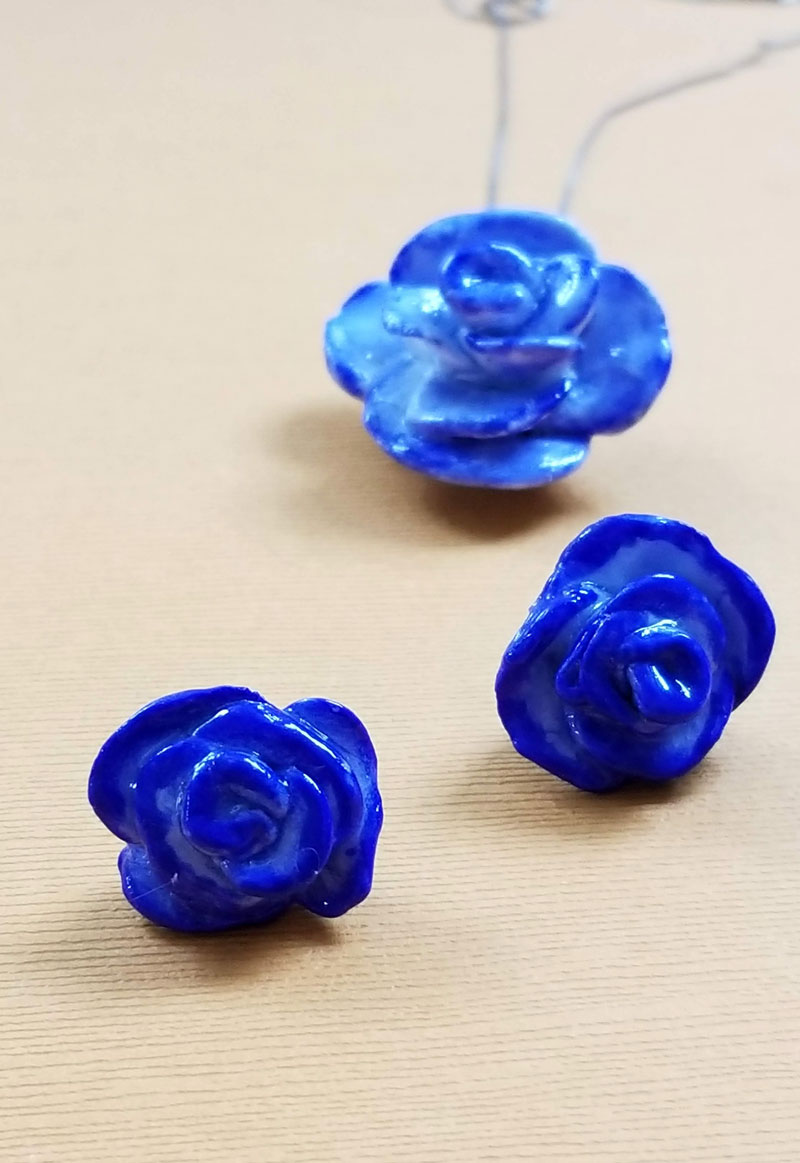
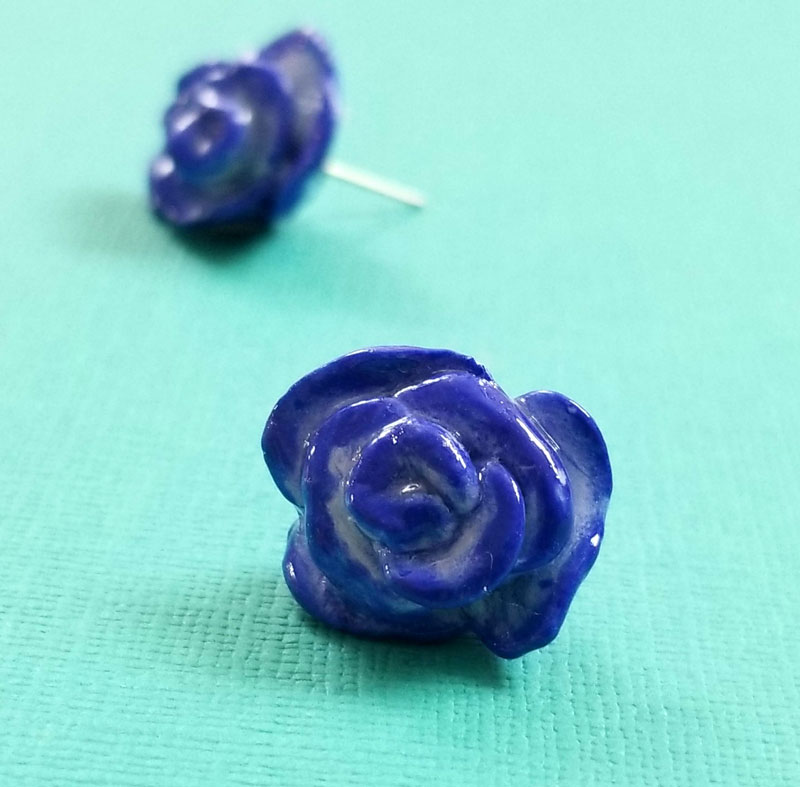
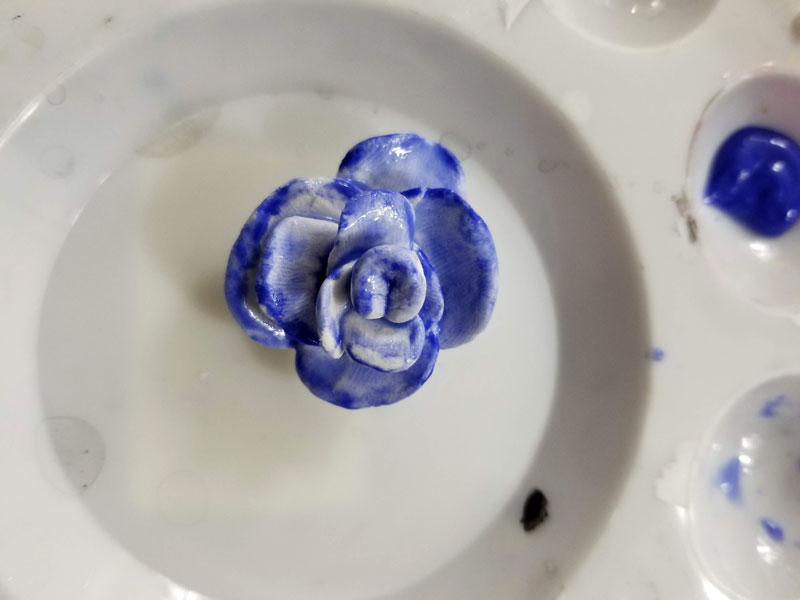
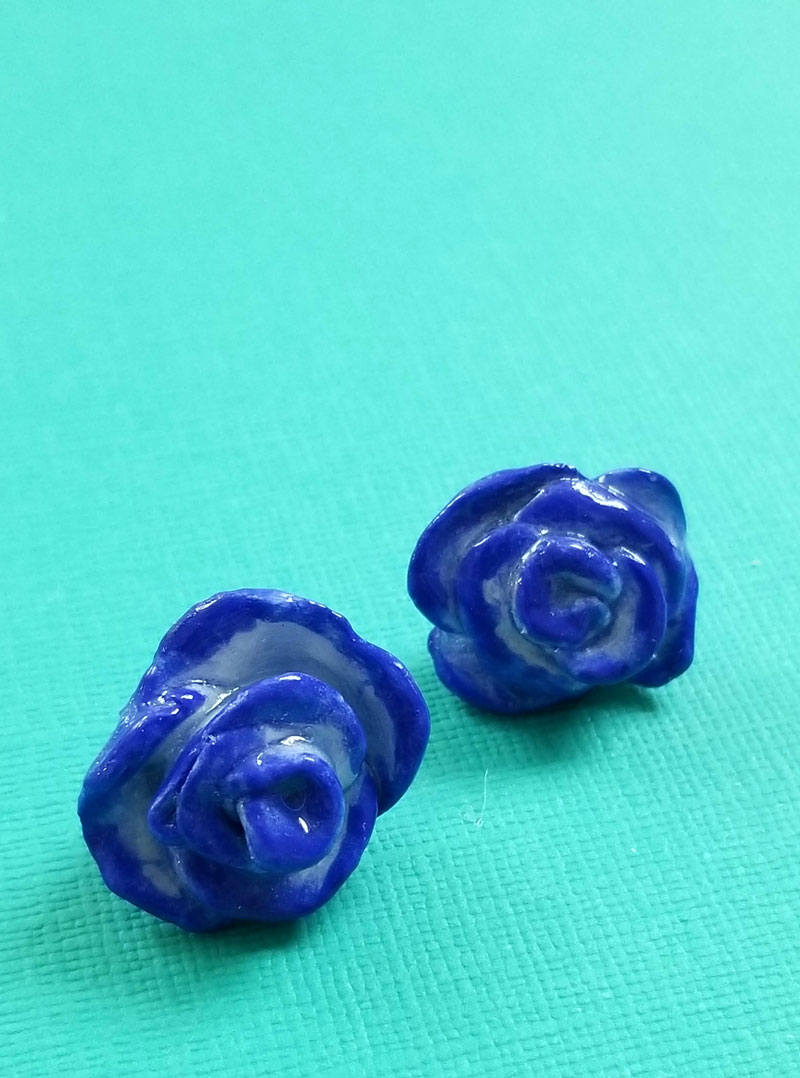
Because I love the kind of roses that have darker tips (is there an official name for that?!) I wanted to try watercoloring them using soft gel watercolors because they are designed for crafting with on multiple surfaces. I had some from Martha Stewart crafts that Plaid sent me a while ago so I gave them a run!
I actually found that the result was different from what I had planned but I love it just the same.
I first applied watered down paint into all the cracks and then layer by layer darkened the edges.
One of my biggest challenges when designing this craft was keeping it small. To make these, I used Sculpey air dry clay that’s very lightweight and absorbent and I felt would work well for this project.
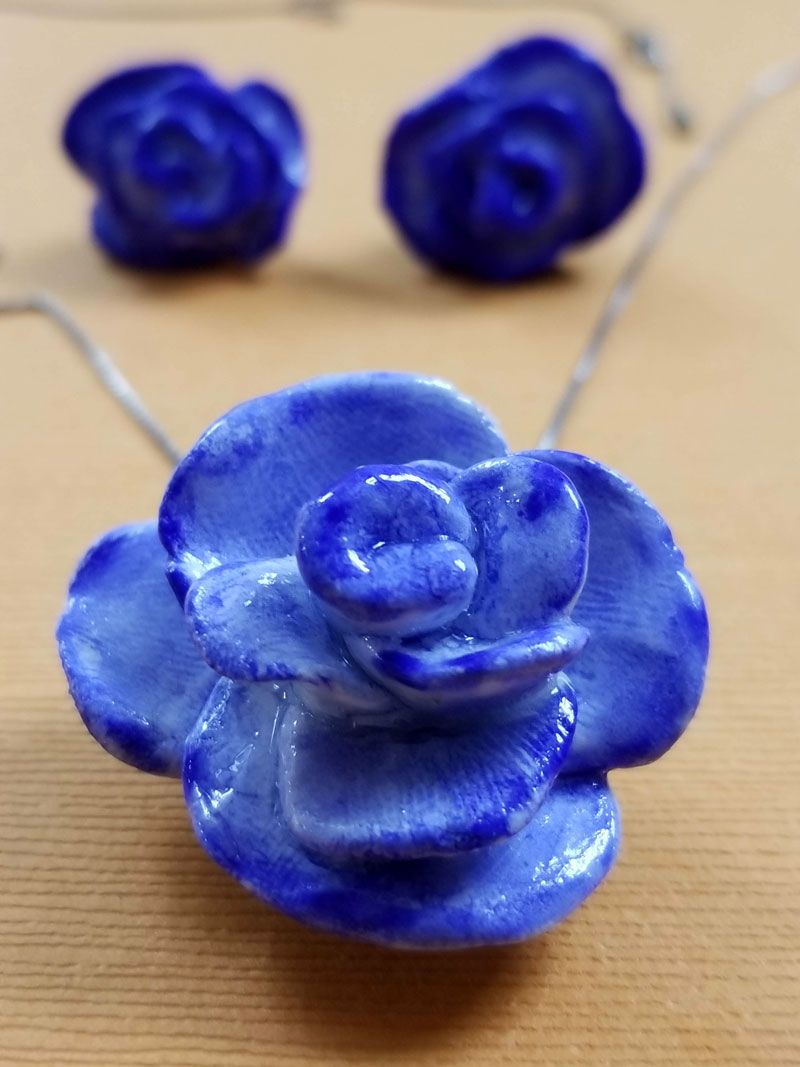
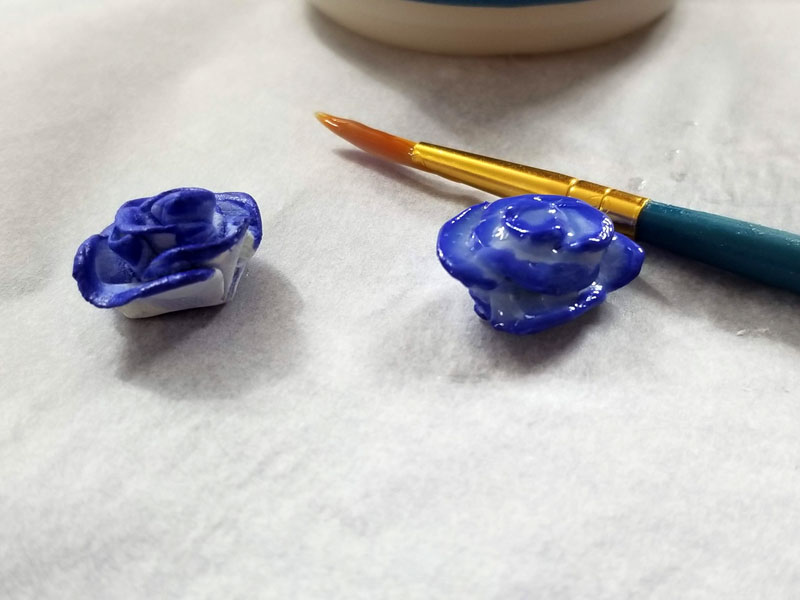
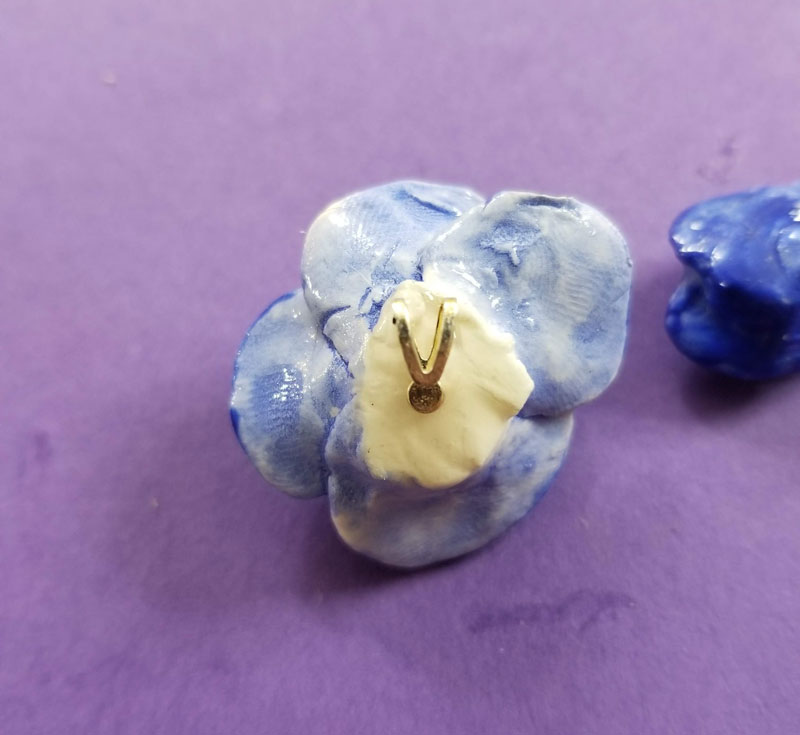
However, even though the clay isn’t heavy, I still didn’t want them to be huge visually. My first rose was way too big so I turned it into a pendant by gluing a flat pad bail to the back.
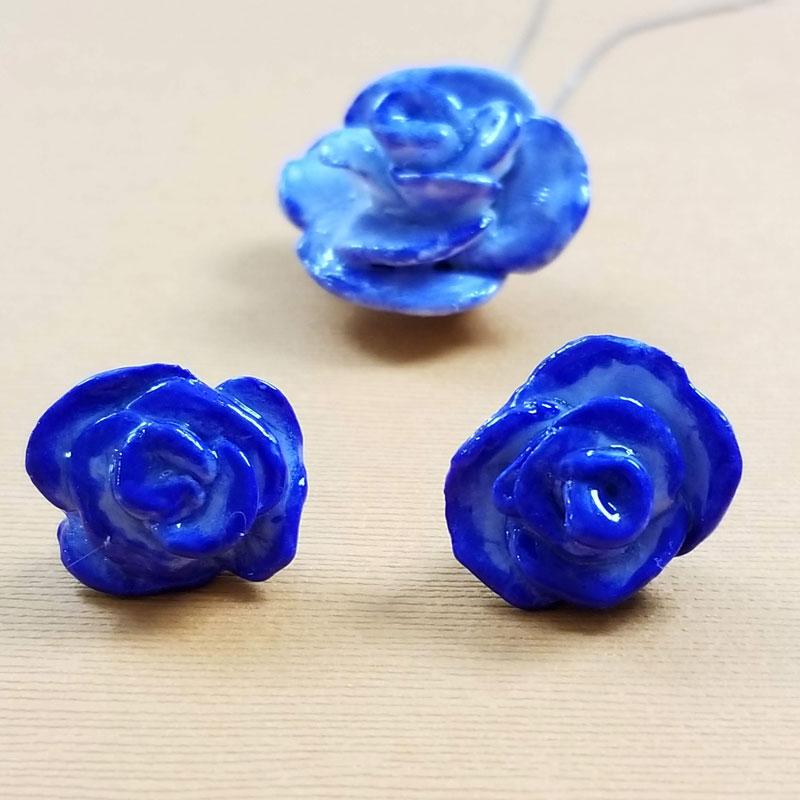
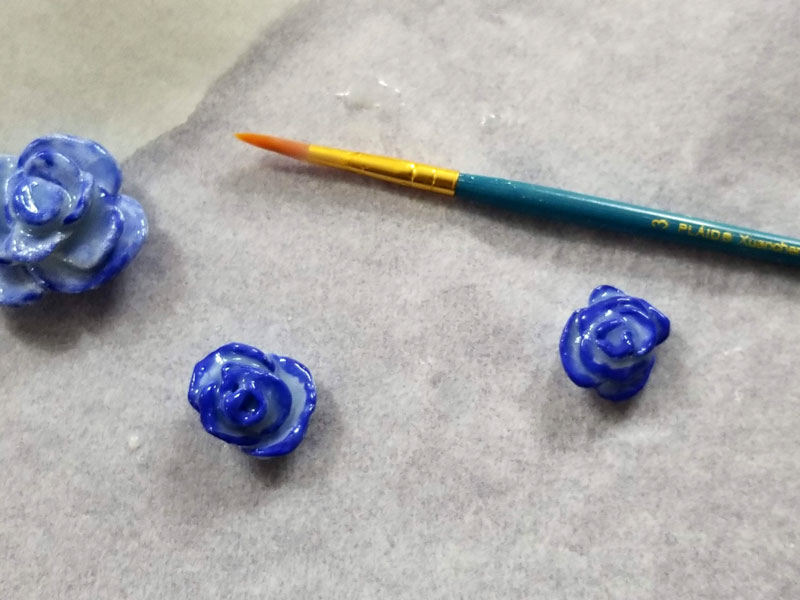
I finally got it right and found the perfect size. It may take some trial and error but you’ll get it right! The clay is inexpensive and I was well stocked up from making these hair tie bracelets. It’s a fun, easygoing, sit-down craft so I was happy to play around.
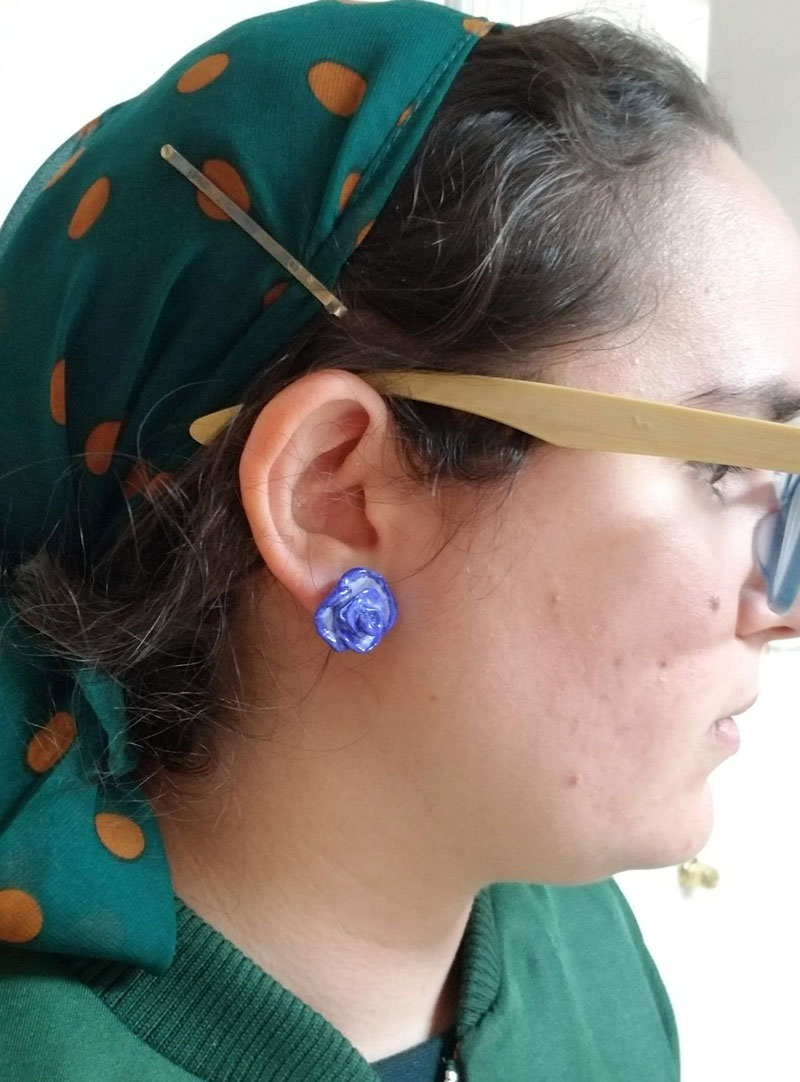
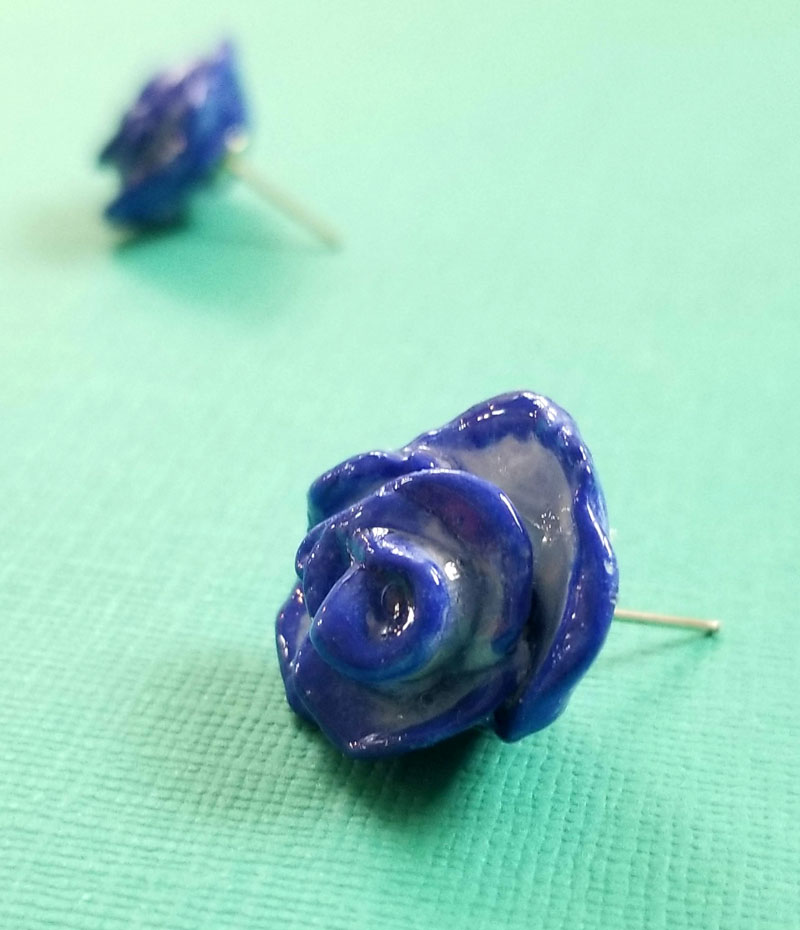
Even if you figure out how to make clay rose earrings small and comfortable as I did, you’ll still want to use bullet clutch earring backs with a plastic pad for support.
Another big challenge that I faced was fingerprints… When flattening petals you’re putting your prints on them. I rectified a lot of this while painting, but not allowing the paint to pool in the prints, they became less visible. The final finishing coat of Mod Podge helped trick the light into further concealing these.
So while these make a great craft to create for yourself, you’ll have to make sure to be careful with prints if you’re looking for things to make and sell at home.
Back to the top coat that gives it that beautiful glossy sheen. At first, I had planned to use my polymer clay glaze but when I opened it, I found that it had completely hardened!
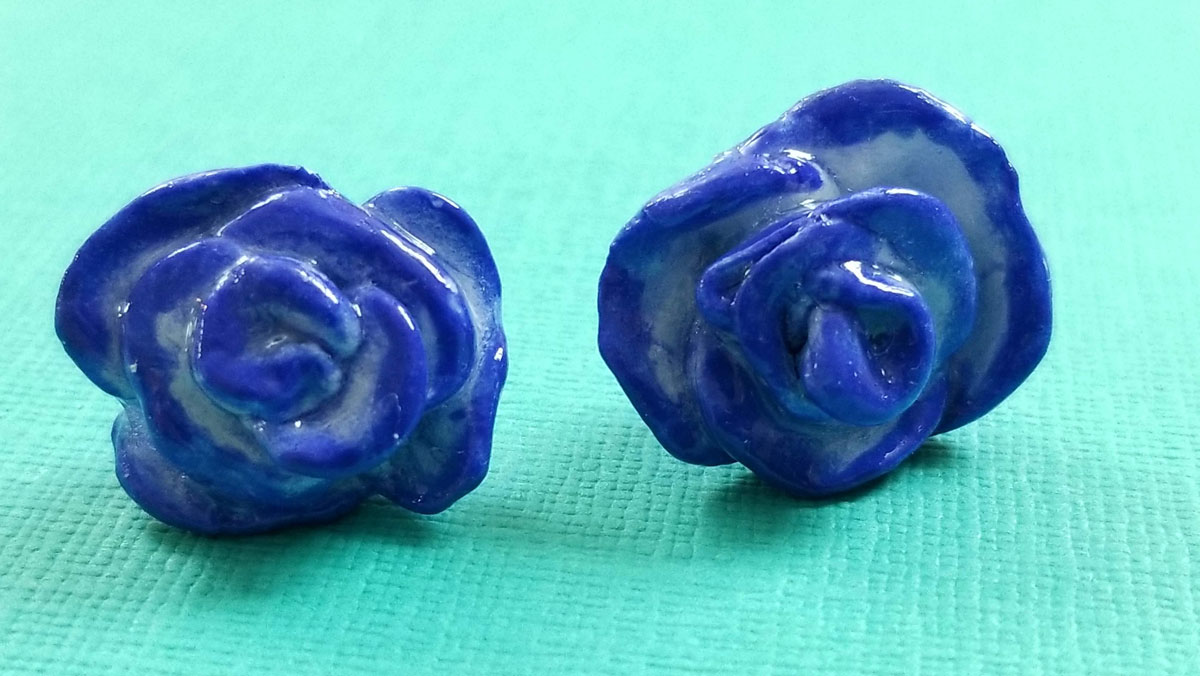
So I decided to try Mod Podge Super Gloss. And I’m happy my clay glaze hardened because this gave it that final polished touch that makes it look like a beautiful, artistic accessory. You really only need one layer, however if you want to give it an acrylic look I recommend a second layer. It dries totally clear and glossy, and isn’t sticky like the regular glossy Mod Podge.
And now I will share with you how to make clay rose earrings with a step-by-step tutorial.
Want to learn how to make jewelry out of anything? Get the book!
What you need to make clay rose earrings:
- Sculpey air dry clay
- Flat pad earring studs
- Bullet clutch earring backs with safety pad
- Martha Stewart Crafts soft gel watercolors
- Fine paint brushes
- Mod Podge Super Gloss
- E6000 glue or similar
- Clay knife or any craft knife
- Palette
How to make clay rose earrings:
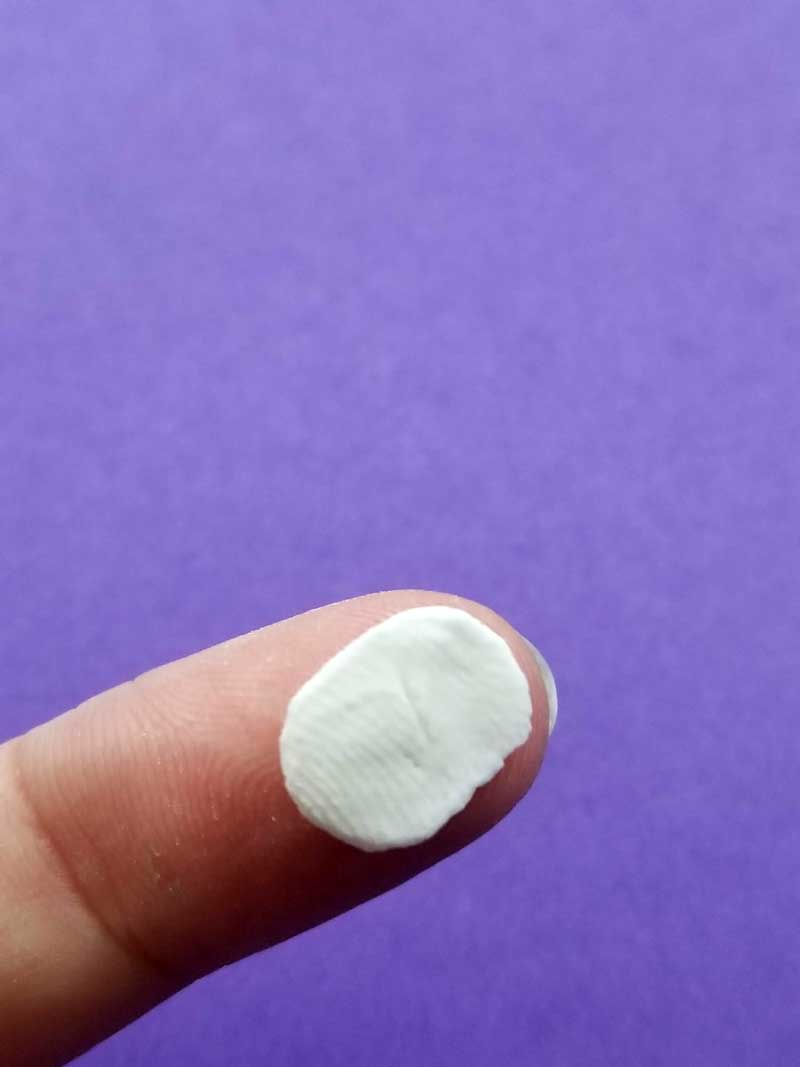
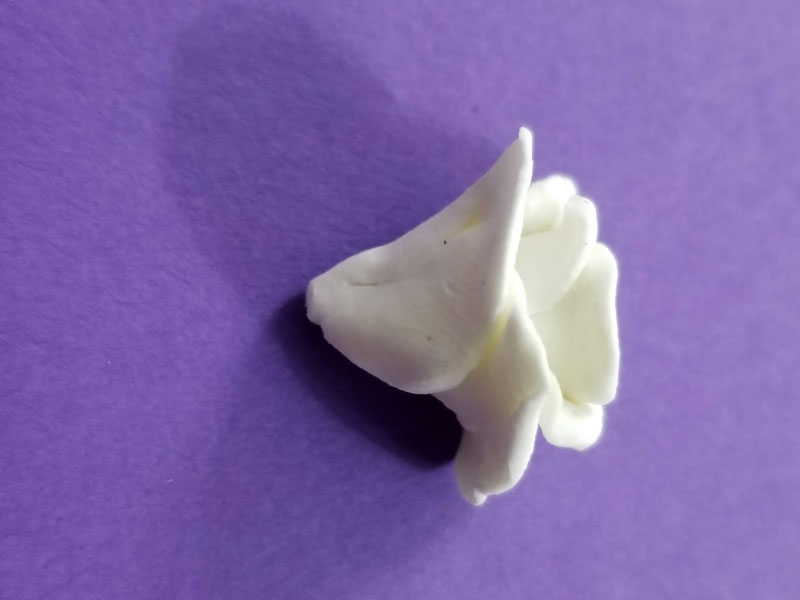
1. Form an oval with a small piece of clay.
2. Curl it into a cone shape, with the top edge slightly curling outward and the bottom overlapping.
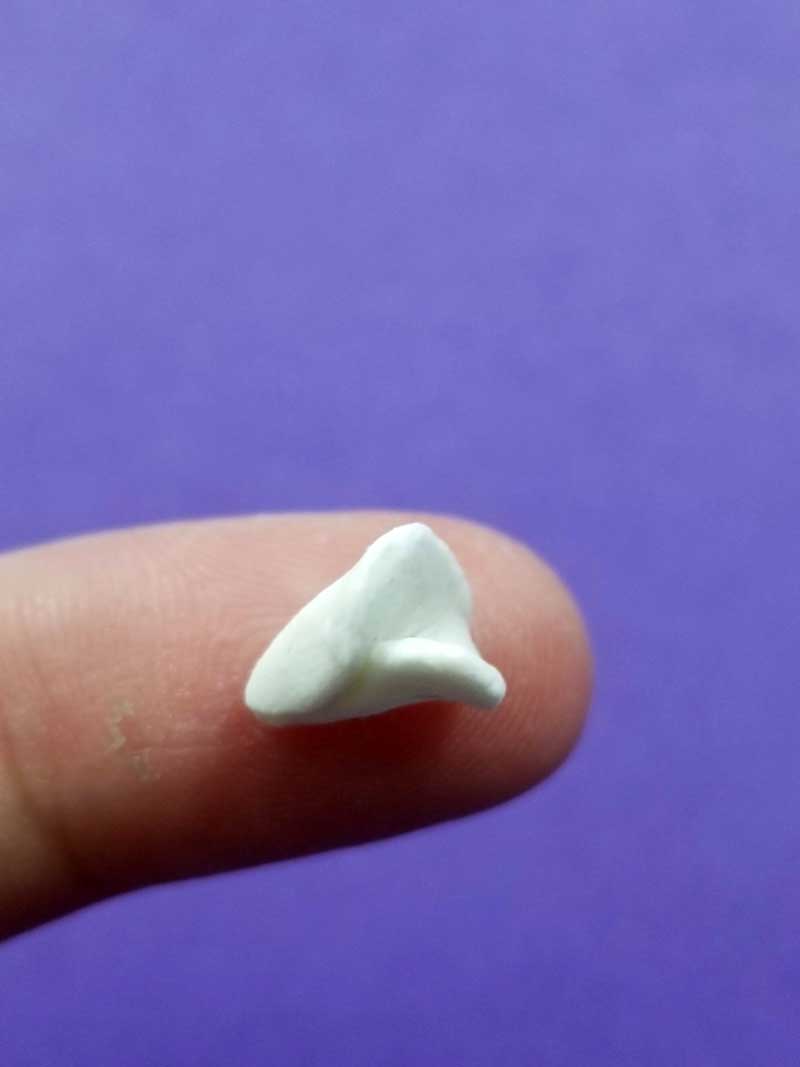
3. Create another small oval and attach it over the seam of the first. Join it at the base and curl the edge slightly outward.

4. Repeat with more petals, curling the ends slightly out. Flatten them a bit for more of a rose look, but not too much. If your clay is too thin it’ll be brittle.
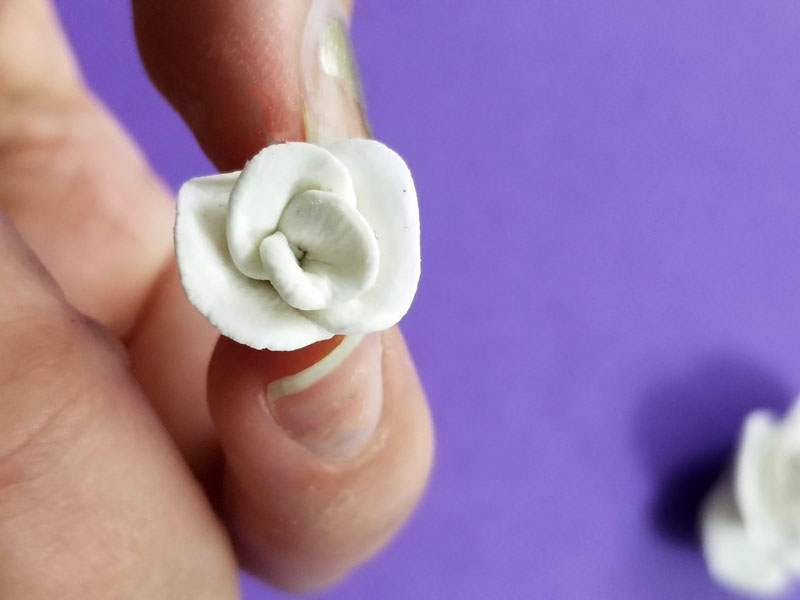
5. Continue until you’re satisfied with the size of your earring.
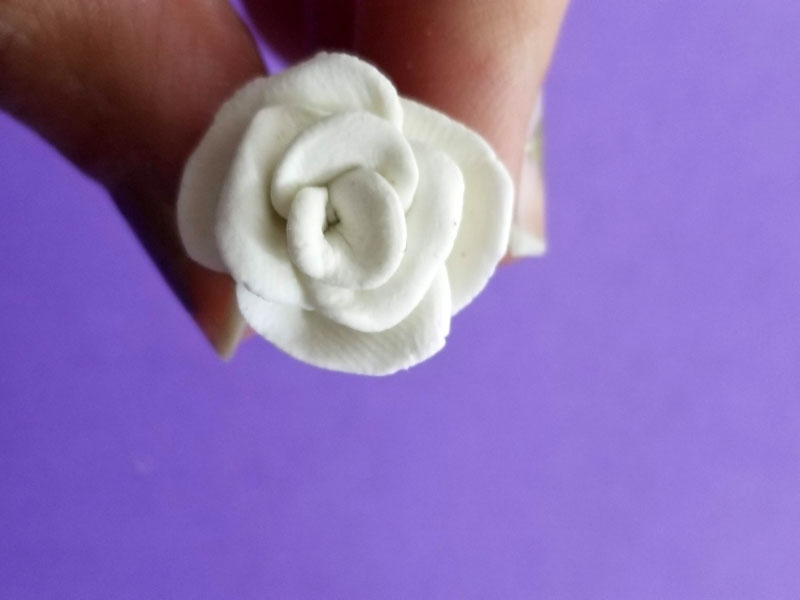
6. Flip your rose on its side and gently pinch the base to make sure everything is well connected. You might want to roll it between your fingers so you don’t mess up the shape of the flower.
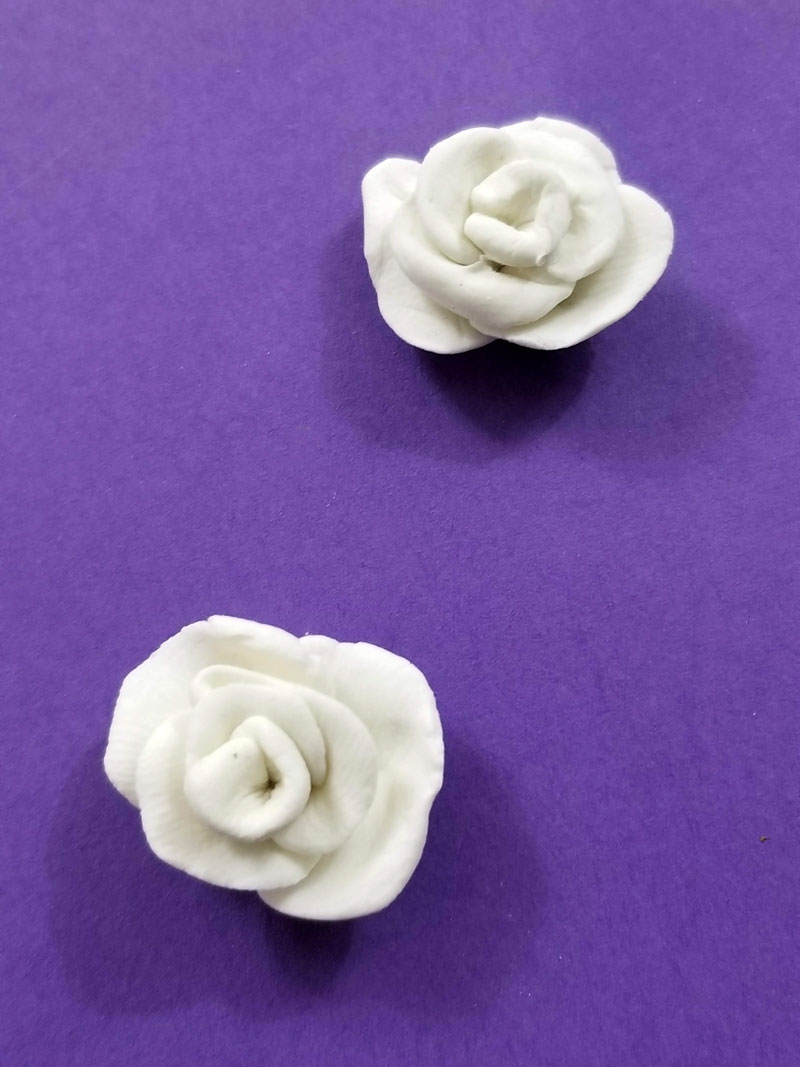
7. Use a knife or clay-shaping tool to cut off the point of the base, flattening it. Your petals might get pulled a little and need to be reshaped.

8. Lay your rose flat, reshape it, and adjust your petals as you’d like. Make a second stud. Don’t worry if it’s not a mirror image! The general size and style should be the same, but having a handmade look is part of the fun. Allow them to dry overnight.
9. On a palette, drop some craft watercolors into one section and some water into the next. Create a very thin dilution of your watercolor and keep some full-strength gel on your palette as well.
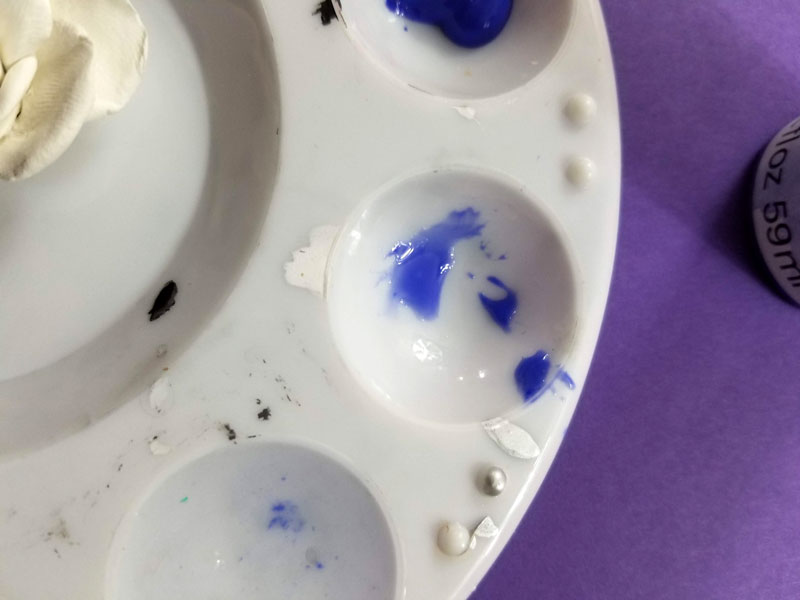
10. Start painting your roses. Begin with a thin wash and cover your entire clay rose.
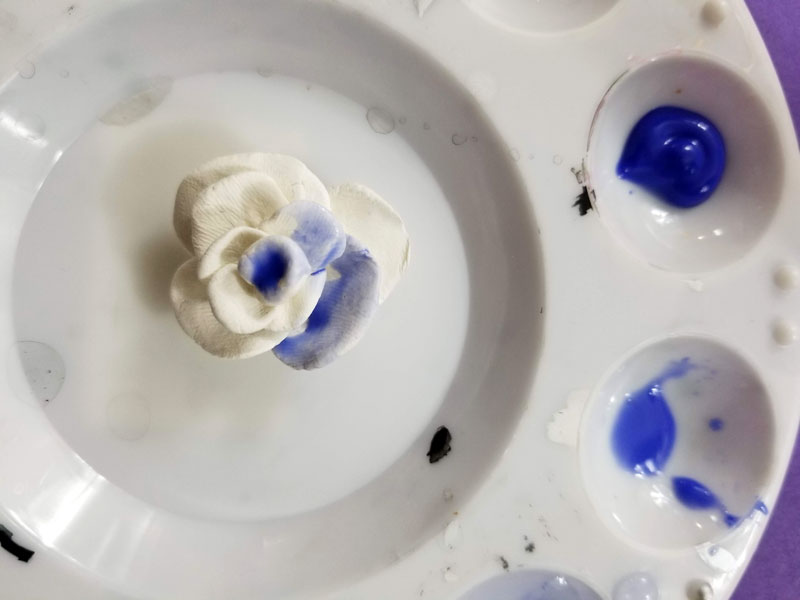
11. Add paint until you’re happy. I made the tips of the petals much darker than the rest. You can let it dry first if you want a stronger rim.
12. Allow the paint to dry completely and coat your roses with a layer of Mod Podge Super Gloss. Use a thin brush to get it between the layers.
14. You may want to add a second coat of Super gloss if you want a totally glazed look. Allow it to dry between layers. You can paint and glaze the base as well – you’ll just need to wait until each coating is dry enough to flip over.
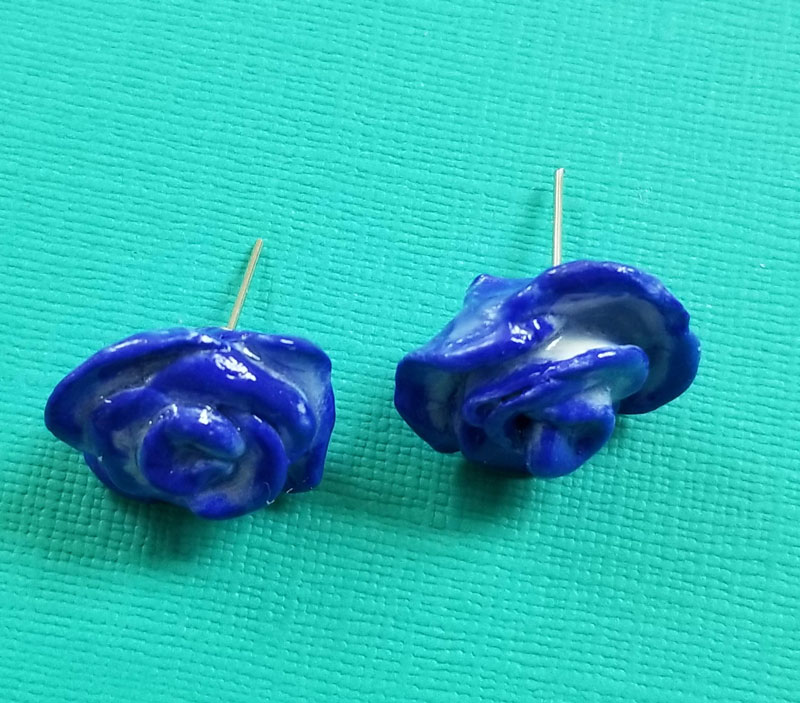
15. When everything is dry, glue flat pad ear studs to the back. Make sure to glue them where you’d like them to fall on your ear. So if you’re making oversized studs, glue them toward the top.
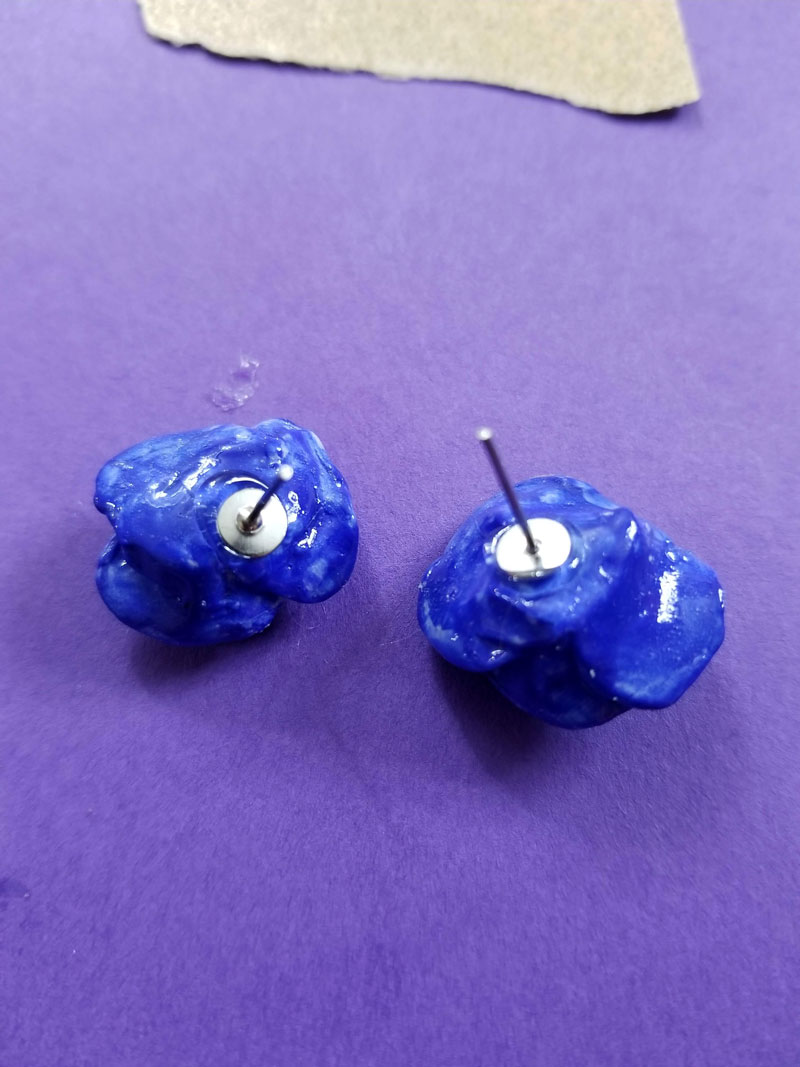
Or if you prefer, glue a flat pad pendant bail to the back. The chain will come out of the sides and the bail will be invisible.
Make sure that everything dries completely before wearing! And to hold these clay rose earrings in place better, use bullet clutch earrings with pads.
Did you enjoy learning how to make clay rose earrings? Did you find that you had lots of trial and error or did it go smoothly for you? Got any additional tips to offer? Comment below!

Clay Rose Earrings
Craft some beautiful statement studs using clay. These DIY clay rose earrings are beautiful and perfect for Spring. Make a pair to match with every outfit...
Materials
Instructions
1. Form an oval with a small piece of clay.
2. Curl it into a cone shape, with the top edge slightly curling outward and the bottom overlapping.
3. Create another small oval and attach it over the seam of the first. Join it at the base and curl the edge slightly outward.
4. Repeat with more petals, curling the ends slightly out. Flatten them a bit for more of a rose look, but not too much. If your clay is too thin it'll be brittle.
5. Continue until you're satisfied with the size of your earring.
6. Flip your rose on its side and gently pinch the base to make sure everything is well connected. You might want to roll it between your fingers so you don't mess up the shape of the flower.
7. Use a knife or clay-shaping tool to cut off the point of the base, flattening it. Your petals might get pulled a little and need to be reshaped.
8. Lay your rose flat, reshape it, and adjust your petals as you'd like. Make a second stud. Don't worry if it's not a mirror image! The general size and style should be the same, but having a handmade look is part of the fun. Allow them to dry overnight.
9. On a palette, drop some craft watercolors into one section and some water into the next. Create a very thin dilution of your watercolor and keep some full-strength gel on your palette as well.
10. Start painting your roses. Begin with a thin wash and cover your entire clay rose.
11. Add paint until you're happy. I made the tips of the petals much darker than the rest. You can let it dry first if you want a stronger rim.
12. Allow the paint to dry completely and coat your roses with a layer of Mod Podge Super Gloss. Use a thin brush to get it between the layers.
14. You may want to add a second coat of Super gloss if you want a totally glazed look. Allow it to dry between layers. You can paint and glaze the base as well - you'll just need to wait until each coating is dry enough to flip over.
15. When everything is dry, glue flat pad ear studs to the back. Make sure to glue them where you'd like them to fall on your ear. So if you're making oversized studs, glue them toward the top.
Or if you prefer, glue a flat pad pendant bail to the back. The chain will come out of the sides and the bail will be invisible.
Make sure that everything dries completely before wearing! And to hold these clay rose earrings in place better, use bullet clutch earrings with pads.
Recommended Products
As an Amazon Associate and member of other affiliate programs, I earn from qualifying purchases.
-
 Sewing Shirt - Vintage Sewing Machine Sketch - Women's short sleeve t-shirt in red, green, blue,...
 -
 Mug for Crafters - I Make Stuff - What's Your Superpower
 -
 How to Make Jewelry Out of Anything: A Complete Out-of-the-Box Jewelry Making Guide for Teens and Teens-at-Heart!
 -
 Little Red Riding Hood puppets
 -
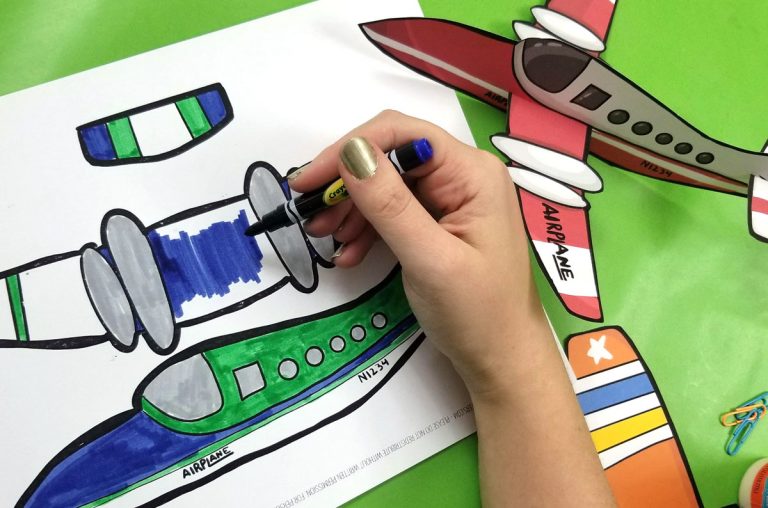
 Jewelry Designer Templates - Color In Fashion Drawing Models to Make DIY Handmade Jewelry