
How to wrap crystals with wire
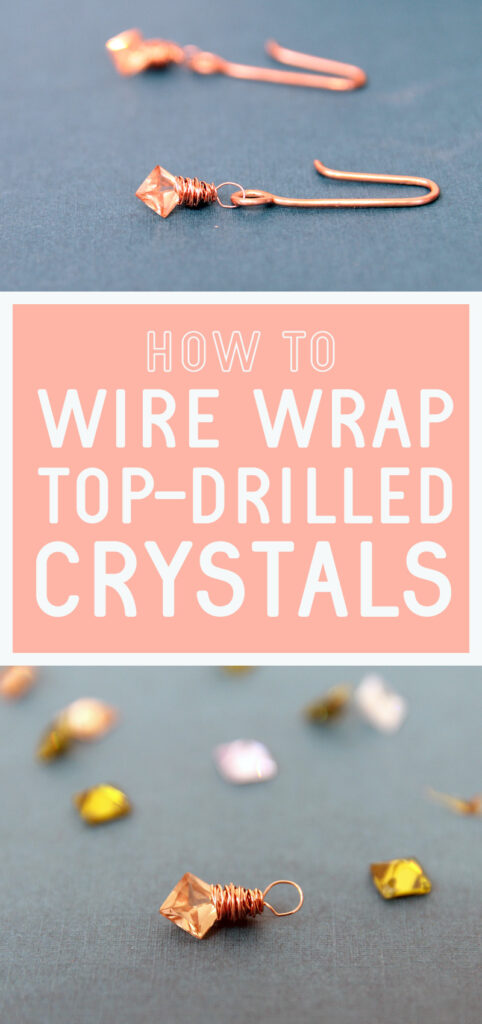
In this post, I will teach you how to wrap crystals with wire. This is specifically for TOP DRILLED stones. You can learn how to wire wrap an undrilled stone here. This post contains affiliate links.

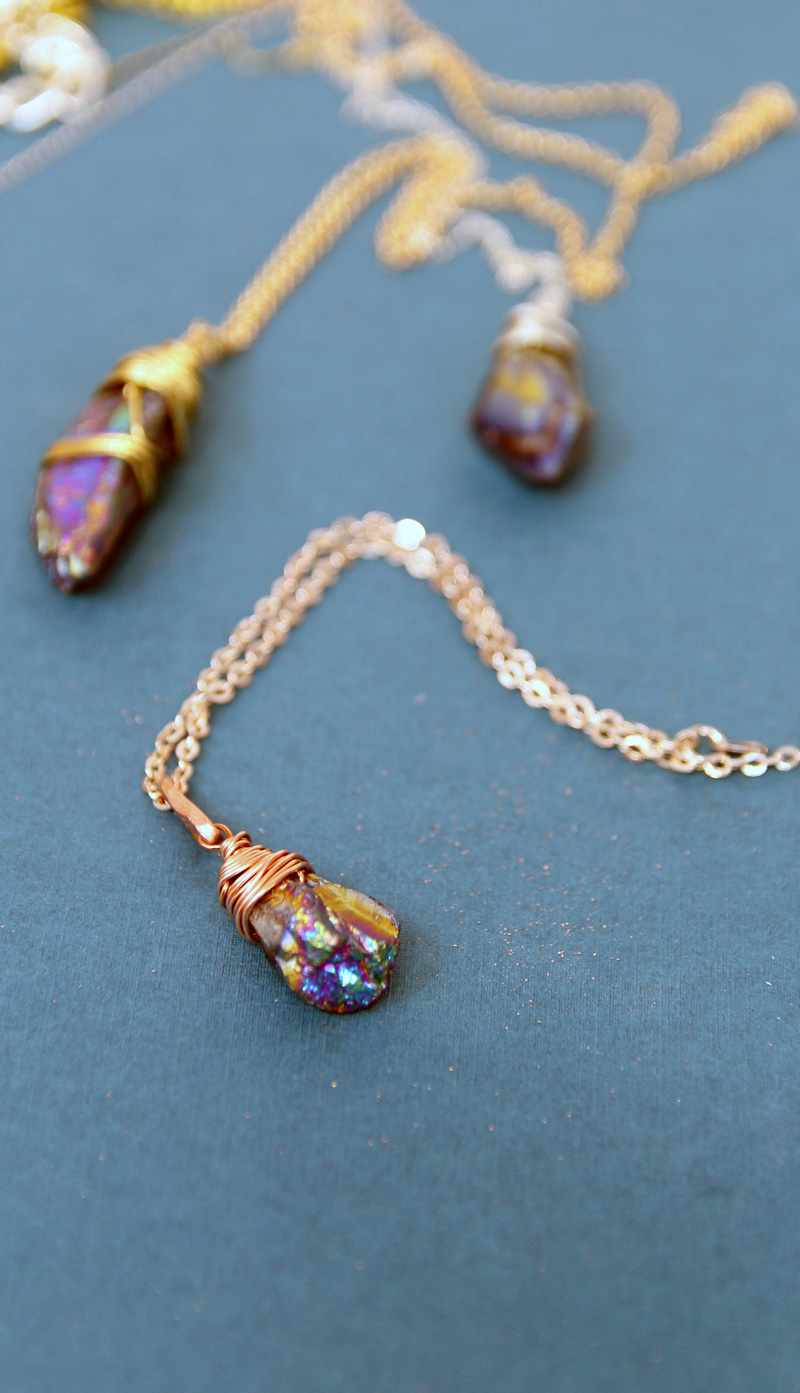
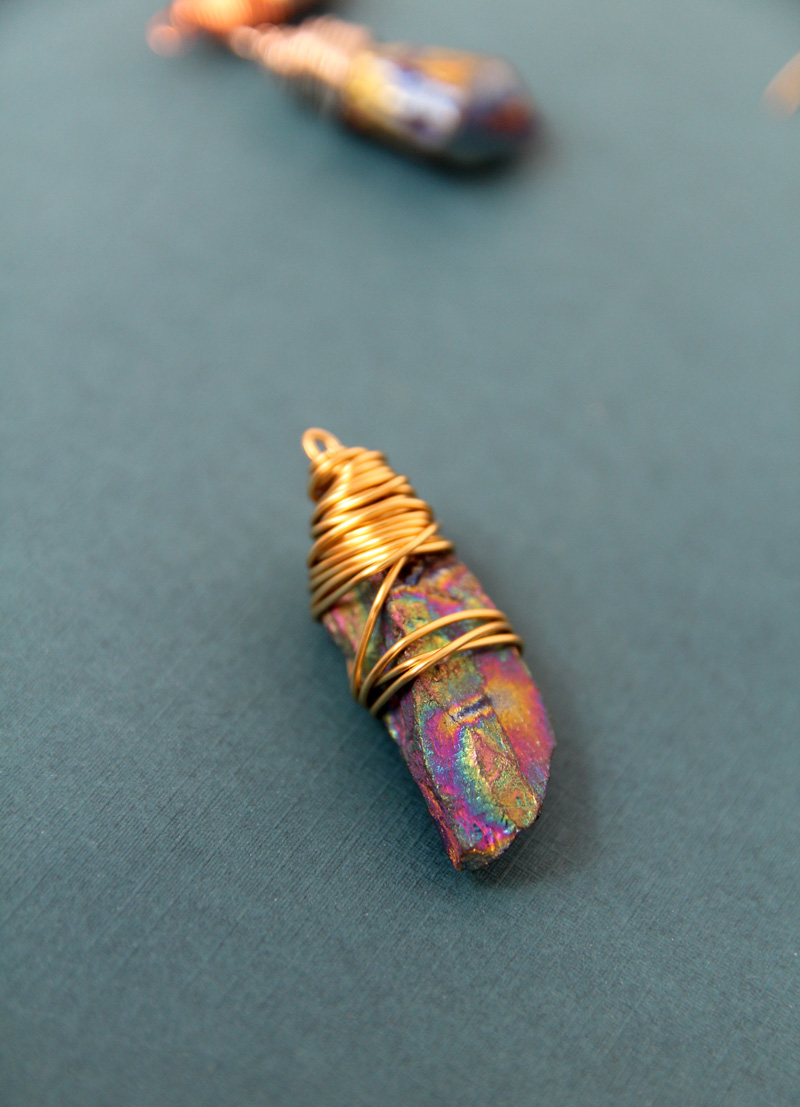
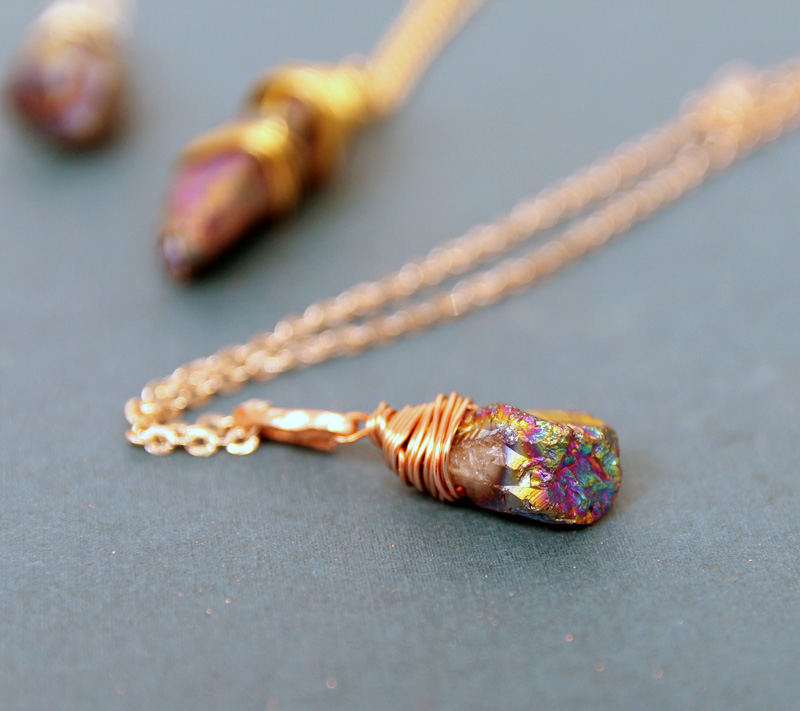
I love the look of top-drilled stones wrapped in copper wire! A while ago, I picked up some beautiful crystals to make myself jewelry. They did not work for what I had planned them for, as they were top drilled.
They are, however, perfect for making wire wrapped crystal pendants, and so today I’m going to teach you how to wrap crystals with wire!
I’m going to show you how to wrap two types of crystals. One is more rugged and durable, and so you can use a thicker wire that holds its shape. I used 22 gauge.
This is a great bead type for learning, for beginners.

The other is extremely delicate (and cost me an arm and a leg- and sat with my craft supplies for ten years! Can you relate?)
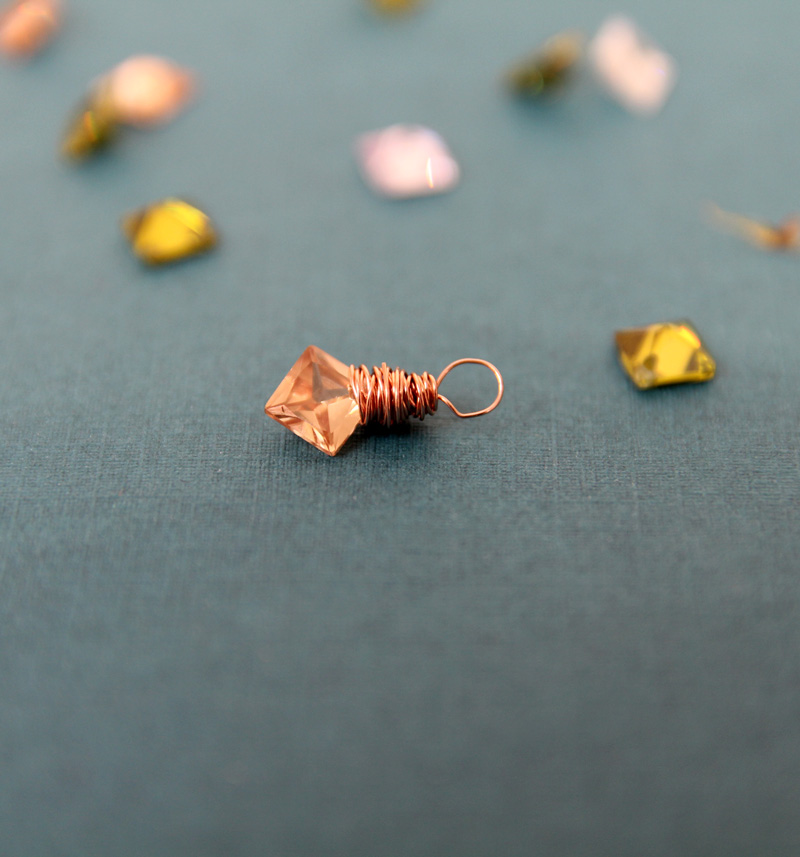
It’s a smaller crystal that is good for detailed cluster jewelry or minimalist pieces. For this I used super thin 28 gauge wire. It was maybe a bit too thin, but all the better to show you how to work with it.

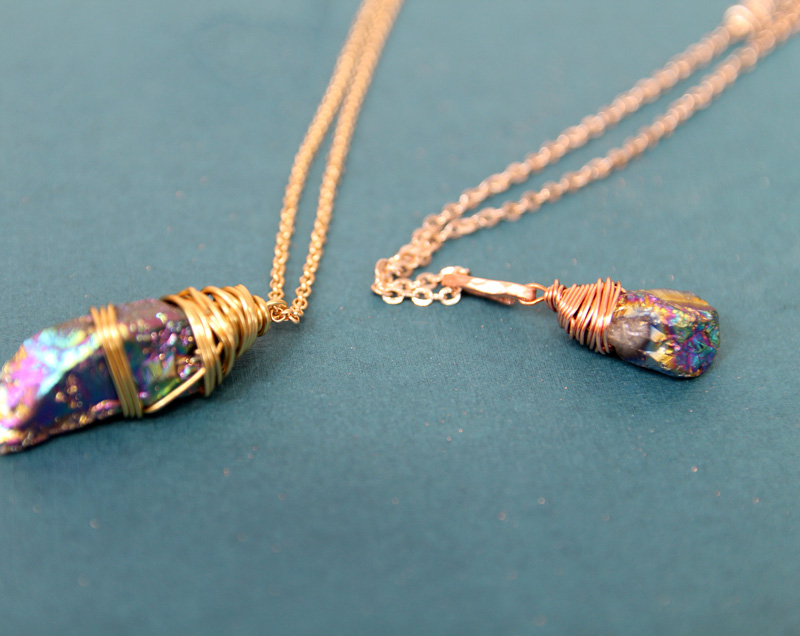
This second method is great for using with top-drilled briolette crystals, however as you can see, the square cut crystals that I used are suited to this method too.
Finish these wire wrapped crystals as pendants, earrings, or whatever you want! It’s a great jewelry skill to have in your repertoire.
You can learn more about copper jewelry making if you’d like, or check out my full list of jewelry crafts for every age and stage!
What you need to make wire wrapped crystal pendants
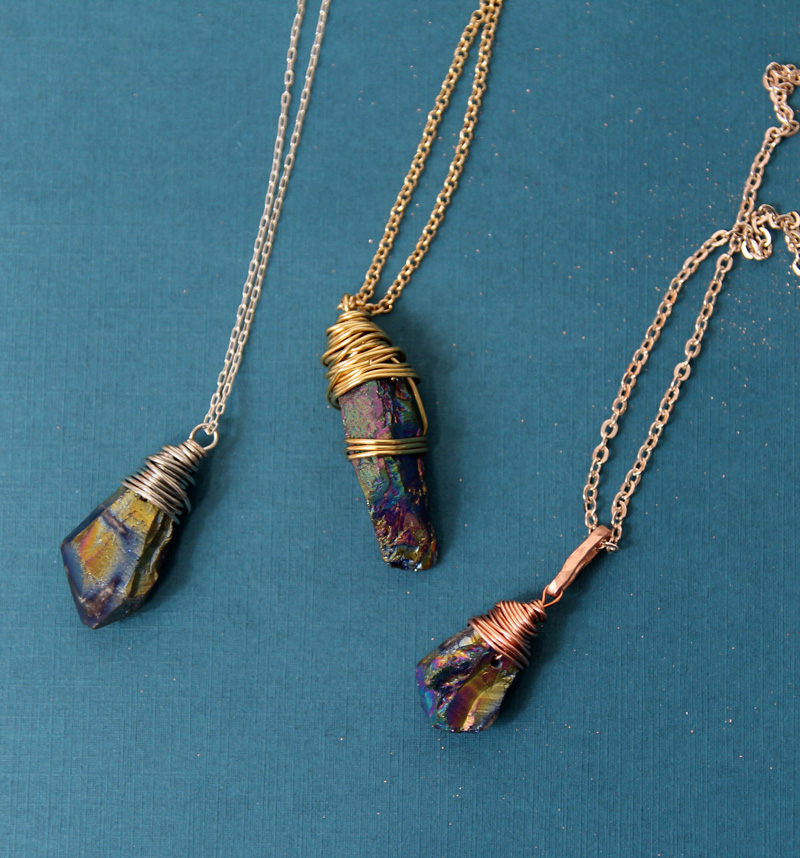
- Crystals or any top-drilled beads – I used these really cool Aurora Borealis hematite beads.
- Wire – 22 gauge for a larger, more sturdy crystal, 24-26 gauge for a more delicate crystal. I like working with copper, but you can use any metal, as you can see that I experimented with
- Jewelry pliers: I used round nose pliers, flush cutters, as well as nylon jaw pliers.
How to wrap crystals with wire
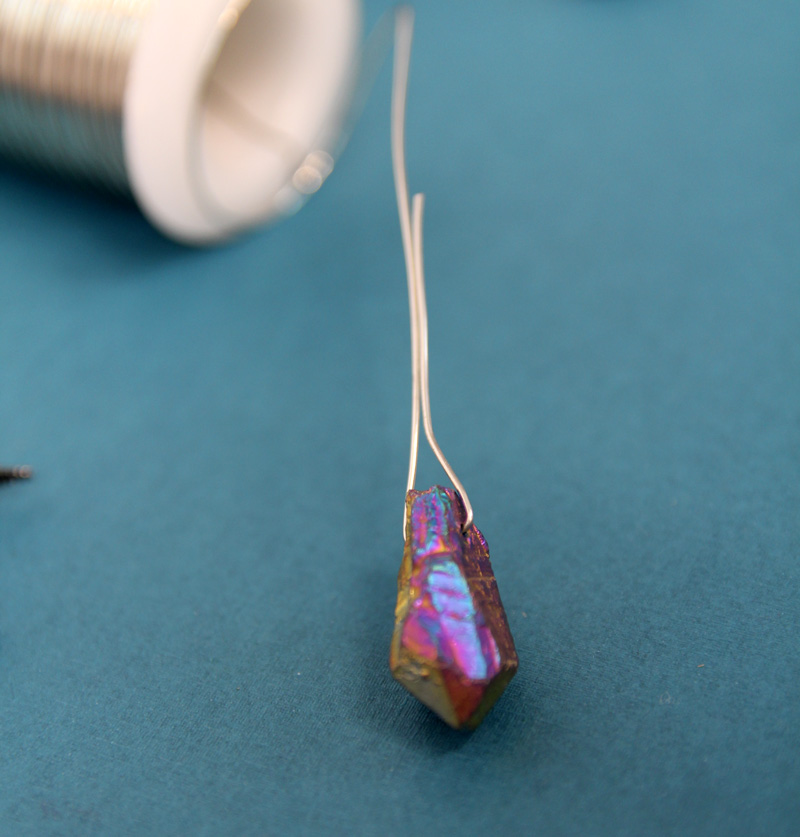
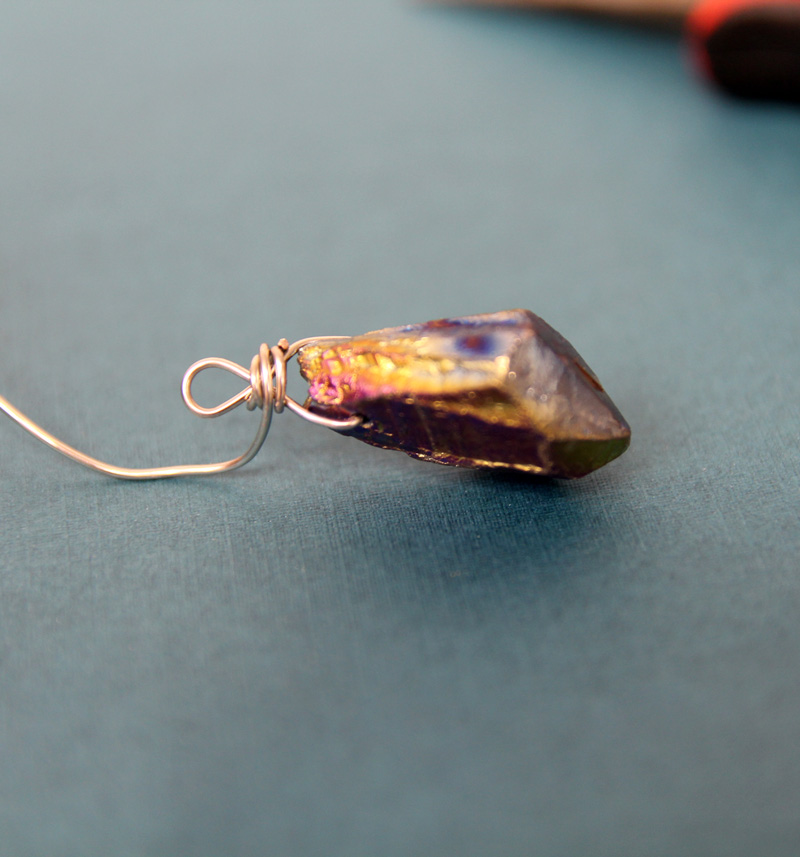
1. Insert the end of your wire into the hole, leaving a couple of inches sticking out.

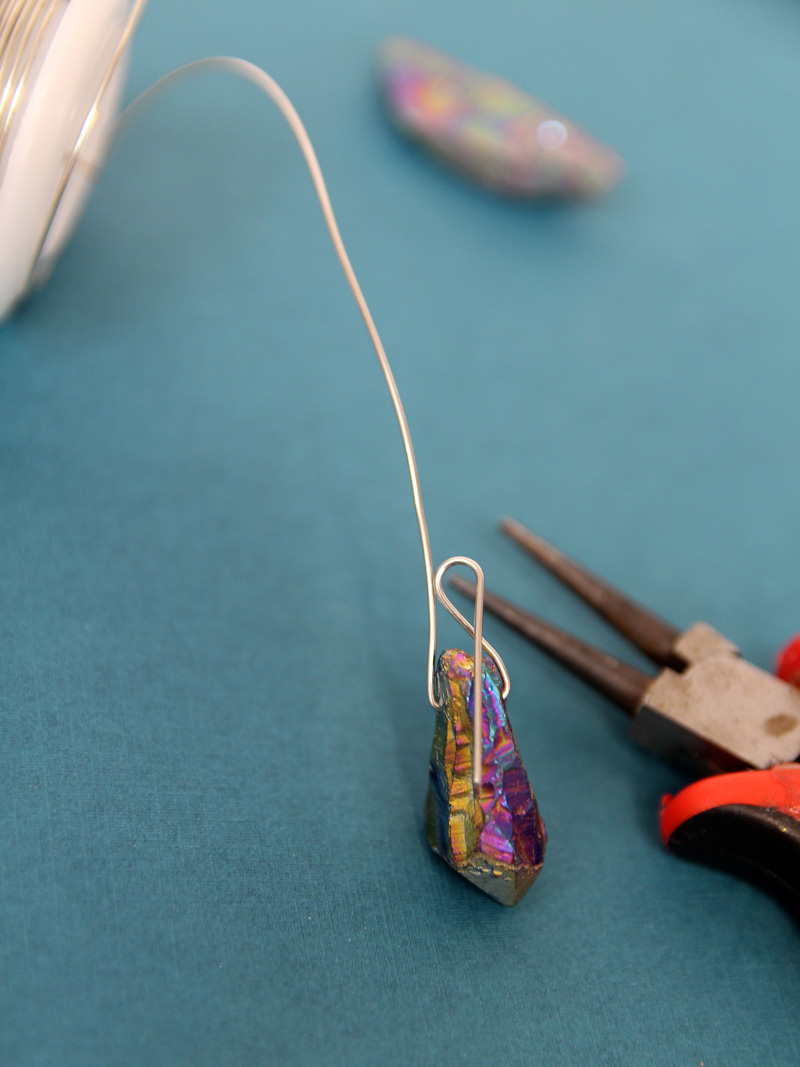
2. Bend the sides up to the top of the bead to form a triangle.
3. Use the round nose pliers to curve the smaller end of wire down so that it crosses over itself right at the top of the bead.
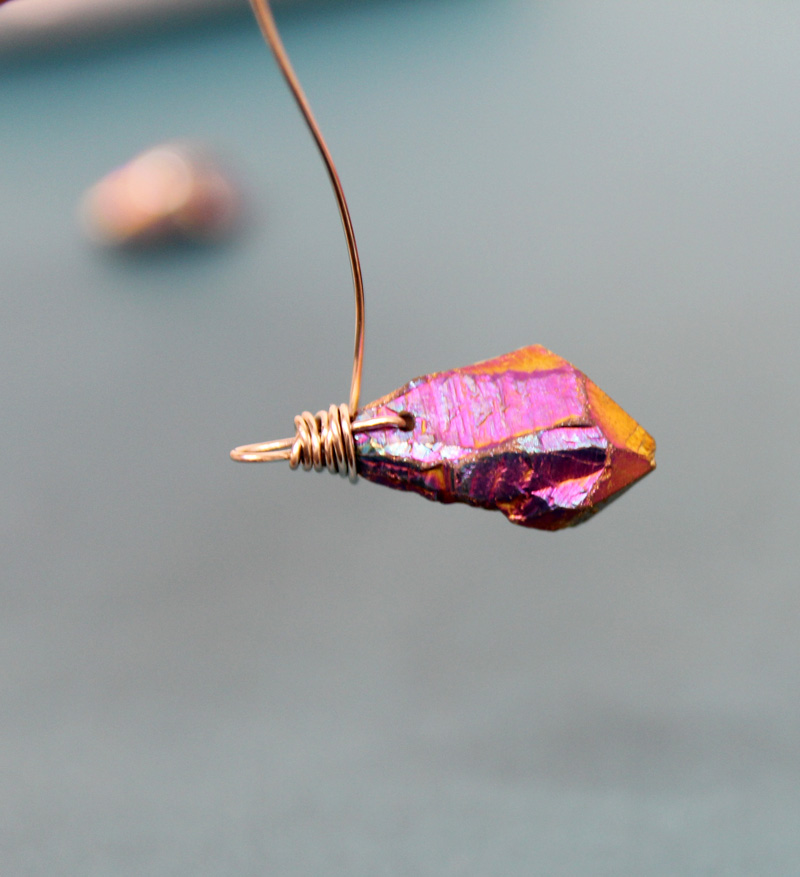
4. Take the longer end of the wire and wrap it a couple of times around that area right above the bead where the smaller end crossed over itself. At this point, you can trim it off the spool to roughly a foot.
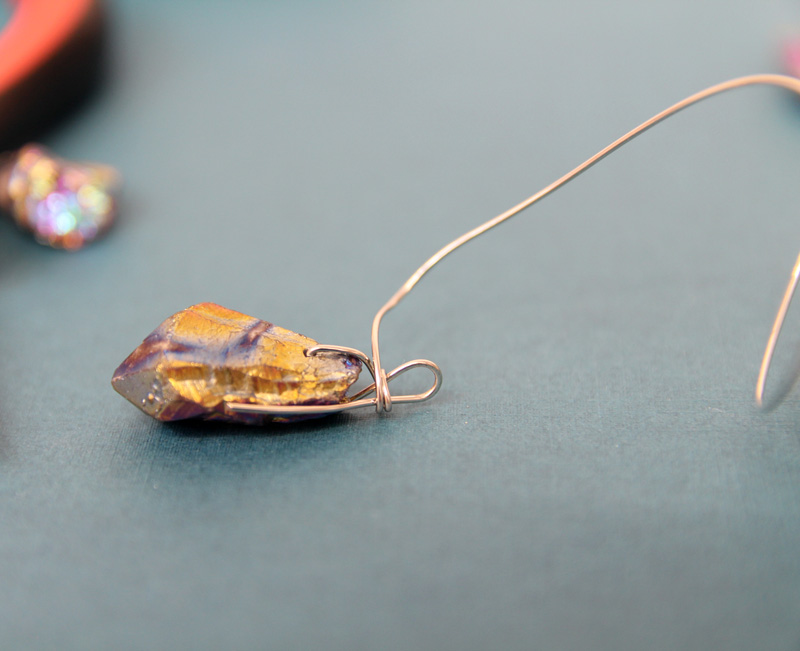
5. Finish up that little piece of wire by wrapping it around that crossed-over point right above the tip of the bead, right below or above the other wire. Tuck the end so that it really sits tight against the wrapped portion.
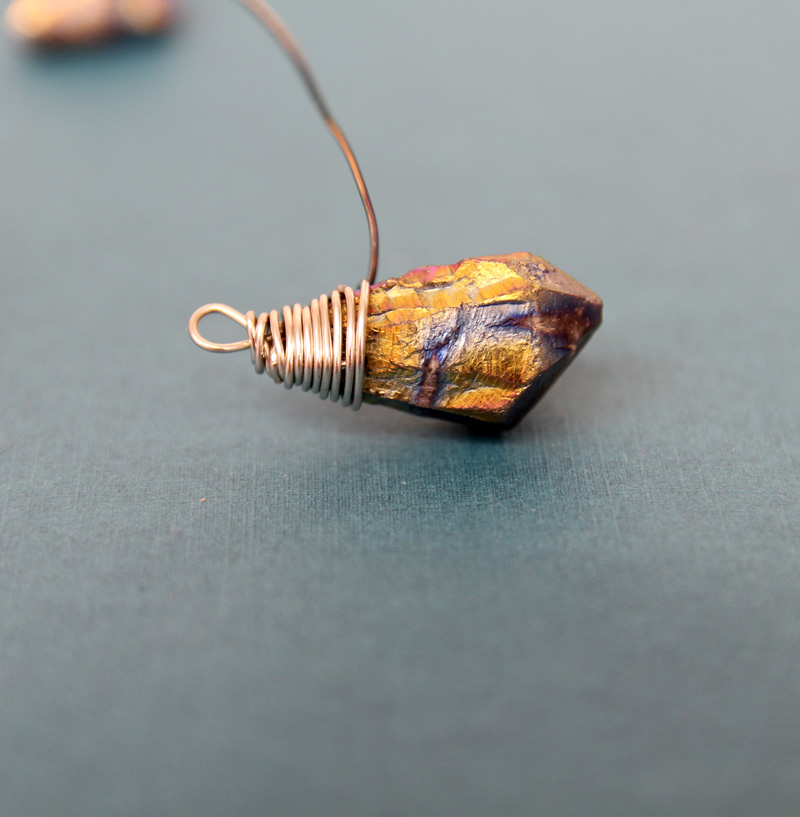
6. There’s no real trick (that I know of) to wrapping neatly – besides for practice maybe. So just go for it! Grab that wire with your hand, and just wrap as neatly as you can. I recommend wrapping from the bottom of your loop that you formed, all the way down to the hole in one run. That means covering over the previous spots you wrapped.
If you feel you need to readjust it, you’ll want to use nylon jaw pliers so that you don’t mark your wire.
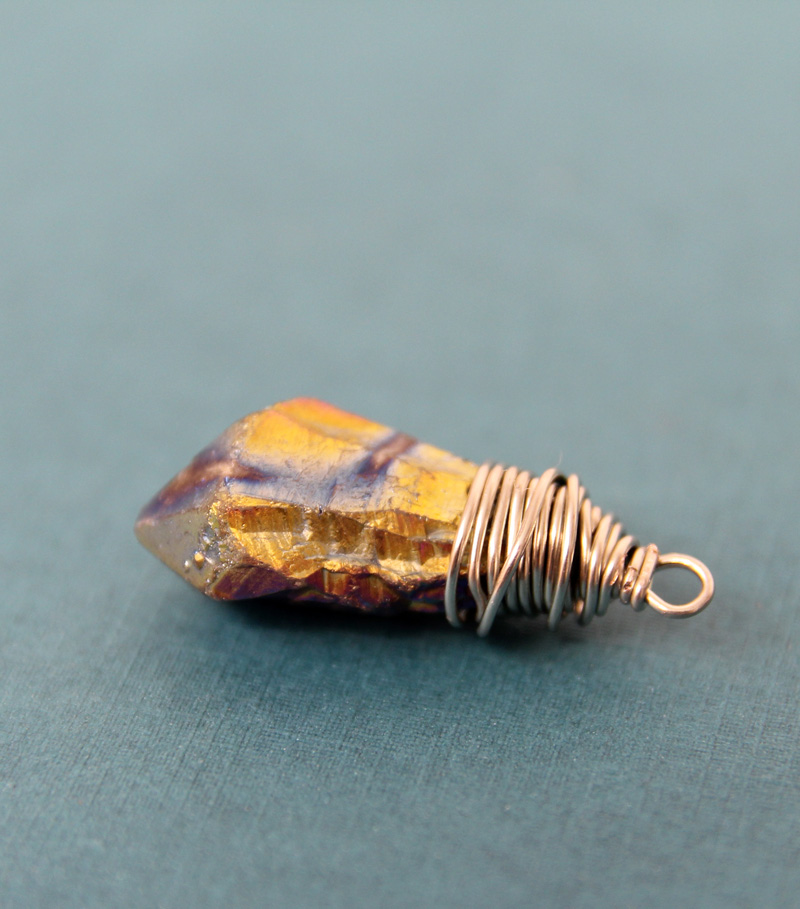
7. When you’re done wrapping, just trim the wire (or wrap until the end) and tuck the tip as flush as you can with the whole shebang so that it doesn’t poke out and ruin that gorgeous top. As you can see, it’s as if there’s no hole! You simply can’t see it, but your crystal is super secure because there really is a hole.
If you’d like to add a little style when you learn how to wrap crystals with wire, you can take a little detour, and wrap the same wire a bit around the center of the bead.
The main change you’ll make if you’re wrapping a very delicate crystal: form a wrapped loop first, off the bead.
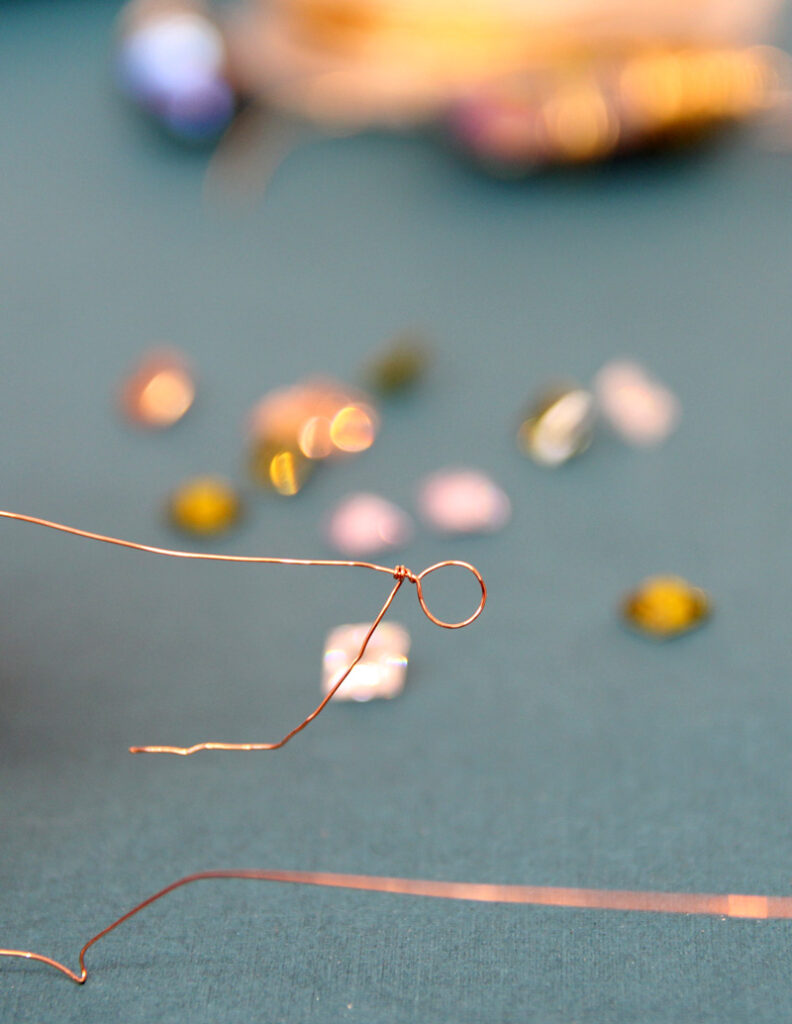
Add the crystal, and bend/groove your wire with your hands so that it sits nicely below the wrapped loop.
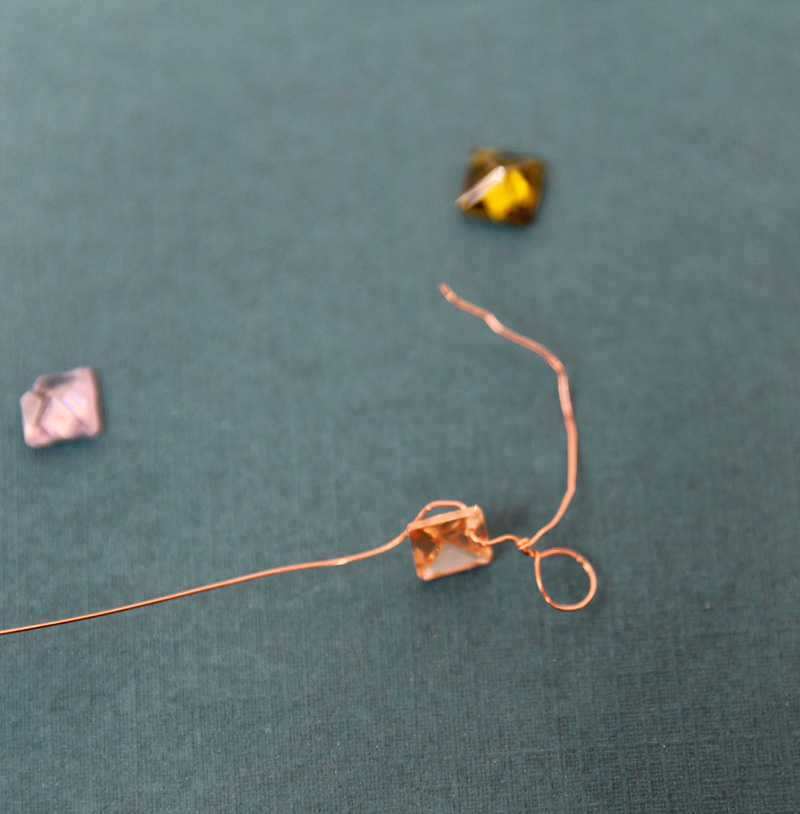
Wrap ‘er up the same way you did before! Wrap the long wire a couple of times to hold things down, wrap the tail of the short wire and hide it, and then use the long wire to wrappy till you’re happy…
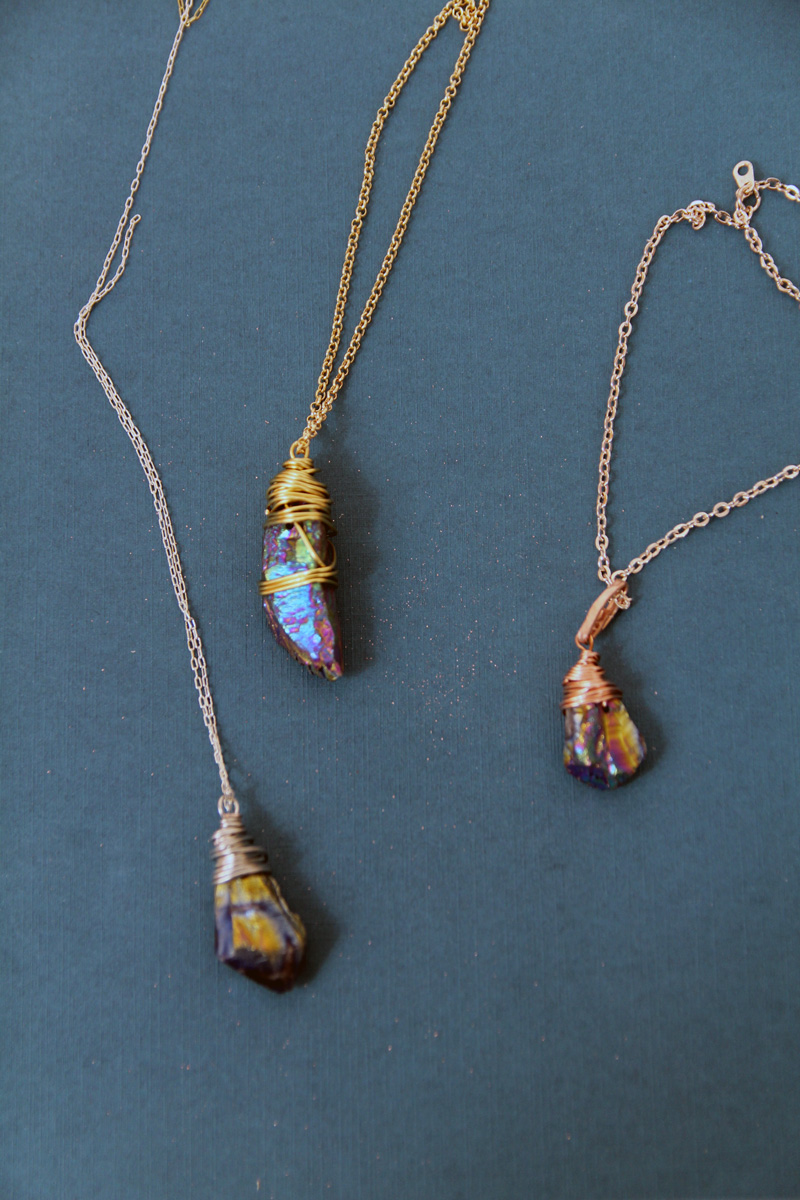
When you’re done learning how to wrap crystals with wire, make a dozen, add them to a dozen chains, make half a dozen earrings – the choices are all yours!!
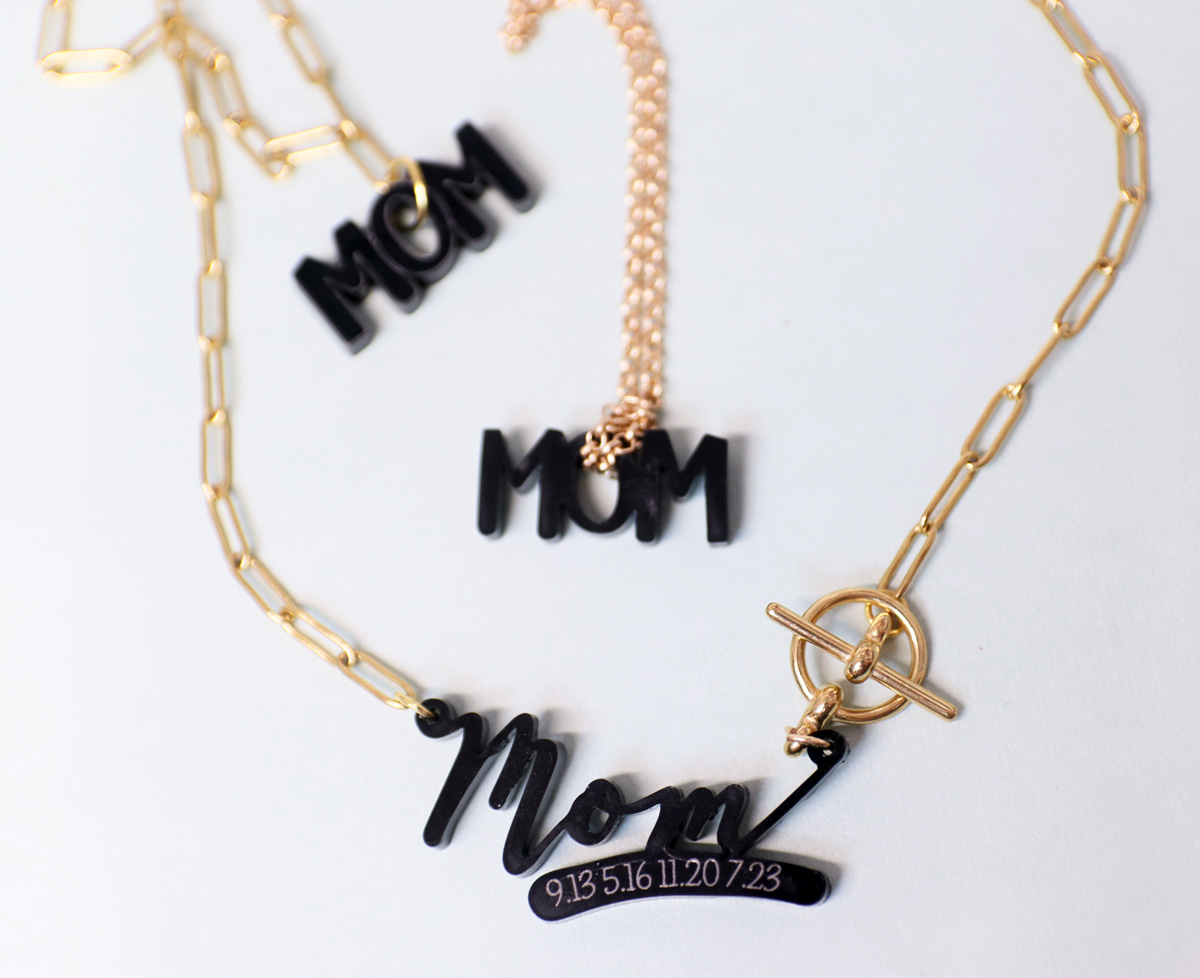
Sharing is caring! 339 shares I’m excited to share with you how to make a DIY mom necklace from black acrylic using the xTool F1 laser engraver. xTool sent me a machine to facilitate this post. This post contains affiliate links. When you’re done, make sure you check out my DIY wood and acrylic laser…
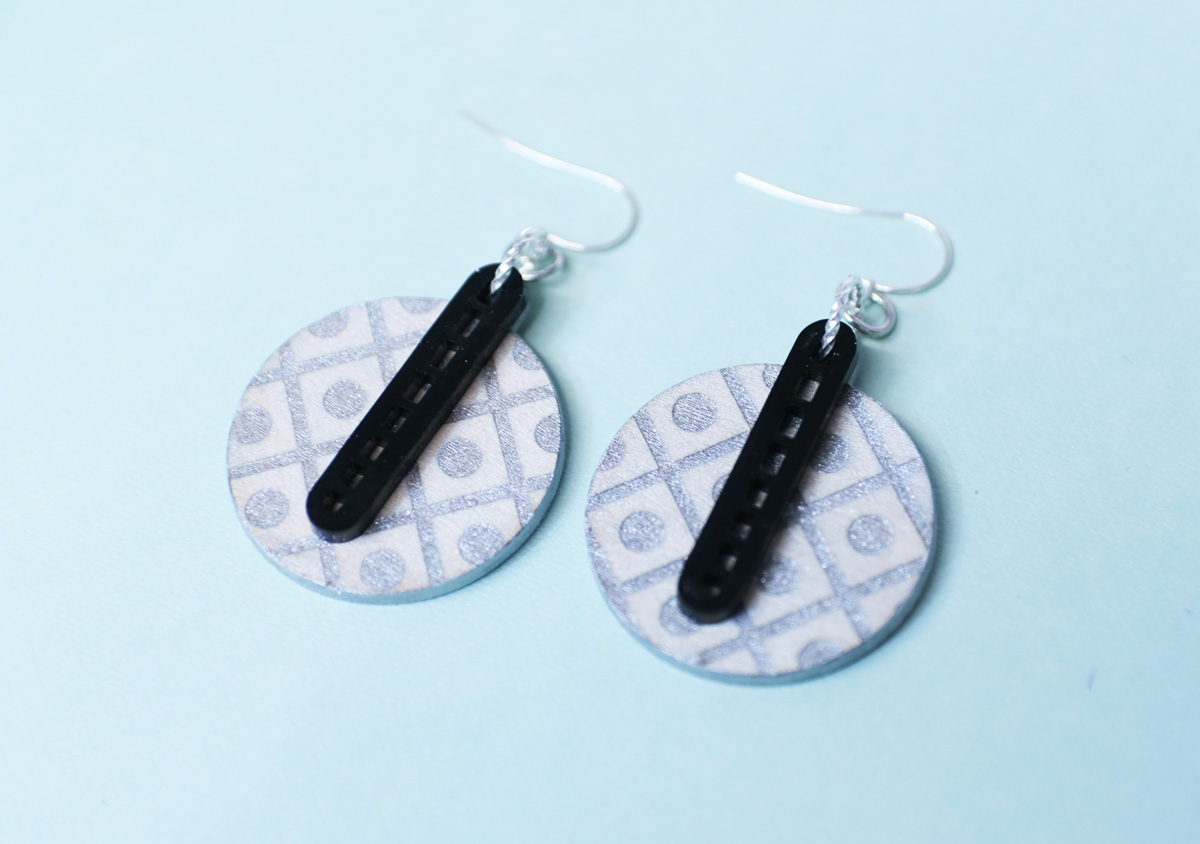
Enjoy the free SVG to make these acrylic laser earrings, cut using a diode laser. When you’re done, check out my big list of DIY dangle earrings ideas. This post contains affiliate links. One of the coolest things about stepping into laser crafting is the incredible new materials that I can play with. And as…
Enjoy my in-depth review of the xTool F1 Laser engraver – including some material tests and settings! Also check out my favorite crafting gadgets. This post contains affiliate links. Heads up: this review is long and in-depth so if you want, you can skip to your specific questions using the table of contents: For the…
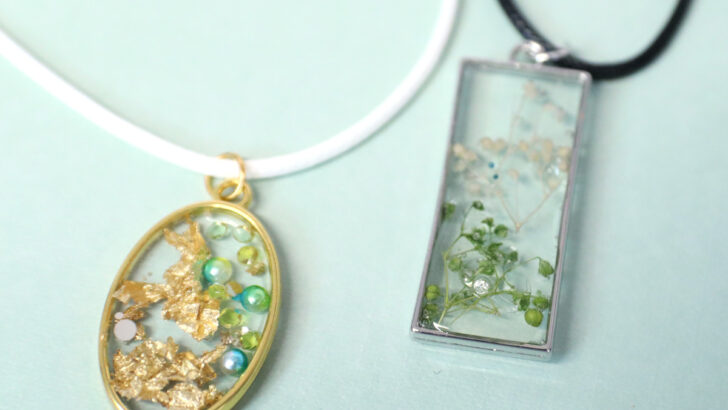
Learn how to make a resin pendant with flowers inside – or other fun embellishments! When you’re done, learn how to make resin earrings too. This post contains affiliate links. The possibilities with resin crafting are truly endless, and as you’ll see in this tutorial for how to make a resin pendant. While pendants can…
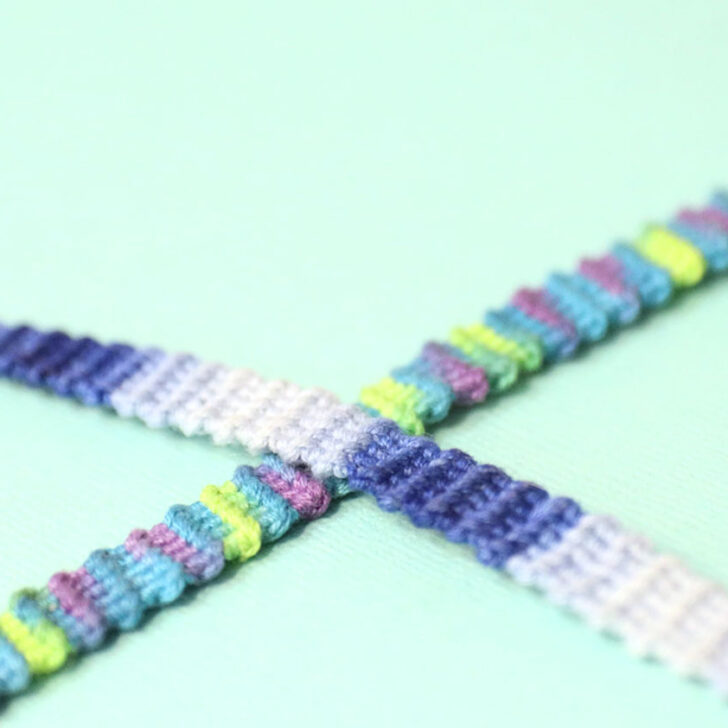
Make these gorgeous, classy horizontal stripe friendship bracelets with a subtle ribbed texture! When you’re done, try making a chevron friendship bracelet. This post contains affiliate links. When I first learned how to make a horizontal stripe friendship bracelet, a unique spinoff popped in my head. Flip it over instead of running it backwards to…
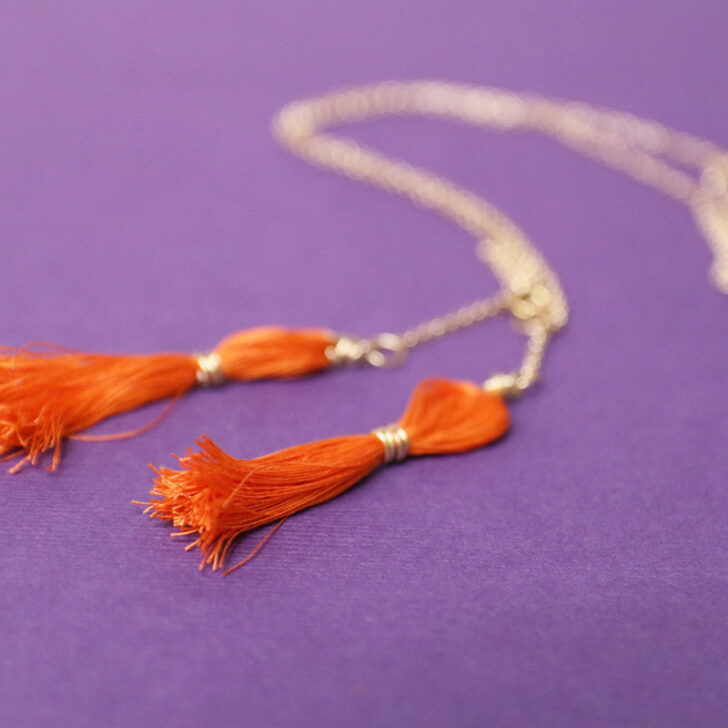
Learn how to make small thread tassels the easy way – and how to make them perfectly sized! These are perfect for your jewelry making crafts. This post contains affiliate links. I’ve shared a few techniques for tassels in the past, and I like to always build on skills using different materials. While making tassels…
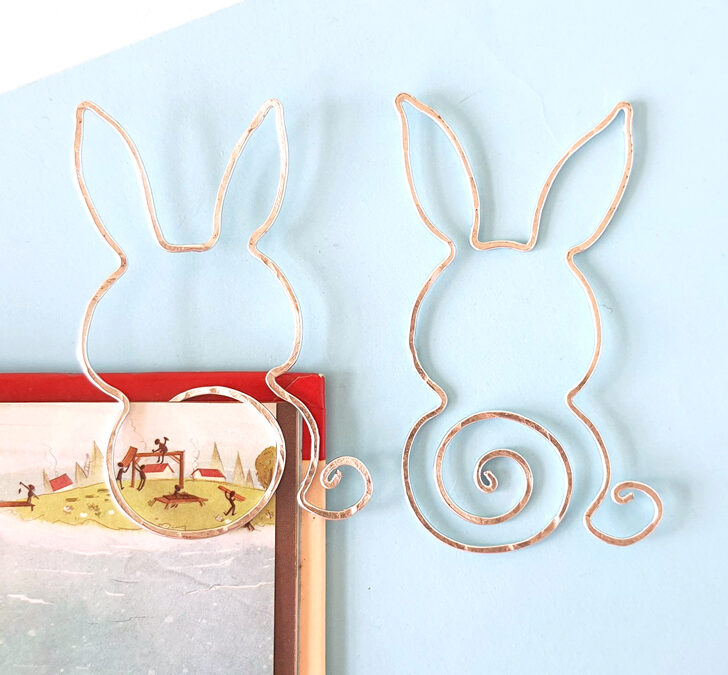
Learn how to make your own DIY wire bookmarks using a simple technique and a bunny template! When you’re done, check out how to wrap crystals with wire. This post contains affiliate links. Who doesn’t love a bunny rabbit? This one may not be quite soft and fluffy, but he is definitely ready to cuddle…
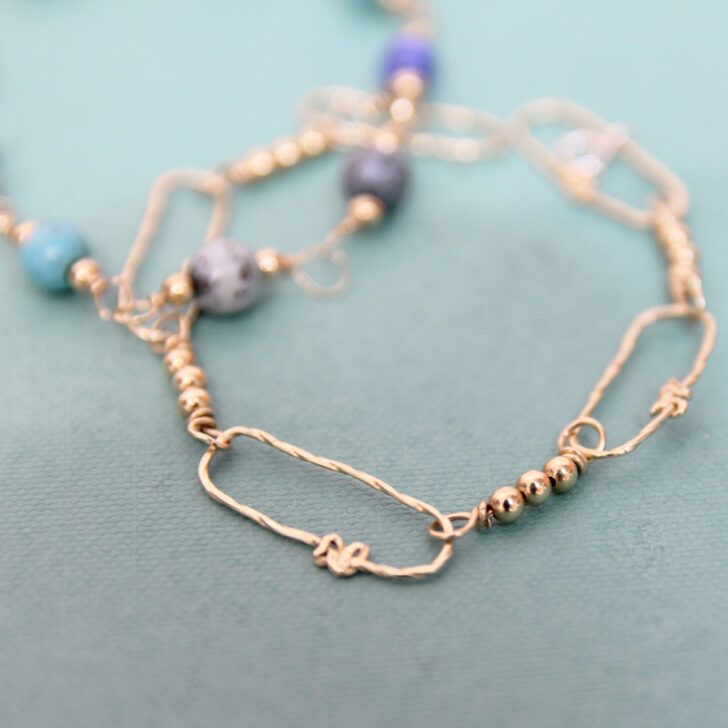
Craft your own DIY chain bracelets using a simple wire wrapping technique to make a paperclip chain! Then, try something else from this list of DIY bracelets. This post contains affiliate links. I originally decided to make myself a paperclip chain bracelet WITHOUT necessarily blogging a tutorial, but then on a whim picked up my…
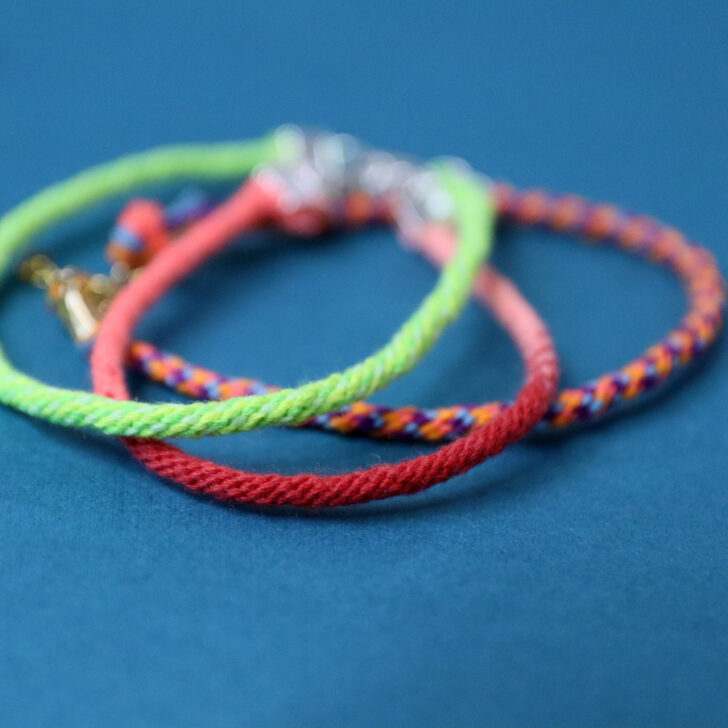
This beginner tutorial for Kumihimo bracelets will teach you everything about how to make a rope friendship bracelet using this easy round braiding technique! When you’re done, go ahead and try making some name friendship bracelets. This post contains affiliate links. One day, I came home and found a huge box of threads from DMC,…
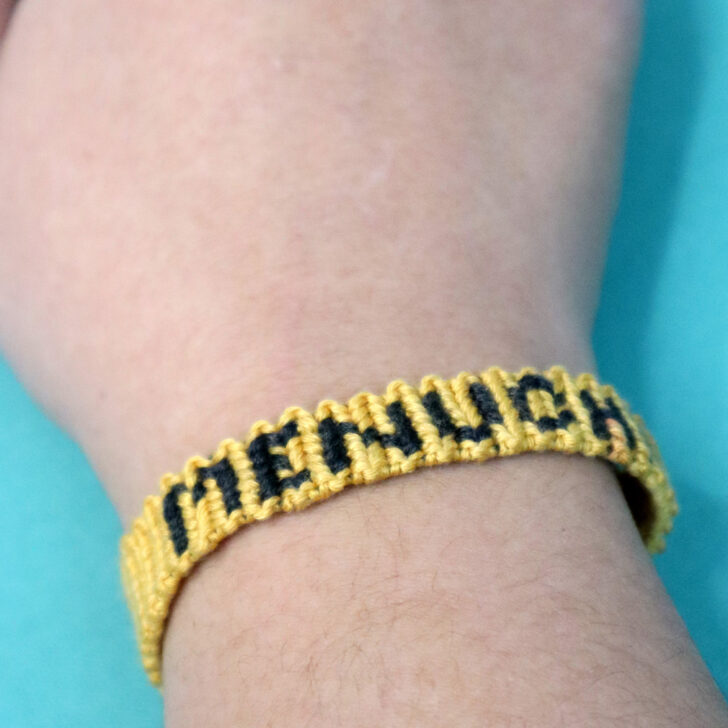
Learn how to make name friendship bracelets with free printable letter graphs to help you chart your own name! When you’re done, try making this incredible diamond friendship bracelet pattern. This post contains affiliate links. For a while I’ve been wanting to share how to make name friendship bracelets. It was one of my favorites…


Thanks you so much for sharing such a useful information over here with us.This is really a great blog have you written.I really enjoyed reading your article.I will be look forward to read your next post.
These crystals are really pretty, love your blog, Lucky I just discovered!