What is Print then Cut On Cricut + Ideas
I’m excited to share with you a little more about my favorite Cricut feature along with some ideas! So what is print then cut on Cricut? And how can you use it to the max to save you loads of time and make cool crafts? This post contains affiliate links.
What is Print then Cut On Cricut
Contrary to popular expression, the Cricut doesn’t print. It cuts.
So what is Print then Cut on Cricut? What can you make with it?
Print then cut refers to Cricut’s ability to add registration marks to your flat design, send it to a standalone printer, and then cut in the correct spot based on the registration marks.
The registration marks are simply a rectangle around your design. The Cricut has sensors that “reads” it and knows where to cut in relation to that rectangle. That way it can precisely cut out a printed image!
As a graphic designer, this is an incredible feat. I mean, it’s incredible. It means that without piling on layers of single colors, I can create precisely cut die cut versions of my design. From motivational planner stickers to 3D business cards, to birthday party elements and kids crafts, as you’ll see below, this offers so many options!
How to Print then Cut on Cricut
So how do you accomplish this?
To start with you need a flat image. This refers to an image that does not have multiple separate layers for each color. This allows you to cut a much more complex image without delicate assembly.
There are three ways to do this:
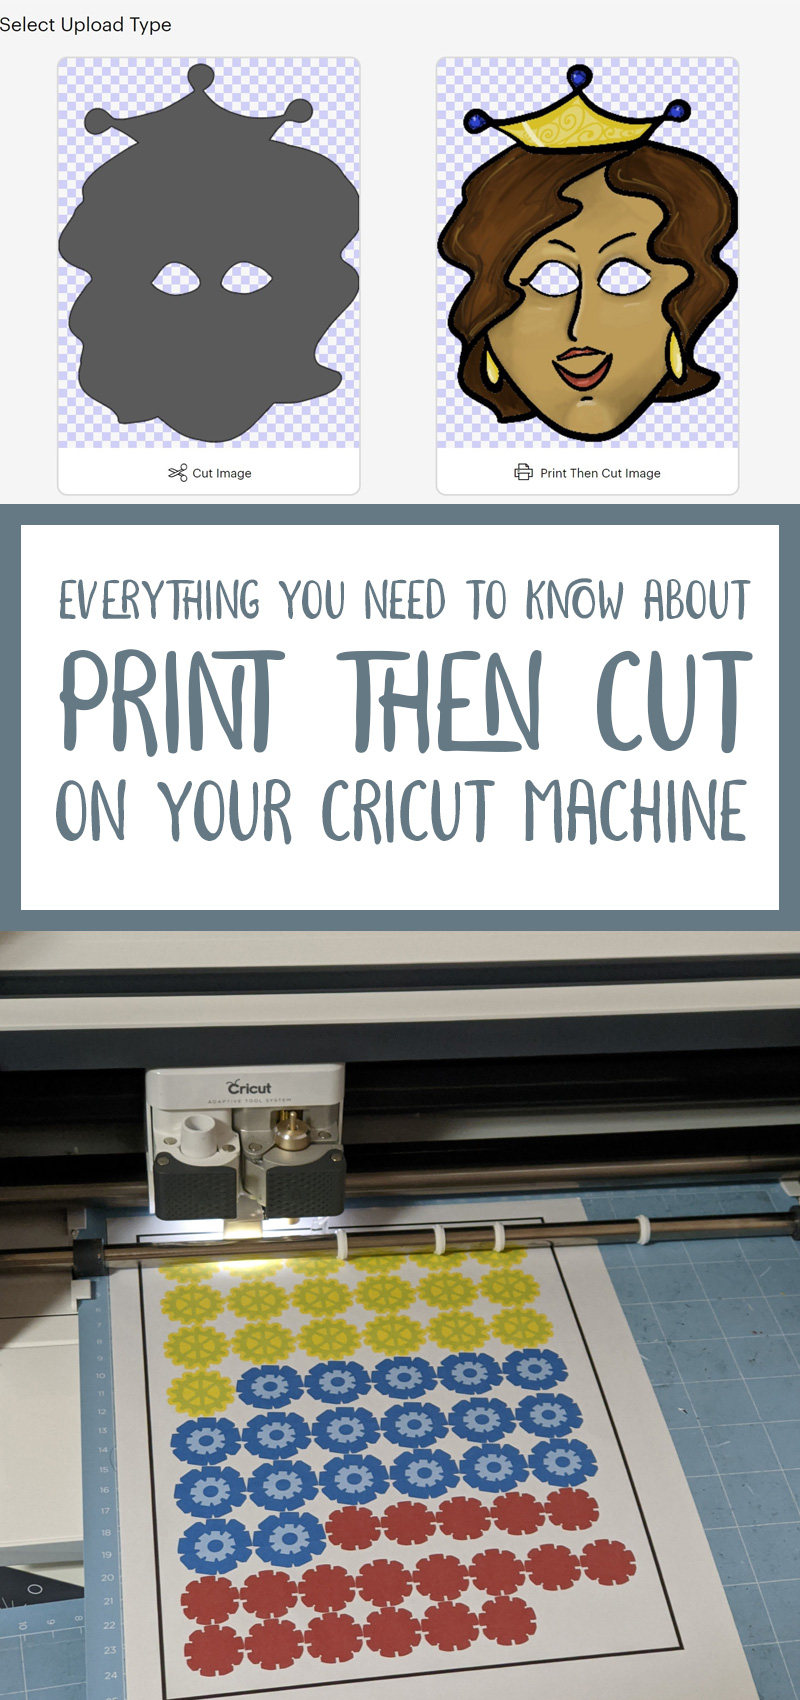
1. Uploading a PNG
In Cricut’s Design Space, in a new project, upload your PNG image. Following the prompts in Design Space, choose complex for your image and then choose “print then cut”.
The “cut” view shows you how your Print then Cut image will cut, but don’t choose that – choose Print then Cut.
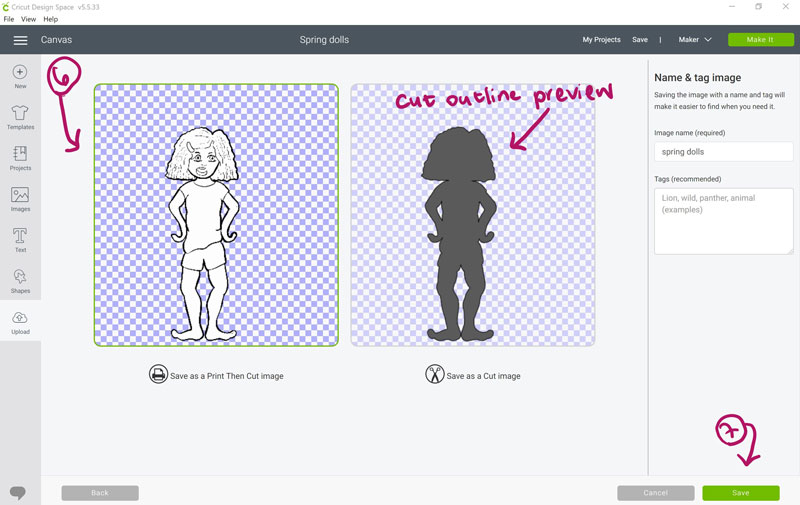
Insert your image. You can see that it’ll show up as a Print then Cut image.
2. Using an image from Cricut Access
Cricut Access is Cricut’s subscription service that offers you access to loads of premade graphics, projects, and fonts. If you’re not yet a subscriber, you may want to read my answer to is Cricut access worth it?
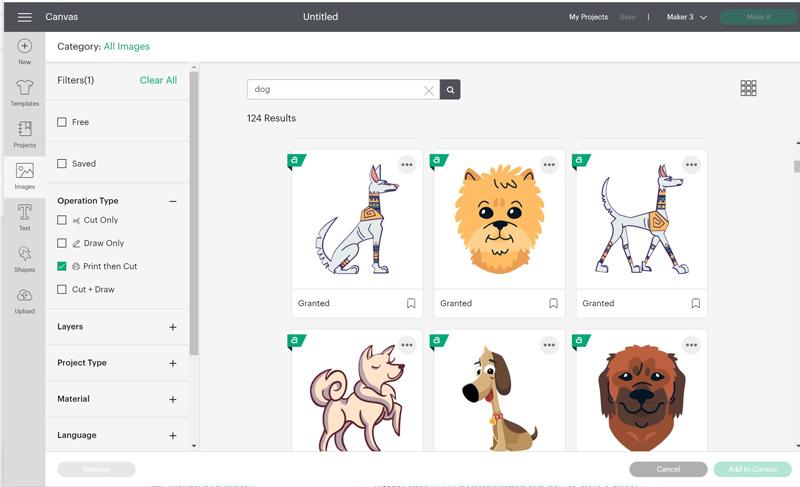
Filter by operation type, and choose Print then Cut. Choose your image and insert.
3. Building your own in Design Space
Whether you’re using Access images, uploaded layered SVGs, or whatever you want, you can also turn any layered design into a Print then Cut image.
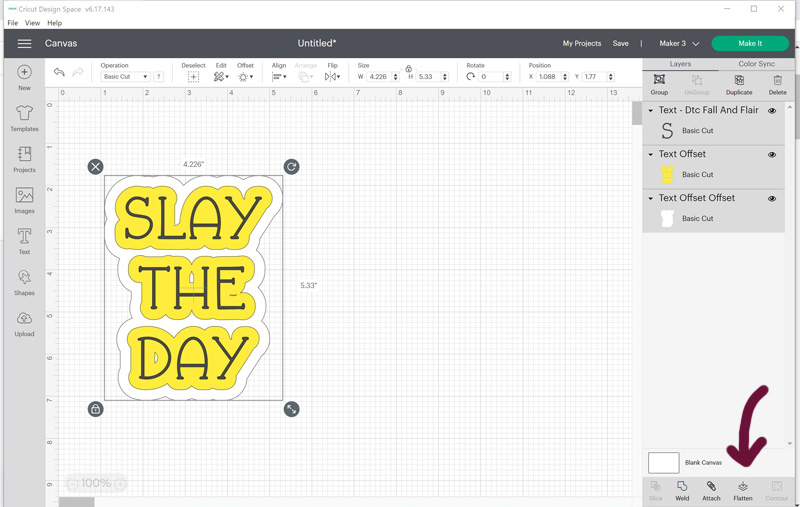
Simply select all the layers you want included in your Print then Cut image, and flatten them.
The main thing you need to know is that Cricut chooses where to cut not based on the visual of your printable, but where there are pixels. Your image needs to have a transparent background. All areas that are transparent will be cut out, even if it’s smack in middle of your image.
The best way to make white stay in the image and not be cut out is to have it actually be white in your PNG that you upload. If you’re building it in Design Space, the “offset” feature as well as “contour” will be your best friend!
Offset was used in the “slay the day” design above to make both a white border as well as to fill the spaces.
To do it without adding a border: Duplicate an item, hit “contour” and remove any inside spaces you don’t want cut out. Make it white and put it behind the main image. Then flatten it together to make it Print then Cut friendly.
Cricut Print then Cut Size
One of the biggest drawbacks to Print then cut is its maximum size. That is, 6.75 inches wide and 9.25 inches high. This is significantly smaller than an 8.5×11 inch sized standard copy paper.
The reason for this is simple: it gives the Cricut space to add registration marks and to cut your design as it needs to.
If you want to print as much as possible on one paper: create a square and resize it to 6.75×9.25 (you’ll need to unlock the proportions) and lay your elements on it.
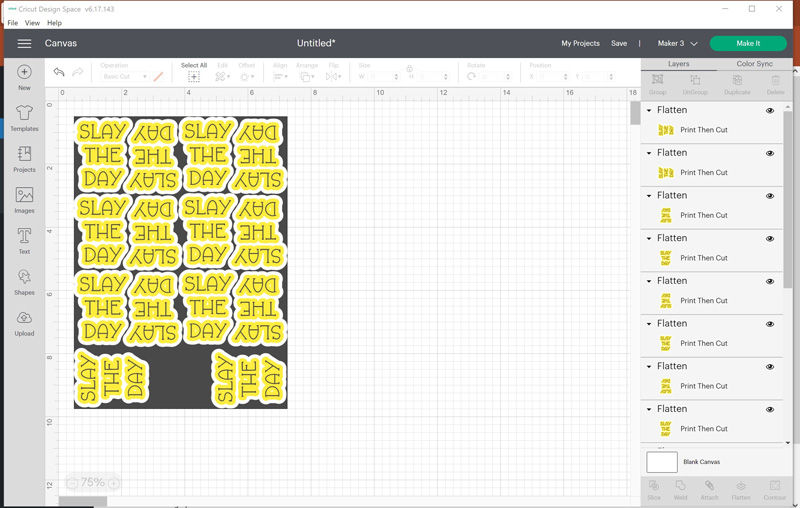
Hide the rectangle, select your elements and “attach” them. They can’t be a tiny bit larger than the maximum size, so make sure you don’t go over the edge at all.
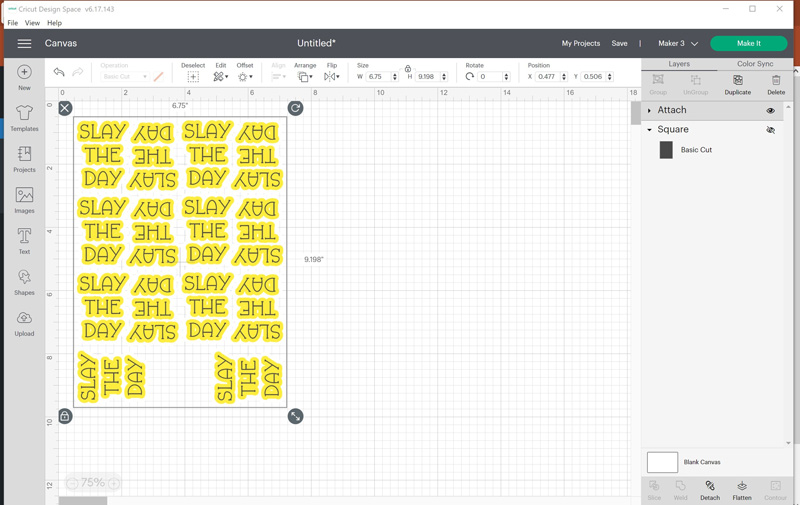
You’ll fit much more onto a page this way, as you can turn them in different directions. You’re just much smarter than Design Space 🙂
How to Use Print then Cut on Cricut – Beginner Projects
So what are the best practical applications for Print then Cut? Here are some favorite projects.
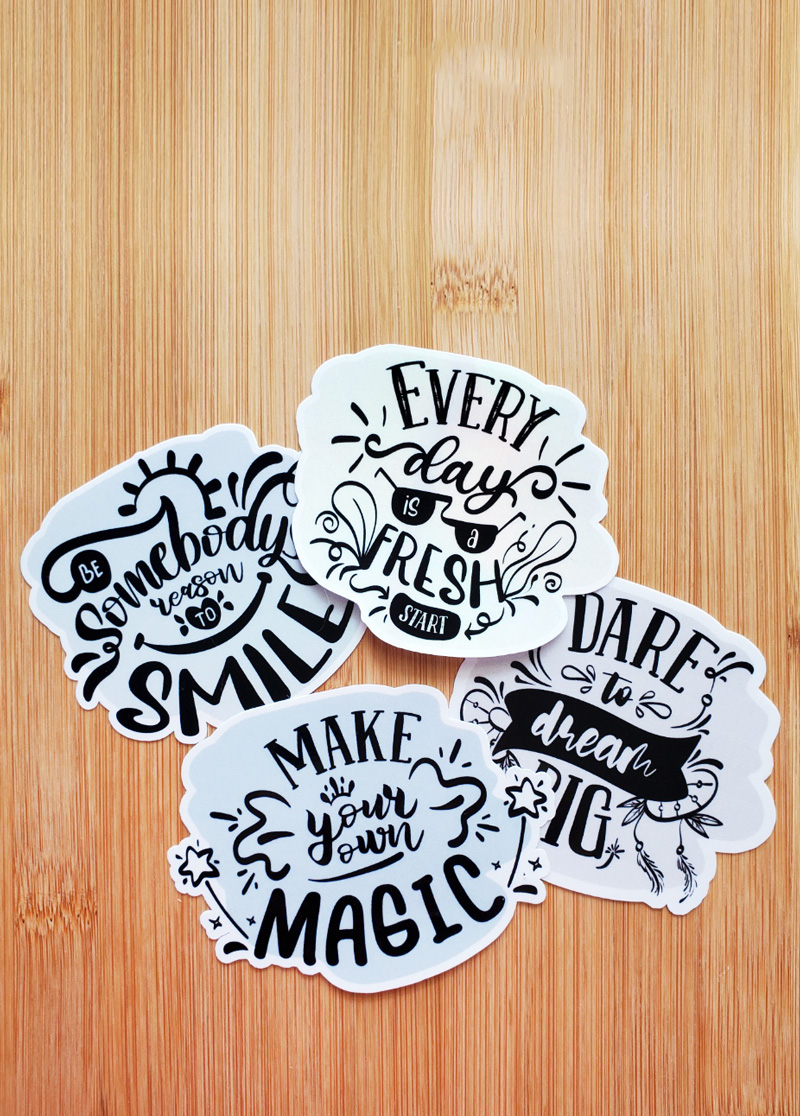
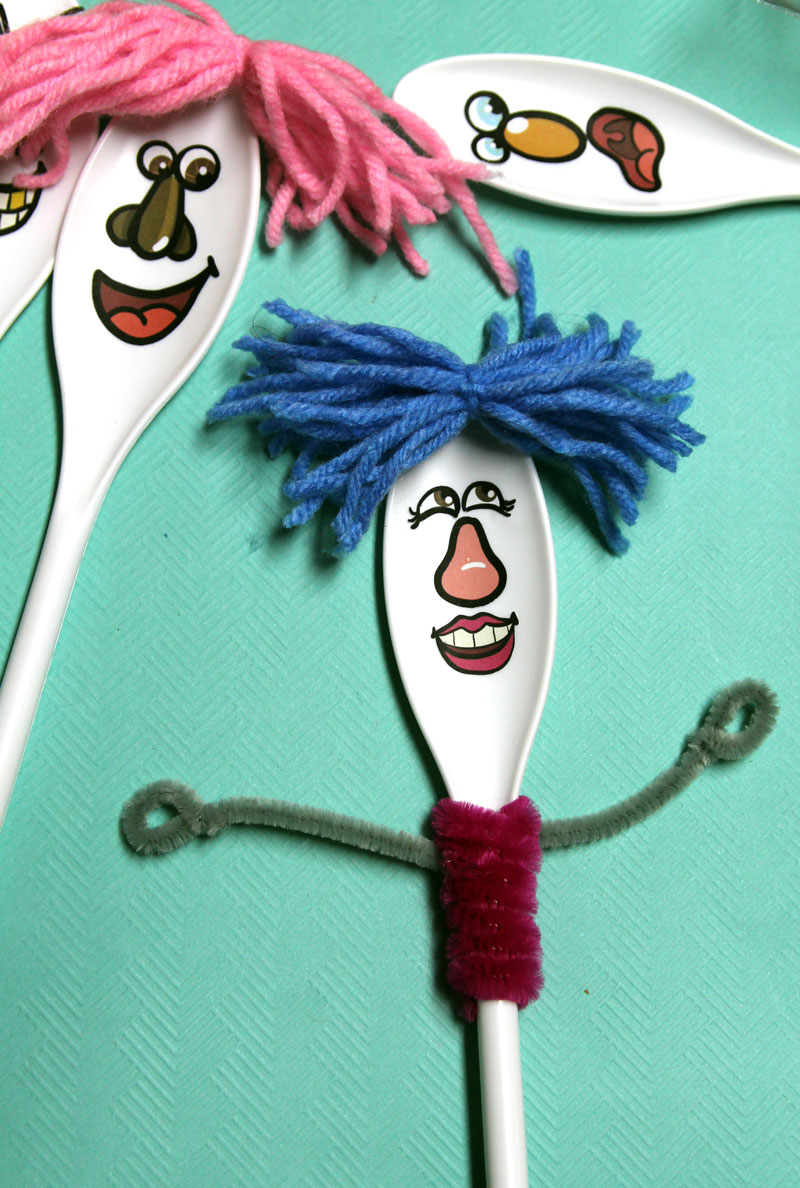
Stickers:
Stickers for planners – whether inspirational or functional are a hit!
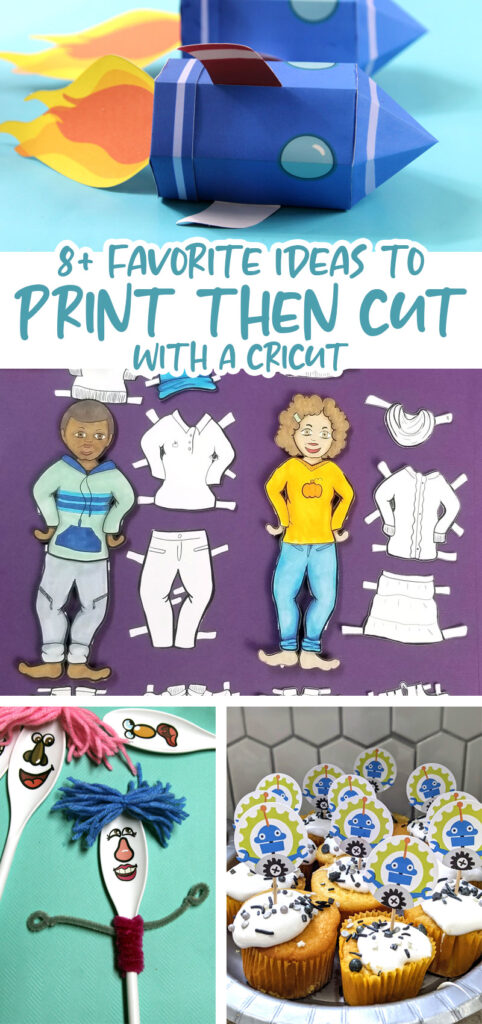
Stickers can be printed then cut for kids crafts too – like these spoon puppets!!
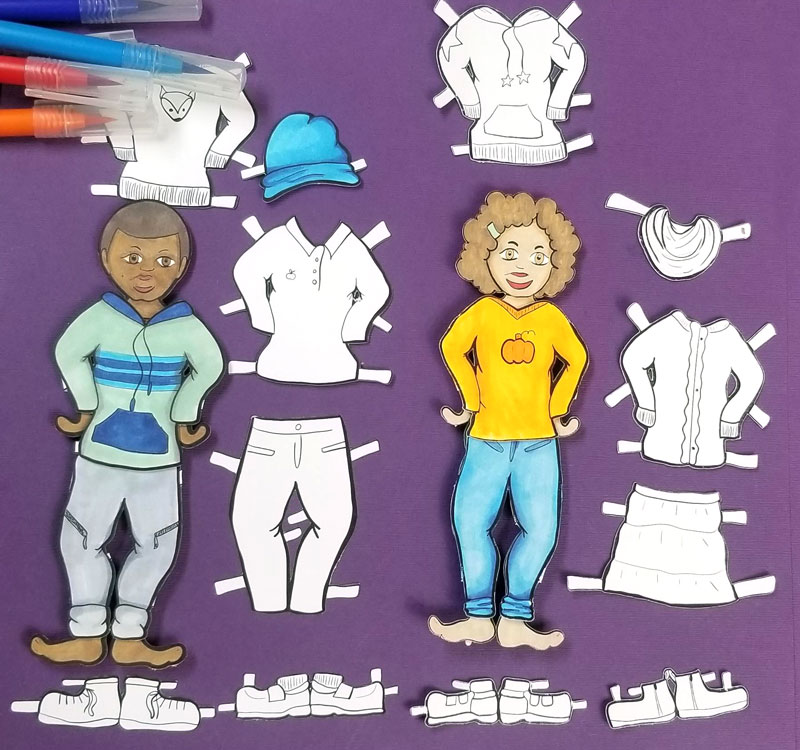
Coloring crafts:
We love making seasonal paper dolls, and using the “print then cut” feature makes it a great giftable craft kit or just a cool project for kids who prefer not to do the cutting.
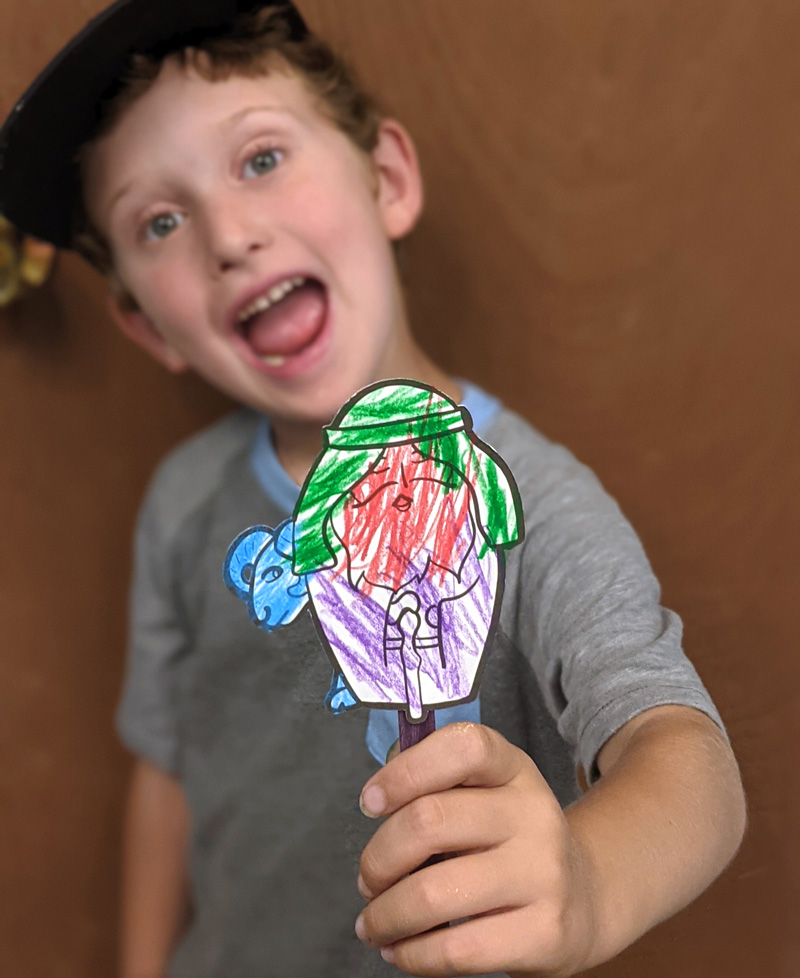
Puppets of different types, for every occasion, are also a huge hit in our home.
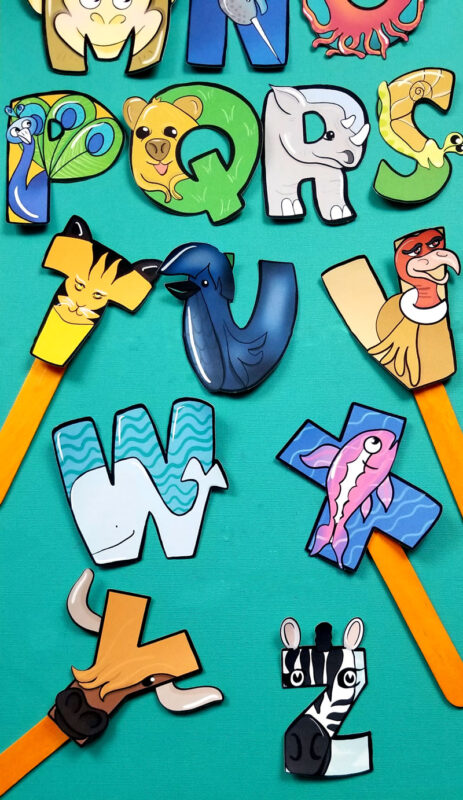
Paper toys:
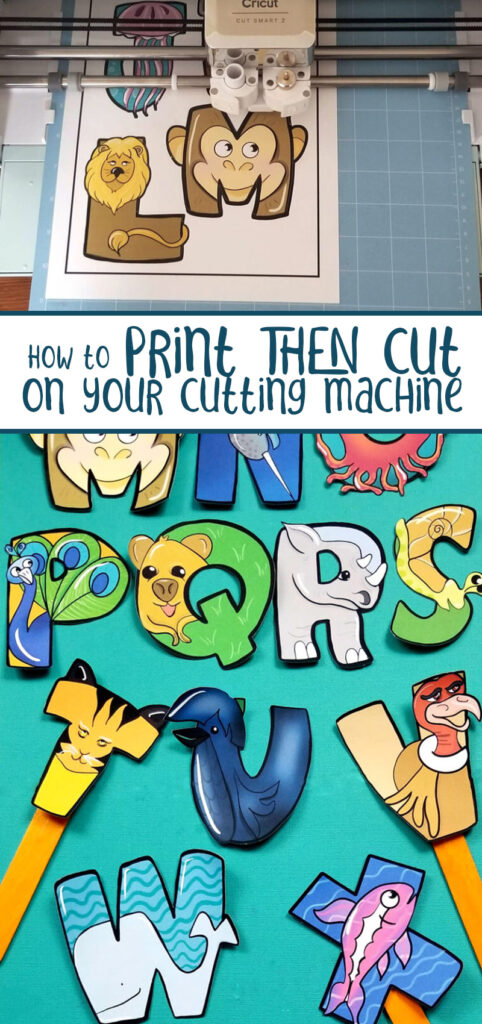
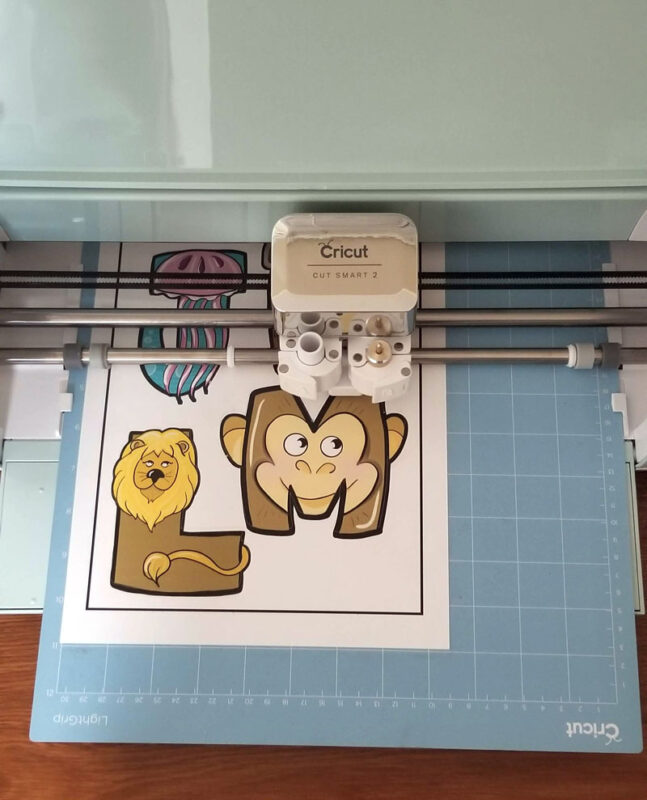
Speaking of puppets, these alphabet puppets are so much better in color! Just look at those vivid colors! You can print and cut them for a cool easy-to-assemble paper toy. Or, try this card game version.
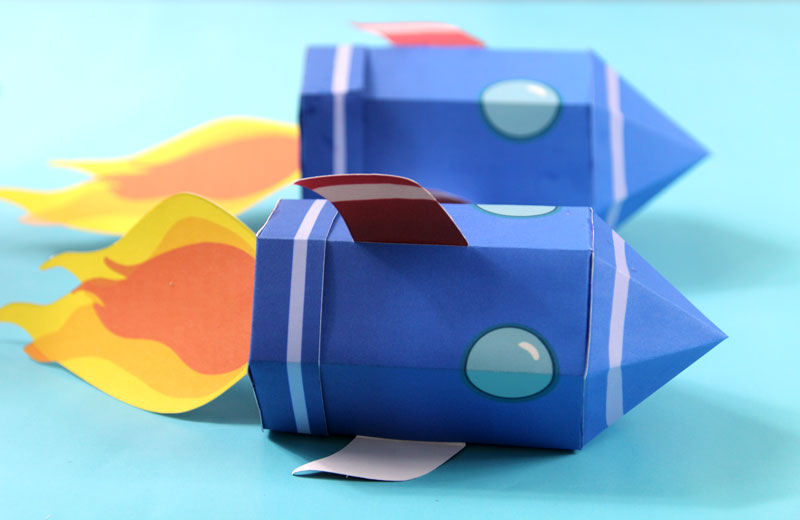
We also used Print then Cut for paper toys like this paper rocket template.
Party Supplies:
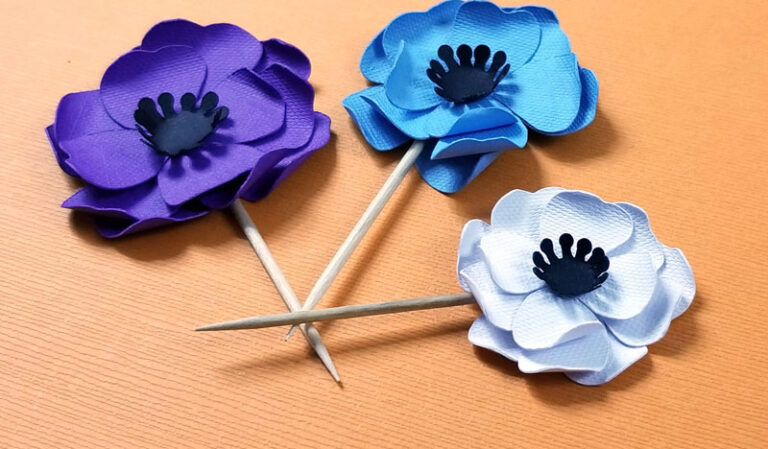
My biggest party shortcut is to buy bakery cupcakes and make print then cut toppers, glue them onto toothpicks, and voila!

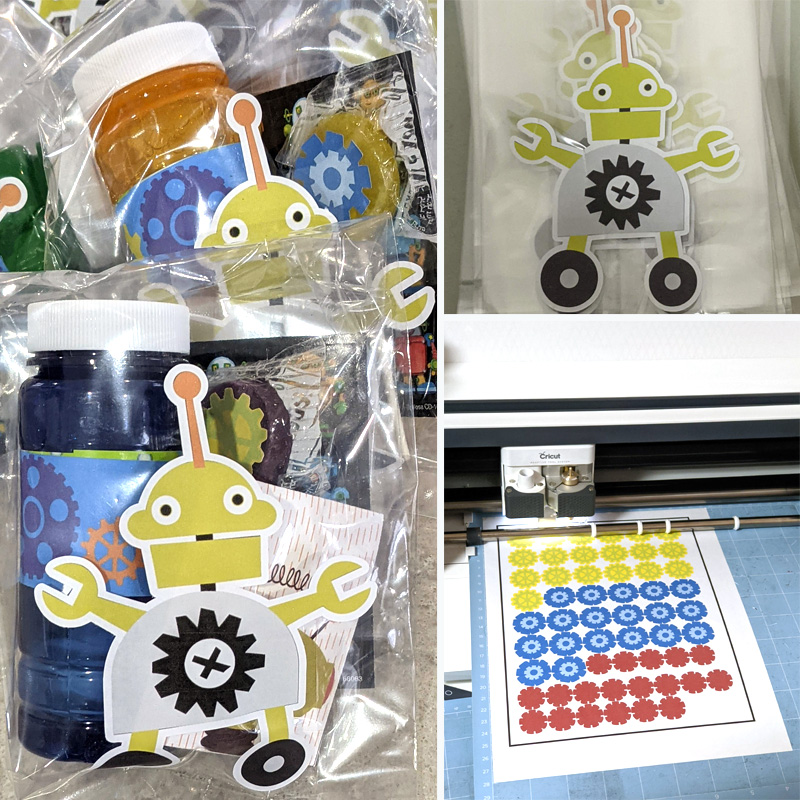
I’ve also done treat bags/treat bag toppers (or stickers for them) and other quickies. For Y’s robot party, we even printed-then-cut gears and put them on candy.
You can simply upload a PNG of the character of your party theme or build the element in Design Space, flatten it, and print then cut it in different sizes for pennants, confetti, or whatever you want.
Print then Cut Cricut Iron On
Another Print then Cut shortcut involves iron-on. If you’re using a more intricate design, layering too much can get too bulky and cumbersome.
While printable iron-on is a great tool, it’s also not quite as good an option as sublimation printing. But it’s great for items that involve less wear and washing.
Print then Cut Cricut Vinyl
Again, layering too much vinyl can become bulky, make it harder to avoid air bubbles, and in general be time consuming. Print then Cut Vinyl is a great shortcut. It’s also a great way to make much more durable stickers.
I hope you enjoyed learning what is Print then Cut on Cricut and how to use it! What’s your favorite project to print then cut? Comment below!
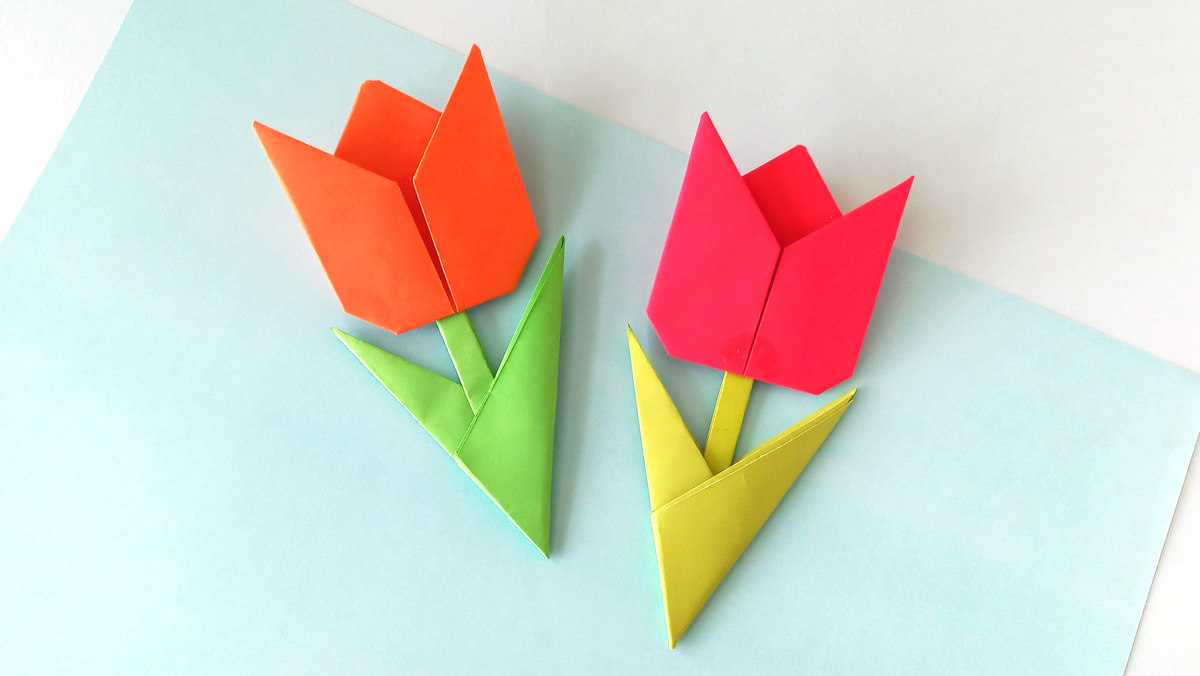
Sharing is caring! Learn how to make this origami tulip just in time for Spring! When you’re done, check out this simple origami sunflower tutorial. This post contains affiliate links. Seeing the tulips, daffodils, and crocuses starting to open up in the early Spring is so exciting. It reminds me of the excitement of finishing…
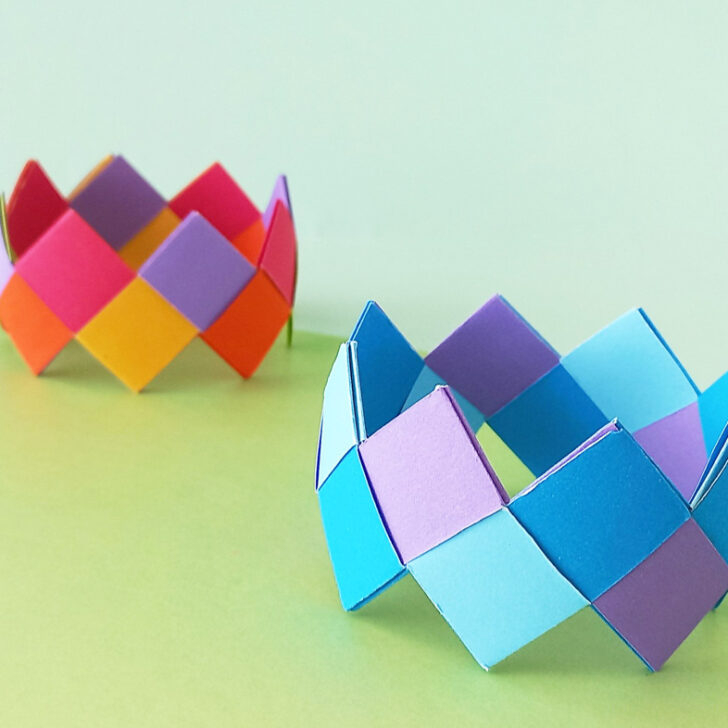
Create these adorable and fun origami bracelets using any type of paper! When you’re done, continue the paper jewelry fun and make these paper bead bracelets. This post contains affiliate links. These origami bracelets are a classic childhood staple – like friendship bracelets for when all you have on hand is paper! They’re easy and…
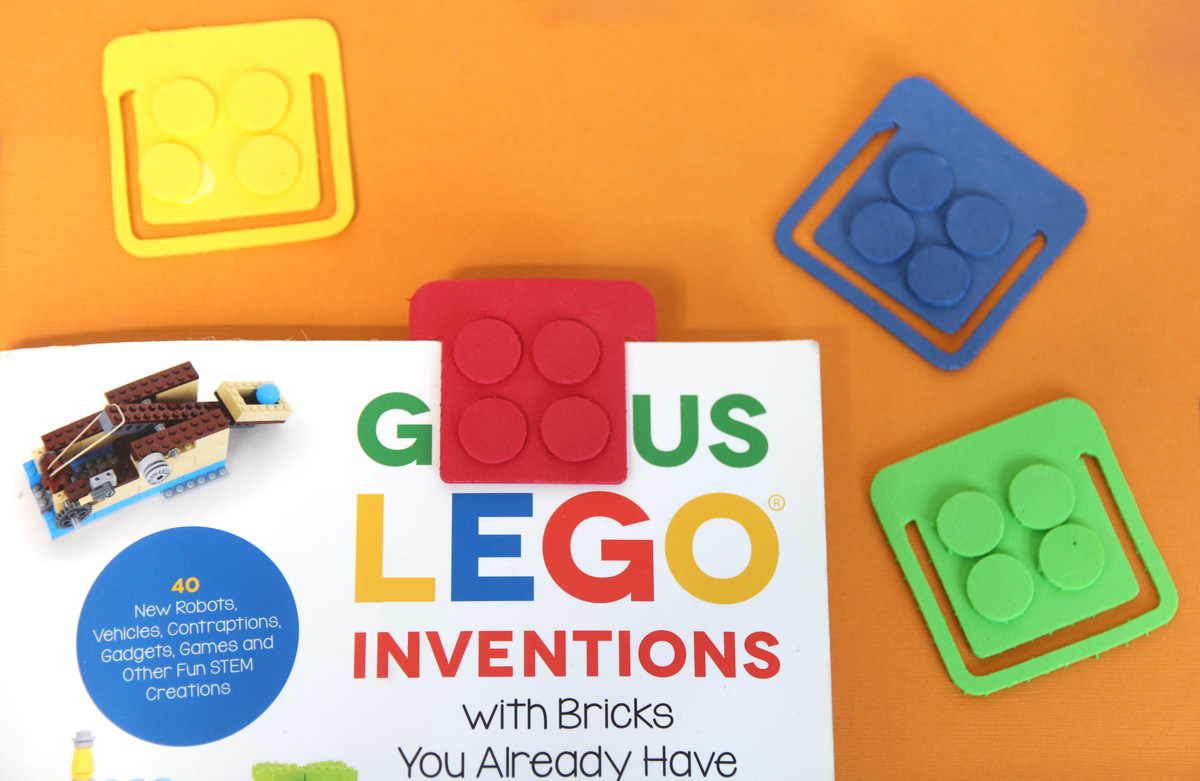
Craft your own LEGO bookmarks using any Cricut device. This adorable craft is perfect for LEGO themed birthday parties. This post contains affiliate links. When it comes to birthday parties, I’m always looking for fun little ways to make things extra special. I’m not gonna lie: when I got my Cricut, things got seriously cooler….
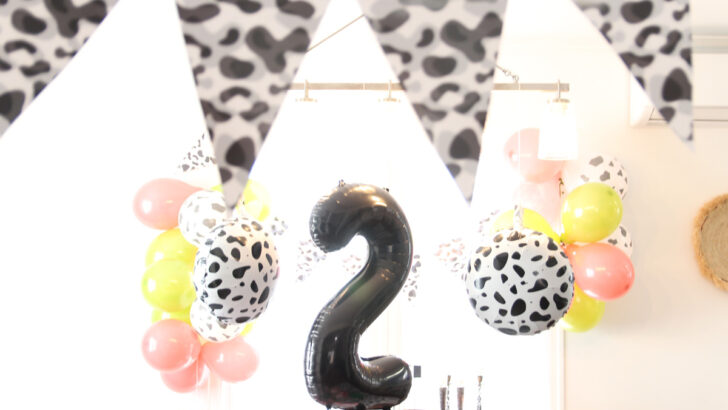
Enjoy these cow party decorations and cake topper from A’s second birthday party! When you’re done, you’ll want to check out these Old McDonald stick puppets that we crafted at the party too. This post contains affiliate links. A’s three, and I still have hardly begun sharing the details of her second birthday party! We…
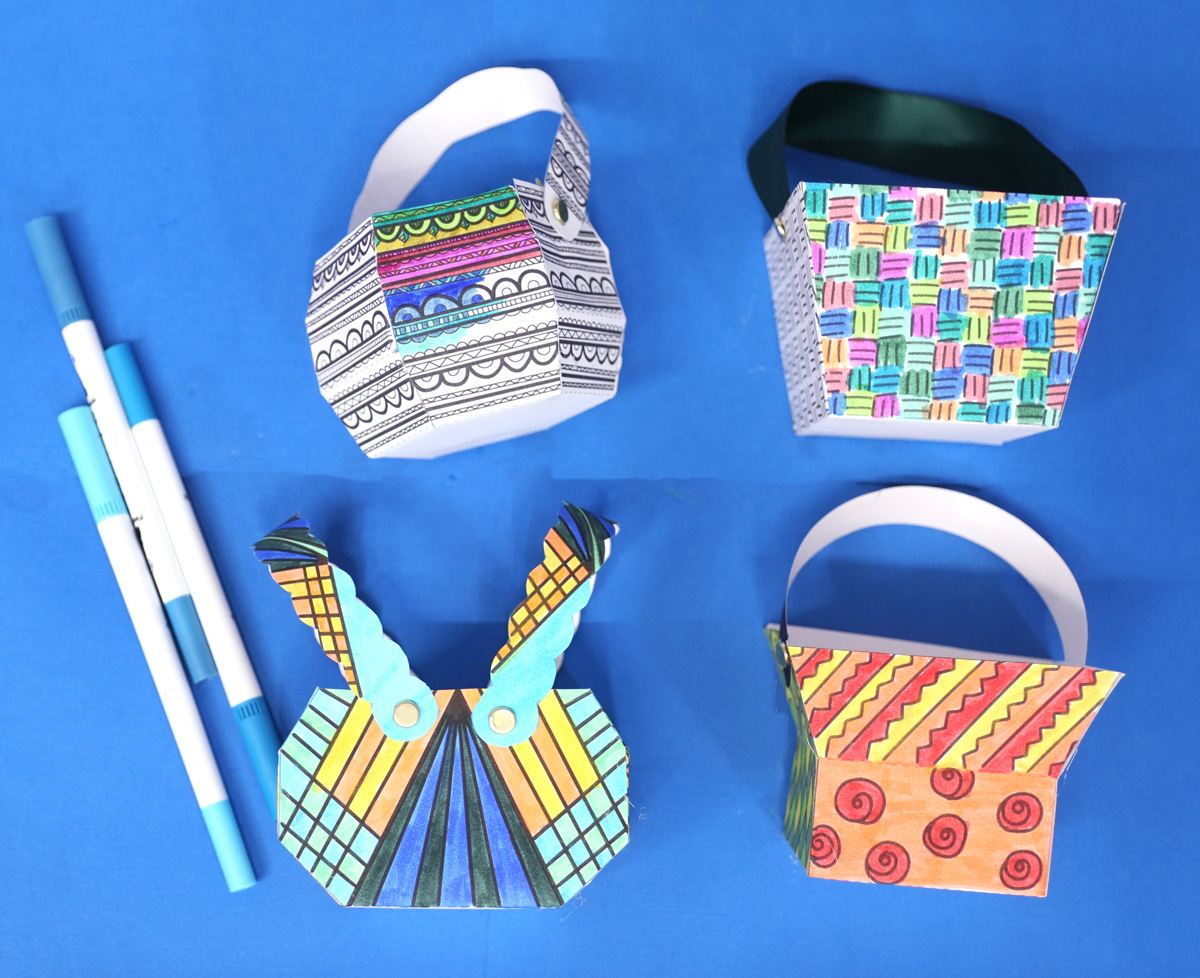
Enjoy these paper basket templates, including a fun and free printable color-in version! If you loved this, check out this school bus template too! This post contains affiliate links. When I get an idea, it typically spirals out of control and so when I decided to design paper basket templates, I got a little out…
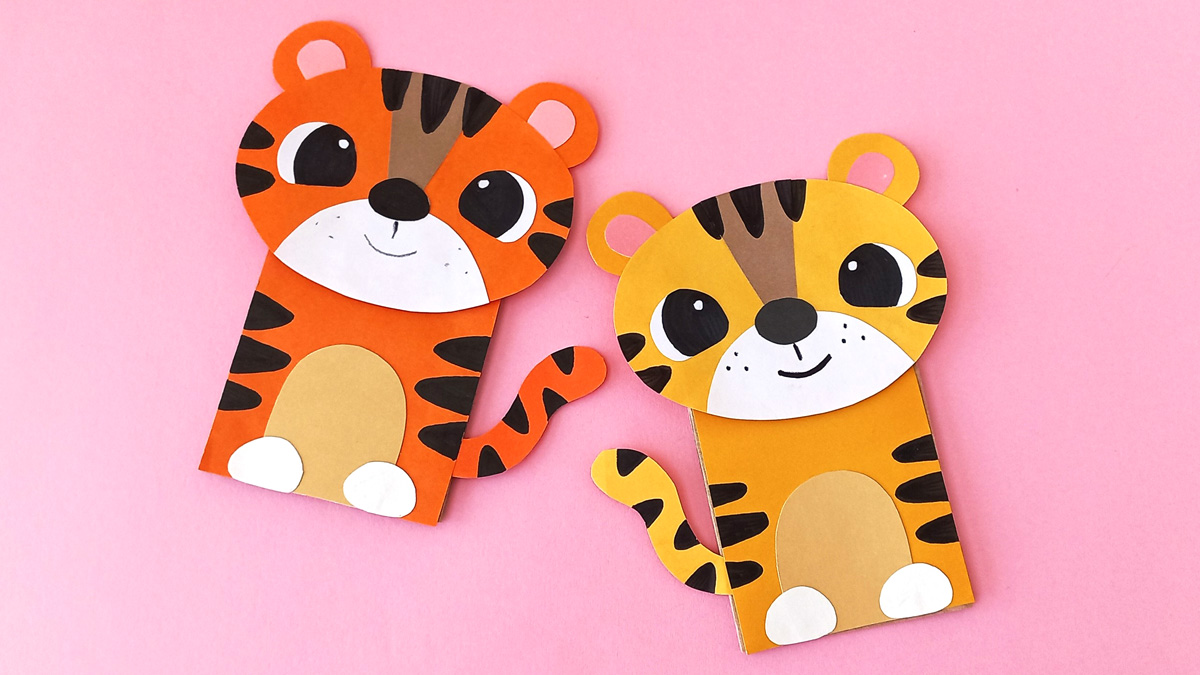
Create these adorable paper bag tiger puppets for fun imaginary fun! When you’re done, check out these cow paper bag puppets. This post contains affiliate links. Get your jungle gear on because today we’re going to craft a ferociously adorable tiger puppet! Using just a few materials you can find around your house and a…
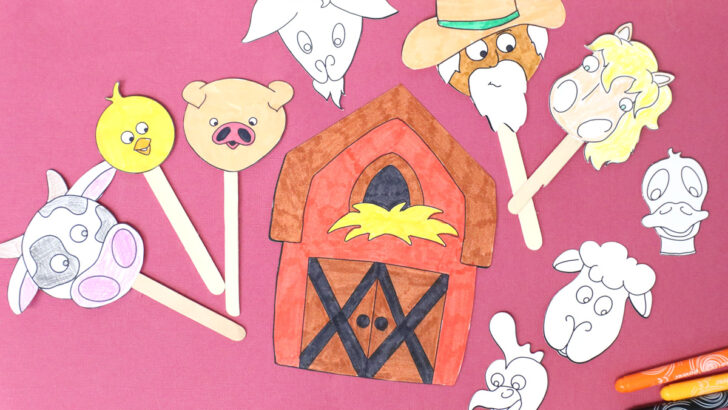
These farm animal stick puppets were the perfect “craft and take” activity for A’s second birthday party! When you’re done with these, check out the cow paper bag puppet that they were sent home in. This post contains affiliate links. To celebrate A’s second birthday party, we played on her love for the song Old…

Craft a 5 pointed origami star using this simple tutorial with step by step instructions. When you’re done, go ahead and check out this origami maple leaf tutorial too. This post contains affiliate links. Twinkle, twinkle away – with the nights getting longer and earlier here in the Northern hemisphere, we need as much light…
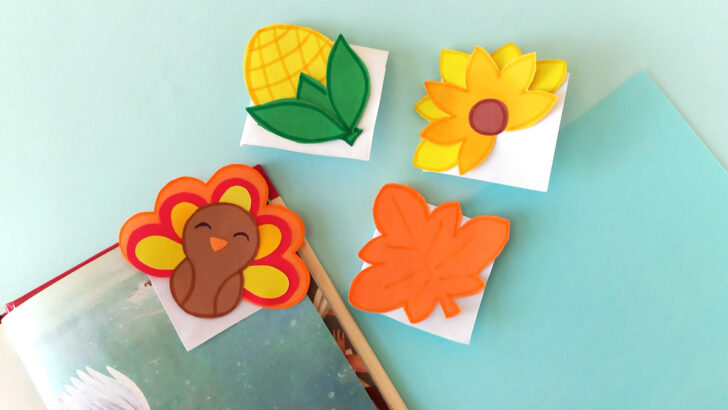
Craft these adorable Thanksgiving Bookmarks using this free template. When you’re done, check out these Thanksgiving turkey puppets. This post contains affiliate links. Thanksgiving is such a wholesome holiday, and between the Fall harvest and the theme of thanks it presents excellent crafting opportunities! You can gift these bookmarks to people you feel thankful to,…
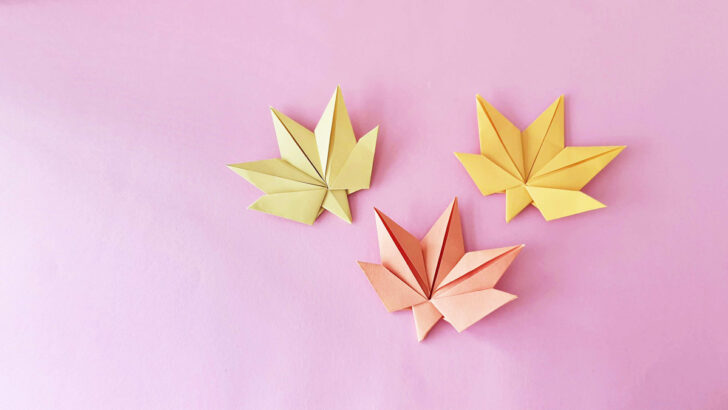
Craft these adorable Origami Maple Leaves with this step-by-step tutorial. When you’re done, check out Learn How to Draw a Simple Maple Leaf. This post contains affiliate links. Leaves are grabbing everyone’s attention lately as they start to change colors and fall everywhere. It’s a beautiful time to be alive in the Northeast! I like…