DIY Recycled Travel Sensory Board
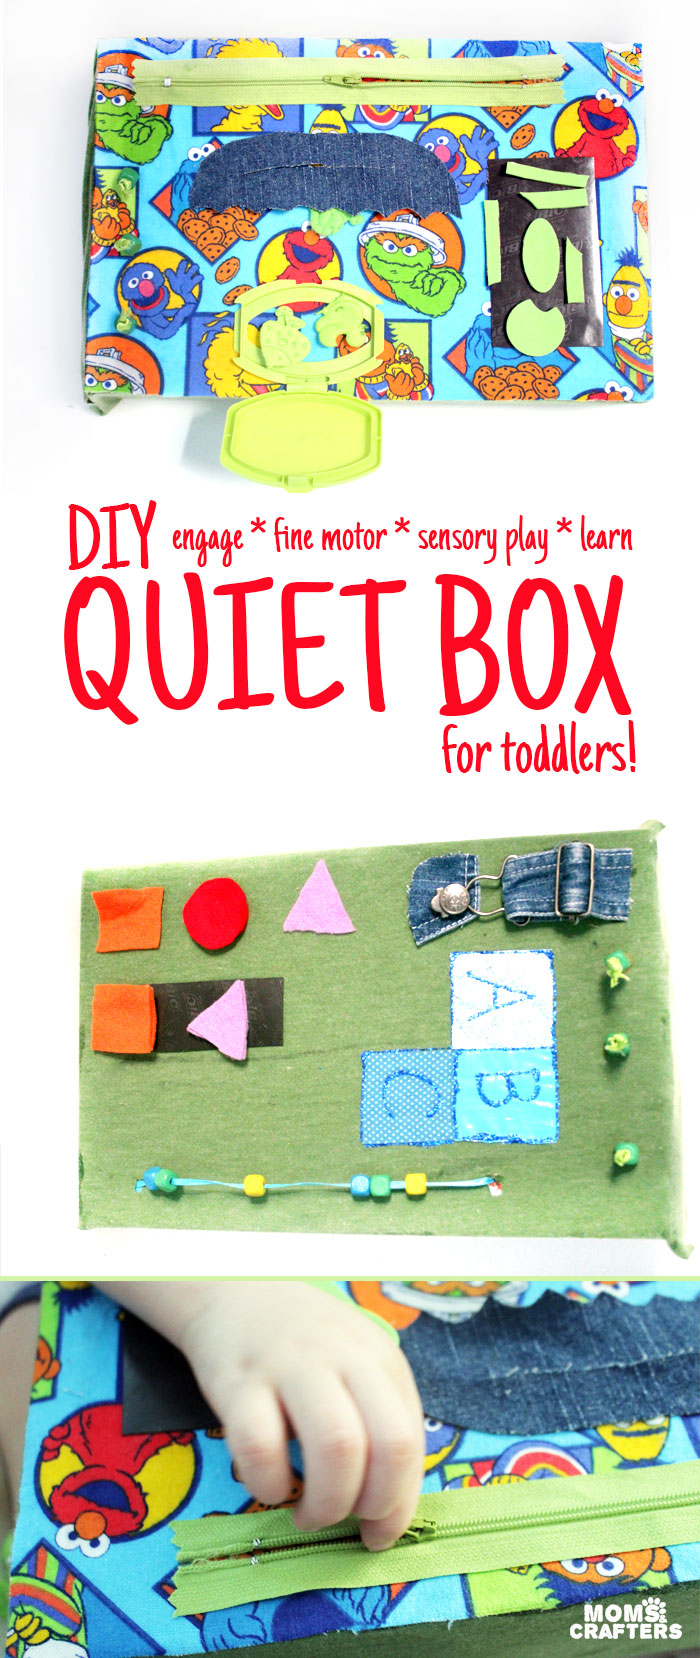
A while ago, I saw this tutorial for a DIY sensory board, and I wanted one for my toddler. But we don’t have the space, and I don’t have the resources, so I challenged myself. I decided to create something that will engage my toddler in a similar way, but uses things I already have AND takes up very little space. The result is a travel-friendly quiet box that is a cross between a sensory board and a quiet book (which I’ve already done for him).
M really loves it and can’t get enough of playing with it. While it’s not quite as durable as a sensory board would be, it is perfect for those of us without that kind of space, and without tools or other resources needed for an actual board. It’s similar to a quiet book in nature, but offers a little diversity from that. It is also a lot easier to make than a quiet book.
Some of the features were a “given” to do as I knew he’d love it. Some of the features are slightly ahead of his skill levels (which is a good thing – it challenges him!)
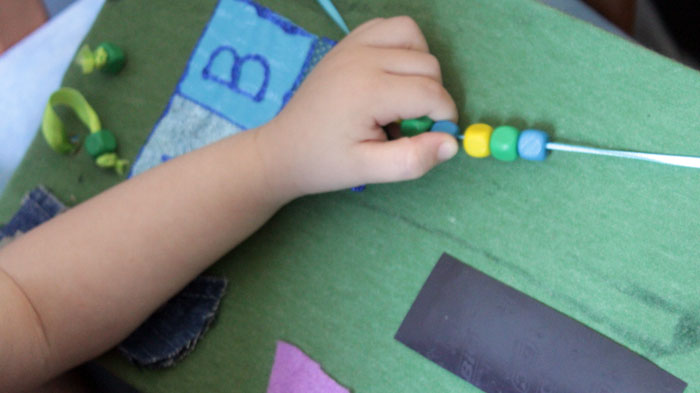
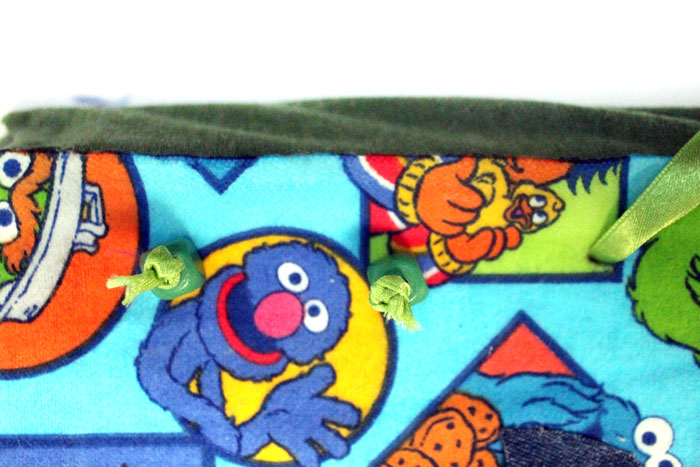
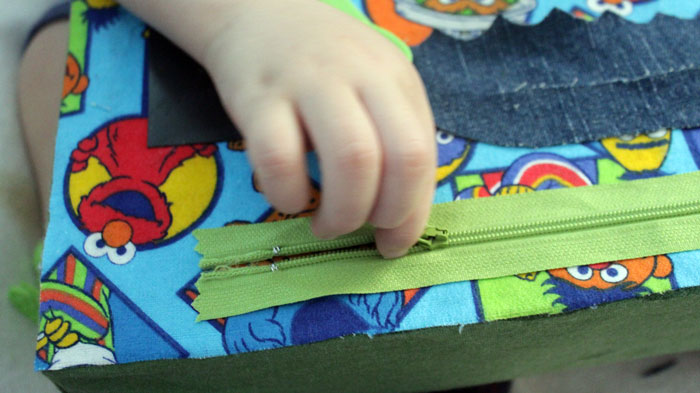
There are learning activities built in too. For now, he loves sticking the felt shapes on and watching how they attract. We talk about the shapes and colors, though at 21 months, he doesn’t quite get it. He loves the zipper (it’s perfect for his age) and keeps going back to that! On the reverse, he loves the counting beads. He does pull hard on them, but so far they are lasting out great!
The pull strings are also a favorite of his. The go through the box to both sides, and he imitates the “whoosh” sound that they make when he pulls it.
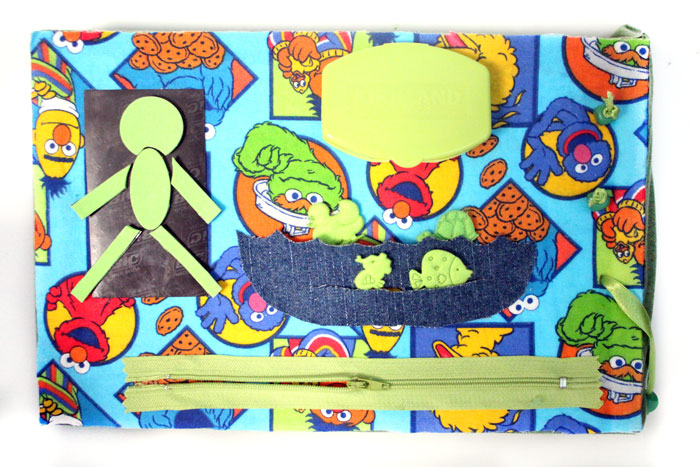
Other activities I put on include sea creatures that tuck into slots, lots of magnetic play (he loves that!) and even a little storage compartment that he loves to open and close. I tried to introduce some textures too. I wrote up a full list of all the activities that I did and how I created them here so that you can follow along. Meanwhile, this post is focused on creating the box itself and finding the right activities for YOUR child.
Here is a little video to start with of M playing with it. You can see that he keeps going back to the counting beads and the wipes lid. He loves those, as I knew he would.
How to create a sensory board that is tailored to your child:
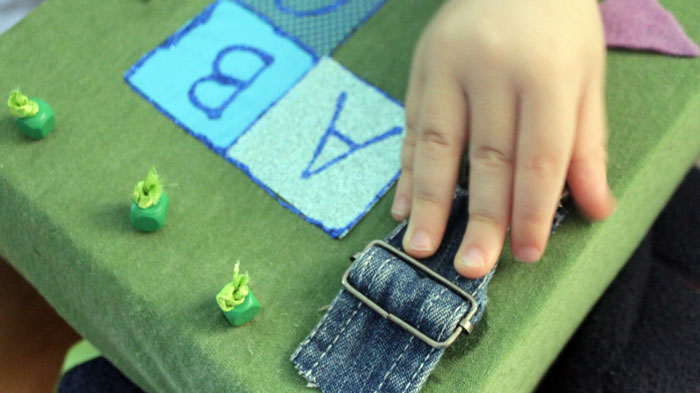
The key here, is to take things from around the house that your toddler already loves playing with, and placing them on a single surface (or two surfaces in this case). So, if I was creating a board, I’d focus on hardware, with locks and latches. Since I’m doing a lightweight version, I focused more on smaller recycled “opening-closing” things, playing with magnets, and pulling/sliding things. As an example: M always hijacks the baby wipes container when I try changing him. So, I put the hard plastic part of a baby wipes refill for him to play with. He also plays with my zipper when I wear one, and he is obsessed with the clasp on his overalls. All these things were placed on the sensory board for him to play with.
For the learning angle, I based it on things that he already does and took it up a notch. For example, he is starting to mimic numbers (out of order) so I put counting beads. He does not yet recognize shapes, but is starting to know colors, so I mixed those two together. He knows a few body parts, so I put in a magnetic stick figure puzzle. In that way, I was able to make it on his level, but create a learning experience too. Once again, you can find the full tutorial for all the parts of the sensory board here in case you want to use some of the components that I did. (This post is long enough without the details…)
How to make the box base of your sensory board:
You need:
(affiliate links are included for your convenience)
- Cereal box or other similar, flat box
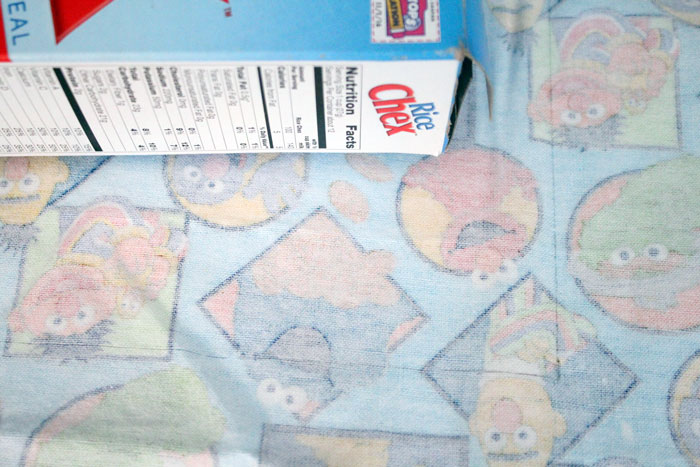
- Fabric (I used a cotton jersey knit and a printed flannel)
- Mod podge and foam brush
- E6000 glue
- Good scissors – I recommend having fabric and detail scissors handy
- Things to put on your board, according to your child. I put my full list here.
- Pens/sharpies for marking
The step-by-step tutorial:
1. Measure a piece of flannel to fit one side of your box. Cut it out.
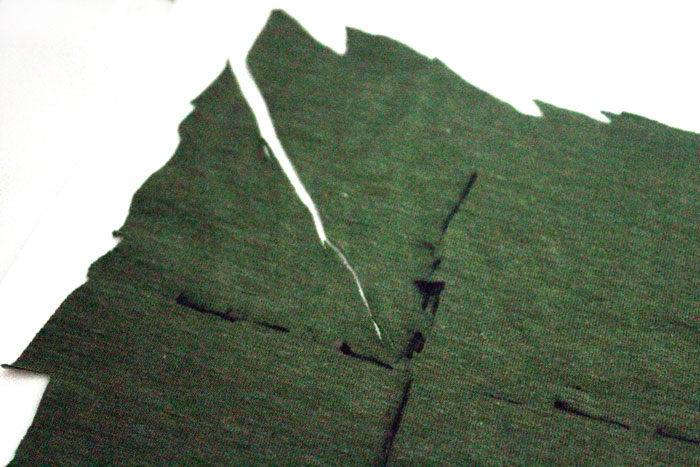
2. Measure and mark your second fabric according to the diagram below. Start with the front/back of your box. On each side of that, measure another box side/top/bottom and leave about 1/4 inch for overlap. Cut it out.
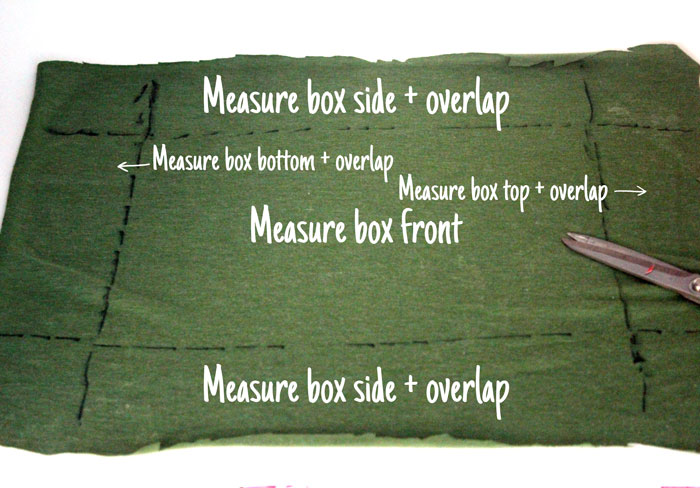
3. Cut a slit in the corner squares as pictured:
4. Start wrapping your box! Begin with the front/back of the box. Apply Mod Podge in a thin but generous layer over the surface, smoothing it out with the foam brush. Spread out your fabric, and center the glued side in the middle rectangle that you drew in step 2.
Next, apply to the two sides, and smooth the fabric over them. You’ll want to bend the corner triangles over as pictured.
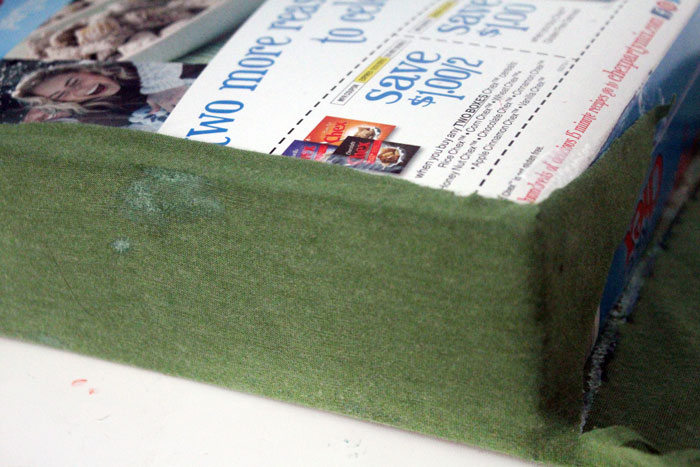
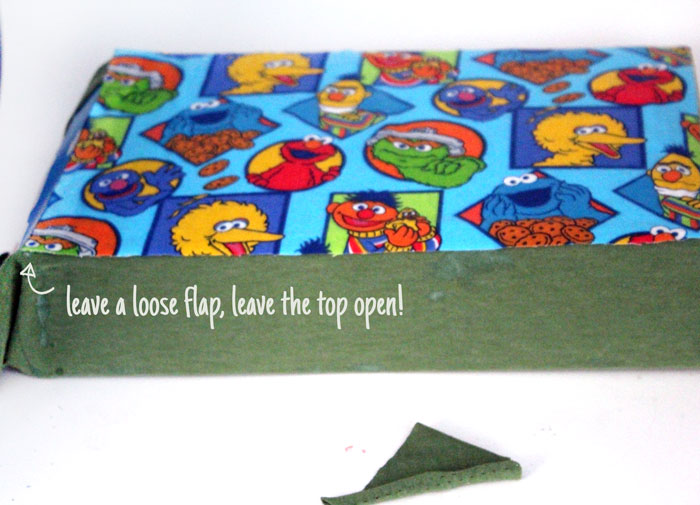
5. Fold up the bottom of your box, and trim off the triangular flap to make a neat edge, as pictured. Do this only on the bottom – leave the top open!
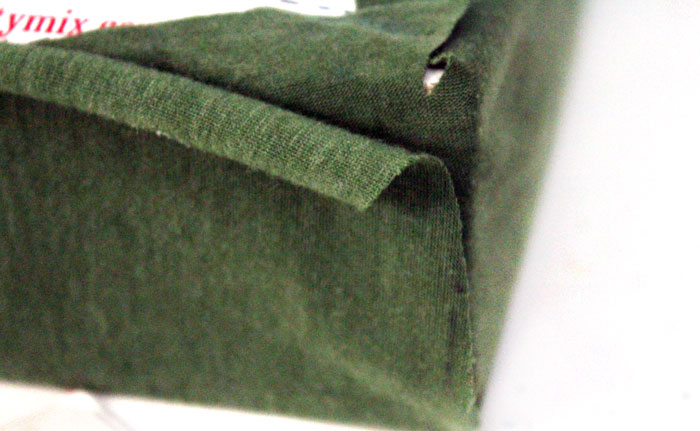
6. Fold the overlap onto the back of the box and glue as pictured. I used E6000 on the edges to make it stronger. Trim any overlap that gets bulky.
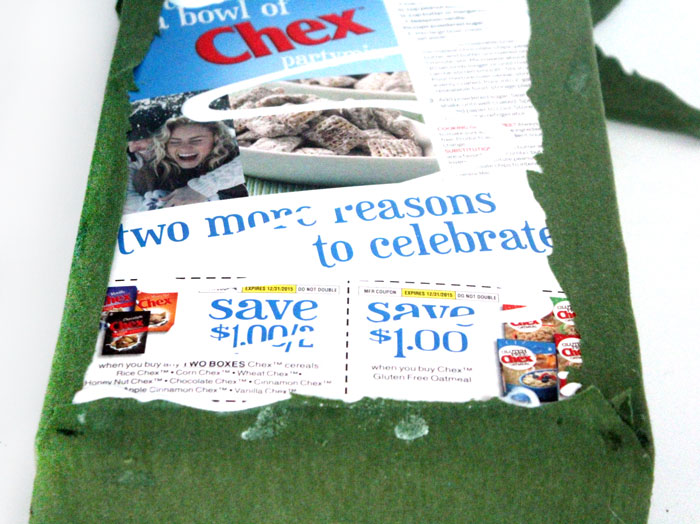
7. Glue your flannel bit over the back , covering all the mess. Again, I used Mod Podge for the surface, and E6000 to reinforce the edges. The top of your box is still unfinished, so you’ll want to leave the flannel over there unglued.
8. Glue on all your parts and activities! I used E6000 for the most part because it sticks almost anything, and is really durable. You’ll want access to the inside of the box for anything that gets poked through, which is why you left the top open.
9. When you’re done, finish off the top. Begin the same way you did in step 5. Lift the flannel edge and glue the overlap to the back of the box. Finally, finish the flannel edge.
Your sensory board / box is complete! Enjoy the quiet time, along with the playful moments of early childhood…
What will you put on your sensory board? Comment below with your ideas!

What a lovely lovely idea!
You took an idea and made it completely your own – that’s real cool. I always wanted something like this for my daughter. I am definitely making this. I also like it that, a lot of it is recycled stuff. I made this recycled online craft and felt very happy about my crafting ability. After making the sensory board I am sure I am going to be on top of the world – thanks again for the lovely craft!