Marbling Mugs with Nail Polish
Learn the super simple and fun skill of marbling mugs with nail polish for beautiful results! Then check out more incredible nail polish crafts. This post contains affiliate links.

Back when I first started crafting with nail polish, marbling mugs with nail polish was a popular trend. I shared a fun idea for a rainbow candle holder using individual dipped colors, however, today, I’m excited to share with you a back-to-basics tutorial for nail polish marbled mugs!


Back in the day, marbling mugs with nail polish was the go to. However, I’ve also tried this technique on vases, beads, and more jewelry crafts. There are so many applications for this technique, and it’s hard to go wrong with these simple tips:
- Go easy on the polish! You’re not soaking the water. You’re pulling the design off the surface. So it should be just enough to pool on your surface.
- Choose colors that will look good overlayed on each other. Keep in mind basic color theory. If you choose red and green, for example, you may have some brown spots.
- You can either let the colors just work as-is. Or, use a toothpick and create swirls.
- The warm water keeps the nail polish wet while you work, but don’t leave it too long!
- You can seal your design with dishwasher safe mod podge if you’d like. Otherwise, hand wash only.
- Work with a bowl that makes sense for the mug size. Too large and you’ll likely waste polish, having some outside your cover zone. Too small and it’ll be hard to pull up the polish.


Is marbling mugs with nail polish food safe?
Frankly, your marbled mug will not be food safe. To make sure you can safely use it for your next cuppa, avoid the lip of your mug. Mine is close, but since I drink from the side, next to the handle, it won’t be an issue.
Definitely don’t marble the inside or the rim!


Marbling mugs with nail polish is a fun, addictive craft that doesn’t take too long and is super affordable. It’s one of my favorite crafts for teens to make and sell, as you can make them cheap, quickly, and mark them up.
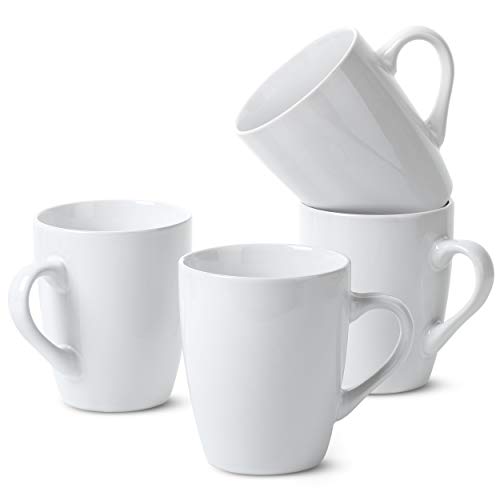
Use simple white mugs to let your design shine.
What you need for marbled mugs
- White coffee mug
- 3 colors of nail polish – we used bright pink, purple, and blue for this project
- 1 cup warm water
- Bowl (use one that you can dedicate to crafting)
- Optional: toothpick
How to Marble Mugs with Nail Polish
1. Add your warm water to the bowl. Warm water gives you more work time.
2. Add a few drops of each color nail polish to your bowl.


3. Dip the mug in. Scoop up the nail polish by swiping the mug across. You can also use a skewer to help you if you’d like.
4. Set the mug upside down on a paper towel for a few minutes to allow the water to dry.

Marbling Mugs with Nail Polish
Materials
- White coffee mug
- 3 colors of nail polish
- 1 cup warm water
Instructions
1. Add your warm water to the bowl.
2. Add a few drops of each color nail polish to your bowl.
3. Dip the mug in.
4. Set the mug upside down on paper towel for a few minutes to allow the water to dry.
Recommended Products
As an Amazon Associate and member of other affiliate programs, I earn from qualifying purchases.