
Fruit Paper Fans – A fun summer craft!
Stay cool this summer with these super cute fruit paper fans. Get creative and chose your favorite fruit, or make a whole fruit salad of fans! When you’re done, check out these paper crafts for teens. This post contains affiliate links.

No matter how much you love summer and look forward to the warm sunny days, you probably spend a lot of them trying to cool down. This craft brings together two of the best tricks – a handy fan, and a refreshing slice of watermelon – or any fruit you’d like!
All you need is some paper and a stick. And, preferably, a real-life piece of fruit to snack on when you’re done.


You’ve probably made paper fans before, but this one features a circular design that brings a new twist above the standard paper fan setup.
The extra steps are easy to do while making the activity much more engaging. Plus, you can turn it into any fruit slice – try citrus next!


Folding paper into fans is a great way to learn the fine motor skills of folding for those who are not yet ready for the precision of origami style folding.
It’s very forgiving – while the craft will come out nicer if it’s folded neatly and evenly, it will still work out if you’re still learning and have some uneven folds mixed in. You can make it easier for beginners by using a pencil and ruler to draw lines showing them where to fold.

It does take some patience to make enough folds to go all the way around a circle, but when the folding part is done we’re going to pop a design onto the center that will make it really special! Get ready!
What You’ll Need
- Colored paper (we used green, lighter green, and red)
- Scissors
- Liquid glue
- Markers
- Craft stick
How to Make a Fruit Paper Fan
1. Take your darker green paper and cut two 3-inch strips lengthwise (about 11 inches long, or the length of your paper)
Cut a light green circle around 4” across and a red or pink circle around 3” across.

2. Glue the red/pink circle onto the center of the light green circle.

3. Use a pencil to draw seed shapes on the red/pink circle. Start near the center of the circle and add some more seeds around the center.
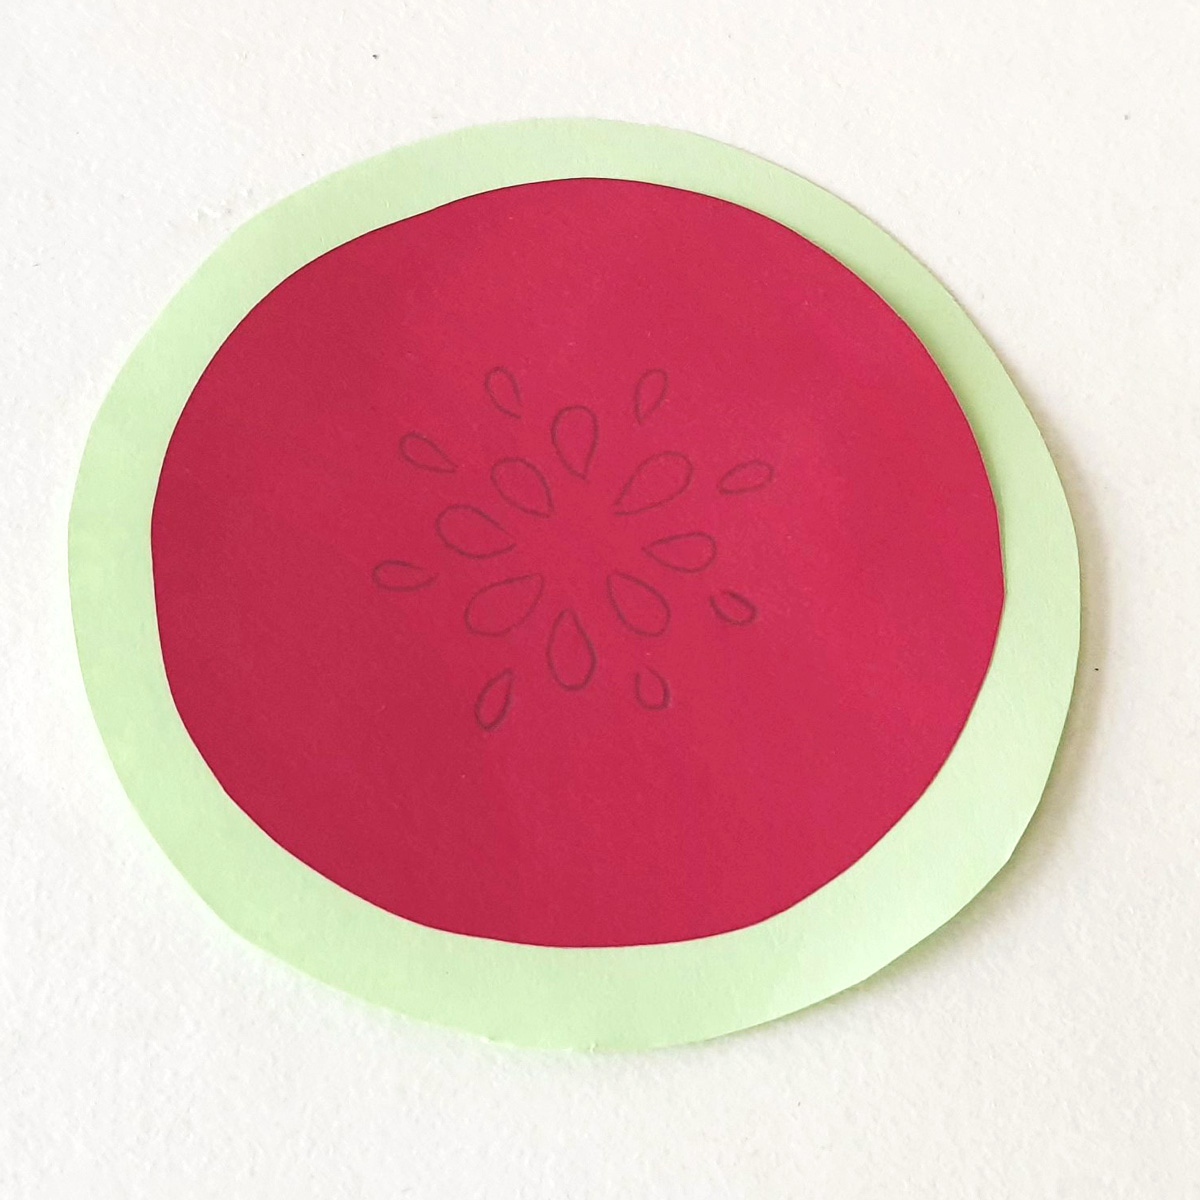
4. Use a black marker or crayon to fill in the seed shapes. Or, draw a citrus slice.

5. Take one of the long green strips and fold it accordion-style. Thin, even folds will work best.

6. Fold the second green strip the same way.

7. Glue the two green accordions end to end to form one long accordion.
Cut out a small green circle, around 2 inches across.

8. Glue the open ends of the accordion together, forming a circle.

9. Flatten the accordion circle by pressing one side toward the center (it doesn’t matter which side).

10. Apply glue generously to the small green circle and to the back of the watermelon-patterned circle.

11. Attach the watermelon pattern circle to one side of the flattened accordion, covering the empty center of the circle.

12. Attach the smaller green circle to the other side of the flattened accordion, covering the empty center of the circle on that side.
Glue a craft stick onto the small green circle to create a handle for the paper fan.

13. Allow the glue to dry completely before using the paper fan. For extra stability, you can add a piece of clear tape over the craft stick.

Your Fruit Paper Fans are complete! What will you be making next?

DIY Paper Fruit Fan
Materials
- Colored paper (we used green, lighter green, and red)
- Scissors
- Liquid glue
- Markers
- Craft stick
Instructions
1. Take your darker green paper and cut two 3-inch strips lengthwise (about 11 inches long, or the length of your paper)
Cut a light green circle around 4” across and a red or pink circle around 3” across.
2. Glue the red/pink circle onto the center of the light green circle.
3. Use a pencil to draw seed shapes on the red/pink circle. Start near the center of the circle and add some more seeds around the center.
4. Use a black marker or crayon to fill in the seed shapes.
5. Take one of the long green strips and fold it accordion-style. Thin, even folds will work best.
6. Fold the second green strip the same way.
7. Glue the two green accordions end to end to form one long accordion.
Cut out a small green circle, around 2 inches across.
8. Glue the open ends of the accordion together, forming a circle.
9. Flatten the accordion circle by pressing one side toward the center (it doesn’t matter which side).
10. Apply glue generously to the small green circle and to the back of the watermelon-patterned circle.
11. Attach the watermelon pattern circle to one side of the flattened accordion, covering the empty center of the circle.
12. Attach the smaller green circle to the other side of the flattened accordion, covering the empty center of the circle on that side.
Glue a craft stick onto the small green circle to create a handle for the paper fan.
13. Allow the glue to dry completely before using the paper fan. For extra stability, you can add a piece of clear tape over the craft stick.


